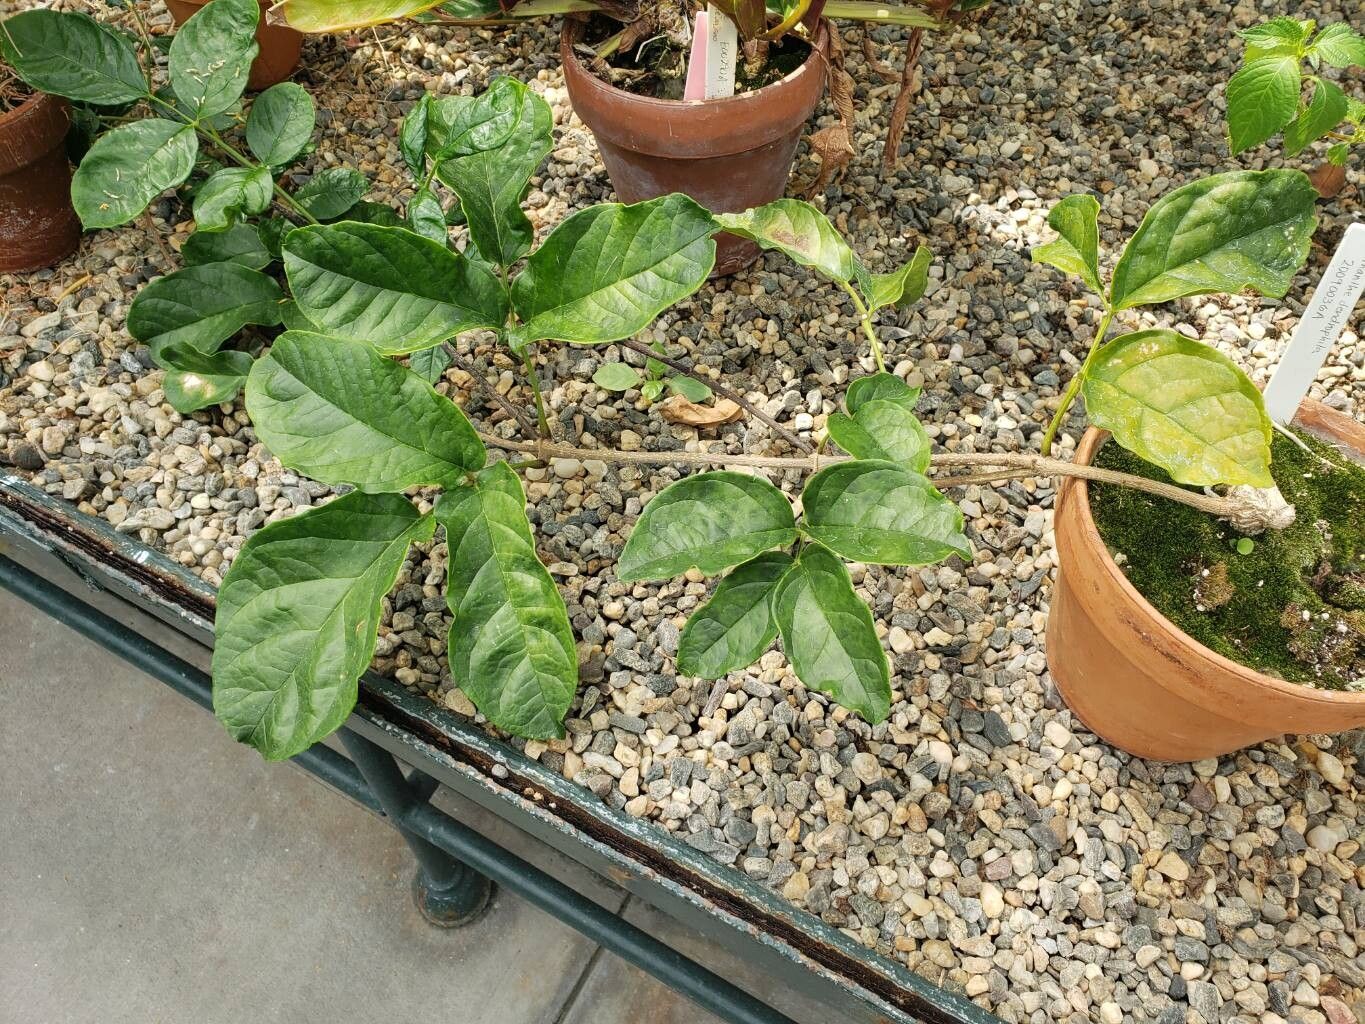
Oh, Tecomanthe dendrophila! If you’ve ever seen this magnificent vine in full bloom, trailing cascades of vibrant, bell-shaped flowers, you understand the allure. It’s a real showstopper, isn’t it? And the thought of bringing that beauty into your own garden, or even sharing it with fellow plant lovers, is just too tempting to resist. Propagating it feels like unlocking a little piece of botanical magic. Now, some plants can be a bit fussy, but I’ve found Tecomanthe dendrophila to be surprisingly rewarding to multiply, though it does have its quirks. It’s not exactly a beginner’s “chuck it in the dirt and walk away,” but with a little attention and care, you’ll be well on your way.
The Best Time to Start
For Tecomanthe dendrophila, I find that the late spring or early summer is your golden window. This is when the plant has finished its major blooming push and is actively putting on new growth. You want to work with softwood or semi-hardwood cuttings. These are pieces of stem that are flexible but not so green that they’re floppy, nor so woody that they’re stiff. They have enough stored energy to form roots without being too difficult to root.
Supplies You’ll Need
Here’s what I always have on hand when I’m getting ready to propagate:
- Sharp Pruning Shears or a Very Clean Knife: Cleanliness is paramount to prevent disease.
- Potting Mix: A well-draining mix is essential. I often use a blend of peat moss or coco coir, perlite, and a bit of coarse sand. Some gardeners swear by specialized rooting media too.
- Small Pots or Seedling Trays: Make sure they have drainage holes!
- Rooting Hormone: While not strictly essential for all plants, for Tecomanthe, it’s a good friend to have. I prefer the powder form, but liquids work too.
- Plastic Bags or Mini Greenhouses: These create a humid environment, which is crucial for cuttings.
- Watering Can with a Fine Rose: For gentle watering.
- Labels and a Marker: Trust me, you’ll thank yourself later.
Propagation Methods
Let’s get our hands dirty! Stem cuttings are the way to go with Tecomanthe dendrophila.
1. Taking Stem Cuttings:
- First, select healthy, vigorous stems from your mature plant. Look for those ones with new growth that’s just starting to firm up, usually a few inches long.
- Using your clean shears, cut a section of stem that is about 4-6 inches long. Make sure the cutting has at least two sets of leaves.
- Remove the lower set of leaves. This is where the roots will emerge from, and you don’t want leaves sitting in the soil, which can lead to rot. If the remaining leaves are very large, you can cut them in half horizontally. This reduces water loss through transpiration.
- Dip the cut end of the stem into your rooting hormone. Tap off any excess.
- Prepare your pots with the well-draining potting mix. Make a small hole in the center of the soil with your finger or a pencil.
- Gently insert the prepared cutting into the hole, making sure the hormone-coated end is well covered. Firm the soil around the cutting.
- Water thoroughly but gently to settle the soil.
- Place the pot inside a plastic bag or a small greenhouse, ensuring the leaves don’t touch the plastic. Seal it up, leaving a small opening for a bit of air circulation.
- Place the pots in a warm, bright location that receives indirect sunlight. Direct sun will scorch the tender cuttings.
2. Water Propagation (Less Common, but Possible):
- You can try taking cuttings and placing them in a jar of water. Crucially, make sure the leaves are well above the waterline. Only the cut stem should be submerged.
- Change the water every few days to keep it fresh.
- Once you see a good root system developing (usually a few inches long), you can then pot them up into your chosen potting mix, just like you would a cutting from soil.
The “Secret Sauce” (Pro Tips)
Here are a few little tricks that have made a big difference for me over the years:
- Botttom Heat is Your Friend: If you have a small seed mat, placing your pots on it can significantly speed up the rooting process. It mimics the warmth of the soil and encourages root development. Just keep an eye on it to make sure it doesn’t dry out the cuttings too quickly.
- Don’t Be Afraid of a Little Mist: Even with the plastic bag, giving the leaves a light misting with water every few days can help keep them turgid and happy while they’re trying to root.
- The “Bend Test”: Patience is key. After about 4-6 weeks, gently tug on a cutting. If you feel resistance, it’s a good sign roots are forming! If it pulls out easily, it likely hasn’t rooted yet.
Aftercare & Troubleshooting
Once those little roots do form, it’s an exciting moment! You’ll likely see them emerge from the drainage holes, or you might feel that resistance when you gently tug.
- Gradually Acclimatize: Once you see good root development, slowly start to remove the plastic bag or open up the greenhouse over a few days. This helps the plant adjust to lower humidity.
- Continue Gentle Watering: Keep the soil consistently moist but not waterlogged.
- Avoid Fertilizing Immediately: Your new cutting doesn’t need rich food right away. Wait until you see new leaf growth before applying a very diluted liquid fertilizer.
Now, what if things don’t go as planned? The most common culprit is rot. This usually happens if the soil is too wet or if there’s poor air circulation, especially with leaves touching damp soil or condensation. If you see rotting at the base of the cutting, or blackening leaves that aren’t simply wilting from dryness, it’s a sign of trouble. Remove the affected cutting immediately to prevent it from spreading. Sometimes, even with the best efforts, a cutting just doesn’t take. That’s okay! Nature has its own rhythm.
A Encouraging Closing
See? It’s not rocket science, just a little bit of know-how and a lot of gentle patience. Propagating Tecomanthe dendrophila is such a satisfying way to connect with your plants and expand your own green sanctuary. Don’t be discouraged if your first few attempts aren’t perfect. Each cutting you try is a learning experience. So, gather your supplies, find a healthy stem, and give it a go. Happy gardening, my friend, and enjoy the thrill of seeing your new little Tecomanthe babies thrive!
Resource: