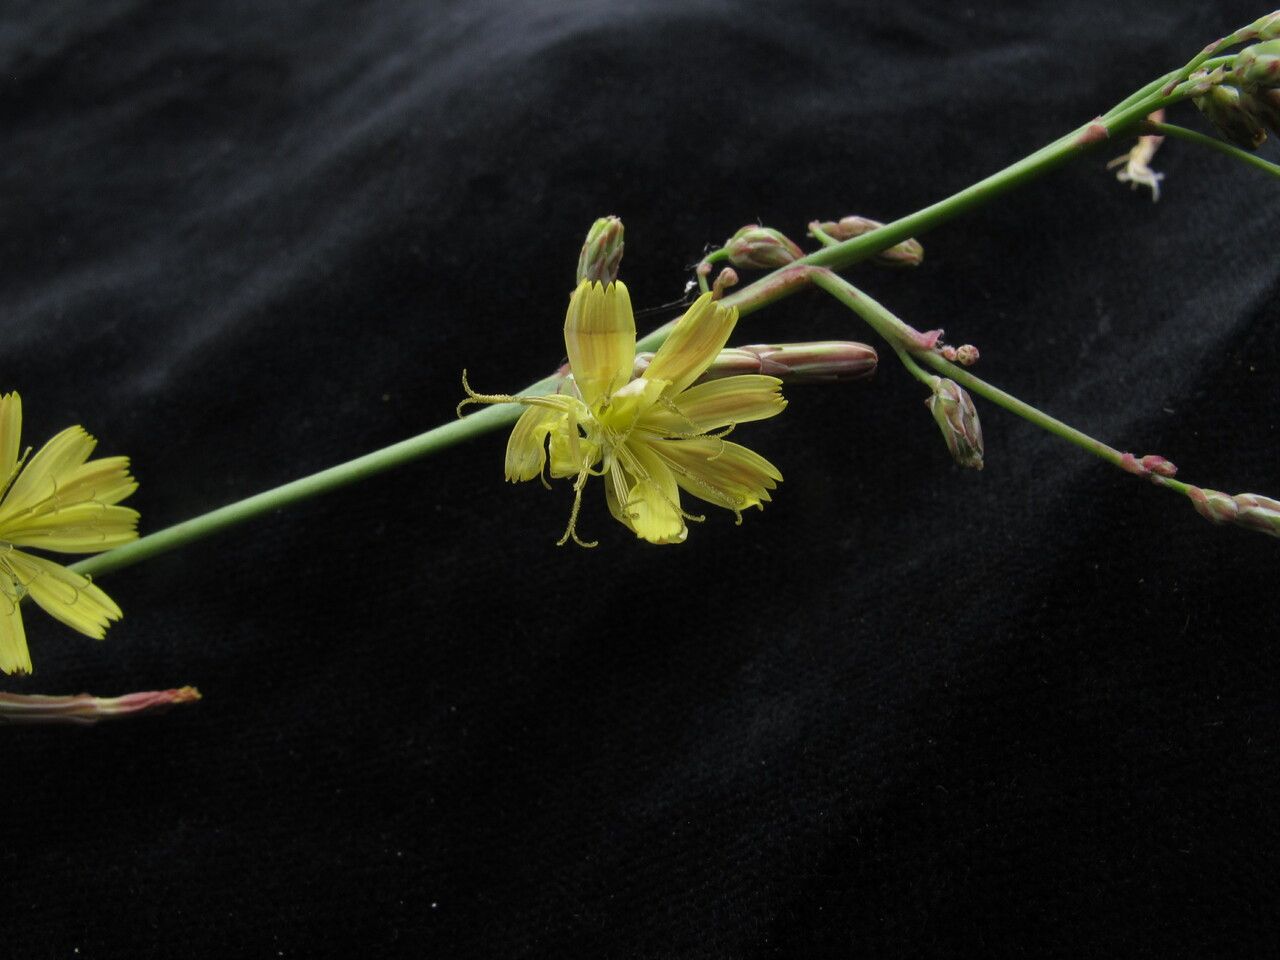
Oh, hello there! Pull up a chair and let’s chat about one of my garden’s unsung heroes, Launaea secunda. If you’re looking for a plant that’s as resilient as it is charming, you’ve found it. Its delicate, almost feathery foliage adds a wonderful texture to any border or container, and honestly, it’s one of those plants that just makes you smile.
The real joy, though, comes from creating more of them. Propagating Launaea secunda is incredibly rewarding. It’s not some rare orchid requiring a sterile lab; it’s quite approachable, even for those just dipping their toes into the world of plant propagation. Think of it as giving the gift of green to yourself – and maybe a friend too!
The Best Time to Start
My favorite time to get busy with propagation is during the active growing season. For most climates, this means late spring through early to mid-summer. The plant is full of vigor then, and cuttings taken during this period have the best chance of developing strong roots quickly. You want to catch it when it’s really putting on a show.
Supplies You’ll Need
Here’s what you’ll want to have on hand before you dive in:
- Sharp pruning shears or a clean knife: For making precise cuts.
- Well-draining potting mix: A blend of peat moss, perlite, and vermiculite works wonderfully. You can even use a cactus/succulent mix.
- Small pots or seed trays: Clean ones, of course!
- Rooting hormone (optional but helpful): Encourages faster and stronger root development.
- Watering can or spray bottle: For gentle watering.
- Plastic bags or a clear dome: To create a humid environment.
Propagation Methods
Launaea secunda is quite forgiving, and I’ve had great luck with a few different methods. The most reliable for me is stem cuttings.
Stem Cuttings:
- Select a healthy stem: Look for a mature, non-flowering stem that’s about 4-6 inches long. Remove any lower leaves, as these will just rot when buried.
- Make the cut: Using your sharp shears or knife, make a clean cut just below a leaf node (where a leaf attaches to the stem). This is where the magic happens!
- Apply rooting hormone (optional): If you’re using it, dip the cut end into the rooting hormone, ensuring it’s evenly coated. Tap off any excess.
- Plant the cutting: Make a small hole in your potting mix with your finger or a pencil. Insert the cut end of the stem into the hole. Gently firm the soil around the stem to secure it.
- Water gently: Water the soil thoroughly but carefully. You don’t want to dislodge the cutting.
- Create humidity: Cover the pot with a clear plastic bag or a clear dome. This traps moisture and helps prevent the cutting from drying out before it roots. Ensure the leaves aren’t touching the sides of the bag if possible.
Another simple method is water propagation, though I find it’s more successful with some plants than others. For Launaea secunda, it can work, but I prefer the soil method for long-term stability.
Water Propagation (less preferred for this plant, but possible):
- Prepare cuttings: Follow steps 1 and 2 above. Remove any leaves that would be submerged in water.
- Place in water: Put the cuttings in a clean jar or glass of water, ensuring the leaf nodes are submerged.
- Change water regularly: Change the water every few days to keep it fresh and prevent bacterial growth.
- Wait for roots: You should see small roots emerge within a few weeks. Once they are about an inch long, you can carefully transplant them into soil.
The “Secret Sauce” (Pro Tips)
Here are a couple of my tried-and-true tricks that always give me a little boost:
- Bottom Heat is Your Friend: If you can, place your pots on a seedling heat mat. This gentle warmth from below encourages root development much faster than just room temperature. It mimics the warmth of a summer soil and really speeds things up.
- Don’t Overwater the Cuttings: It’s a common mistake! While they need moisture, soaking wet soil can lead to rot before roots even form. The humidity from the bag or dome is doing a lot of the work. Let the top layer of soil dry out slightly between waterings.
Aftercare & Troubleshooting
Once you start to see tiny roots peeking out from the drainage holes or feel a gentle tug when you lightly pull on the cutting, your new Launaea secunda is ready for a bit more attention.
Aftercare:
- Remove the humidity cover: Once roots are established, gradually remove the plastic bag or dome over a few days to acclimate them to normal humidity.
- Watering: Water your new plants when the top inch of soil feels dry. They still appreciate good drainage.
- Light: Place them in bright, indirect light. Avoid harsh, direct sun for the first few weeks as they adjust.
- Fertilizing: Wait until you see new leaf growth before introducing a diluted liquid fertilizer, maybe every 4-6 weeks.
Troubleshooting:
The most common issue is rot. If your cutting turns mushy or black, it’s likely because it was too wet. Don’t be discouraged; just try again with a fresh cutting and ensure your soil is well-draining and you’re not overwatering. Yellowing leaves can also sometimes indicate overwatering or a need for a bit more light. If a cutting just seems to be doing nothing, it might simply not have taken. That’s gardening!
A Encouraging Closing
Propagating Launaea secunda is a wonderful way to multiply your green treasures. Be patient with the process. Sometimes cuttings take their sweet time, and that’s perfectly okay. Enjoy watching those tiny roots emerge and the promise of new life. Happy gardening!
Resource:
https://identify.plantnet.org/k-world-flora/species/Launaea%20secunda%20Hook.f./data