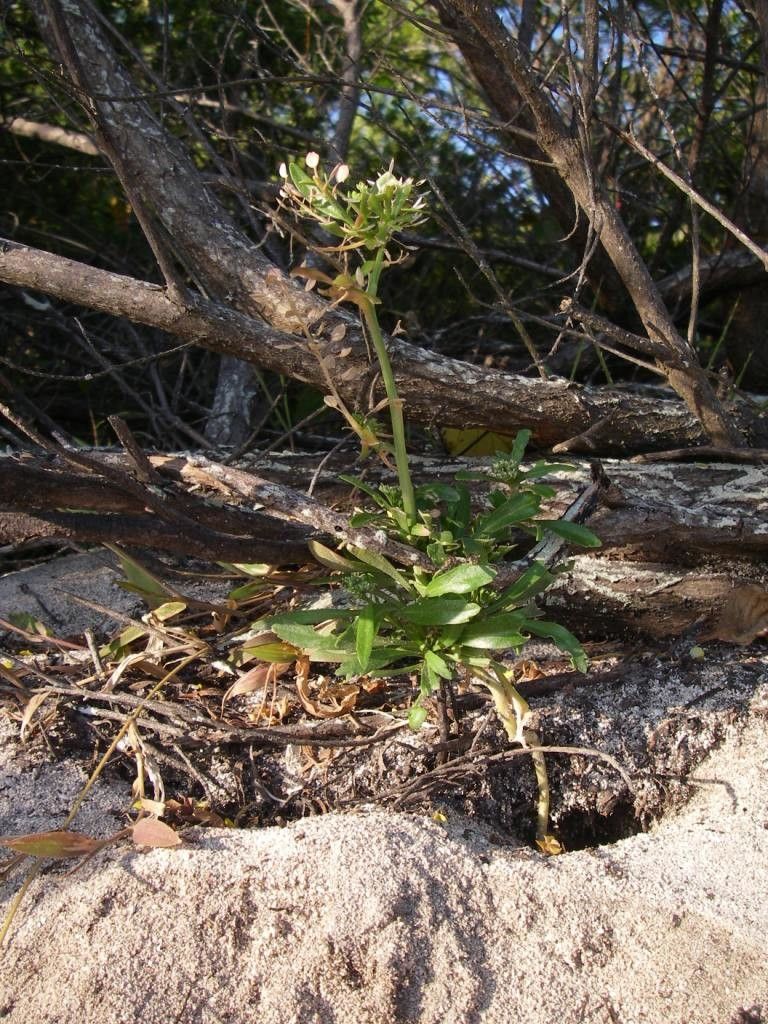
Hello there, fellow garden enthusiasts! Grab a mug of your favorite brew, because today we’re diving into the wonderful world of propagating Lepidium bidentatum. This little gem, often called pepperweed or wild cress, brings a lovely touch of delicate green to the garden. Its slightly peppery flavor adds a delightful kick to salads and stir-fries, and honestly, there’s nothing quite like the satisfaction of growing your own from scratch. If you’re new to the plant world, I think you’ll find Lepidium bidentatum to be a pretty forgiving friend to start your propagation journey with.
The Best Time to Start
For the highest success rate with Lepidium bidentatum, I always recommend starting in late spring or early summer. This is when the plant is actively growing and has plenty of energy. You’ll be looking for healthy, vibrant stems that aren’t flowering or fruiting yet. Tender, new growth is usually your best bet.
Supplies You’ll Need
Here’s what I like to have on hand:
- Sharp pruning shears or a clean knife: For making those crucial cuts. Cleanliness is key to preventing disease!
- Well-draining potting mix: A good starting point is a mix of equal parts potting soil and perlite. You can also use a seed-starting mix.
- Small pots or trays: Clean containers with drainage holes are important.
- Rooting hormone (optional but helpful): This gives your cuttings a little boost. I have a favorite brand, but any reputable one will do.
- Watering can or spray bottle: For gentle watering.
- Clear plastic bags or a propagator: To create a humid environment.
Propagation Methods
Let’s get our hands dirty! Lepidium bidentatum is wonderfully adaptable, but I find stem cuttings to be the most reliable method.
Stem Cuttings
- Select your source: Find a healthy, non-flowering stem on your mature plant.
- Take the cutting: Using your clean shears or knife, cut a piece of stem that is about 4-6 inches long. Make the cut just below a leaf node (where a leaf attaches to the stem).
- Prepare the cutting: Gently remove the lower leaves, leaving just a couple of leaves at the top. This prevents the leaves from rotting when they’re buried.
- Dip in rooting hormone (optional): If you’re using rooting hormone, lightly dip the cut end into the powder or gel. Tap off any excess.
- Plant the cutting: Make a small hole in your prepared potting mix with a pencil or your finger. Insert the cut end of the stem into the hole, ensuring the leaf nodes are covered by soil. Gently firm the soil around the cutting.
- Water gently: Water thoroughly but gently to settle the soil.
- Create a humid environment: Cover the pot with a clear plastic bag (you can secure it with a rubber band) or place it in a propagator. This traps moisture and helps the cutting stay hydrated while it roots.
- Place in bright, indirect light: Find a spot that gets plenty of light but no direct sun, which can scorch the delicate cuttings. Keep the soil consistently moist but not waterlogged.
The “Secret Sauce” (Pro Tips)
Now, for a couple of things I’ve learned over the years that really make a difference:
- Don’t let those lower leaves touch the soil! Seriously, this is a biggie. Any foliage in contact with damp soil is an invitation for rot. Pinch them off ruthlessly, leaving just enough to photosynthesize.
- Bottom heat is your friend. If you have a seedling heat mat, popping your pots on it can significantly speed up root development. It mimics the warmth of spring and gives those roots a much-needed nudge. Just be sure your pots have good drainage so the heat doesn’t cook the soil into a soggy mess.
Aftercare & Troubleshooting
Once you see new growth emerging from your cuttings, that’s a great sign! It means roots are forming. At this point, you can gradually acclimatize your new plants to normal room humidity by opening the plastic bag a little more each day. Once fully unfurled and looking robust, you can transplant them into their own individual pots.
The most common issue you’ll encounter is rot. If your cuttings turn mushy and black, it’s usually a sign of too much moisture and not enough air circulation. Don’t be discouraged – just clean out your pot and start again with fresh cuttings, making sure your soil is lighter and you’re not overwatering. Yellowing leaves can sometimes mean they need a bit more light or that you’re watering too much.
A Little Encouragement to Grow On
Propagating plants is a beautiful act of patience and observation. Like any garden task, there’s a little trial and error involved, but the joy of creating new life from a simple cutting is immeasurable. So, go ahead, give it a try! Watch for those tiny root hairs, enjoy the fresh greenery, and celebrate your success. Happy propagating!
Resource:
https://identify.plantnet.org/k-world-flora/species/Lepidium%20bidentatum%20Montin/data