Hello fellow garden enthusiasts! It’s lovely to connect with you all again. Today, we’re diving into the world of propagating Mabea excelsa, also affectionately known as the “angel’s wing” or “pincushion flower” for its delicate, cascading blooms. If you’ve been captivated by its airy charm, you’re in for a treat. The satisfaction of coaxing a new plant from a small cutting or division is truly unparalleled. Now, I’ll be honest, Mabea excelsa might not be the absolute easiest plant for a brand-new beginner, but with a little care and attention, it’s absolutely achievable and incredibly rewarding. Let’s get our hands dirty!
The Best Time to Start
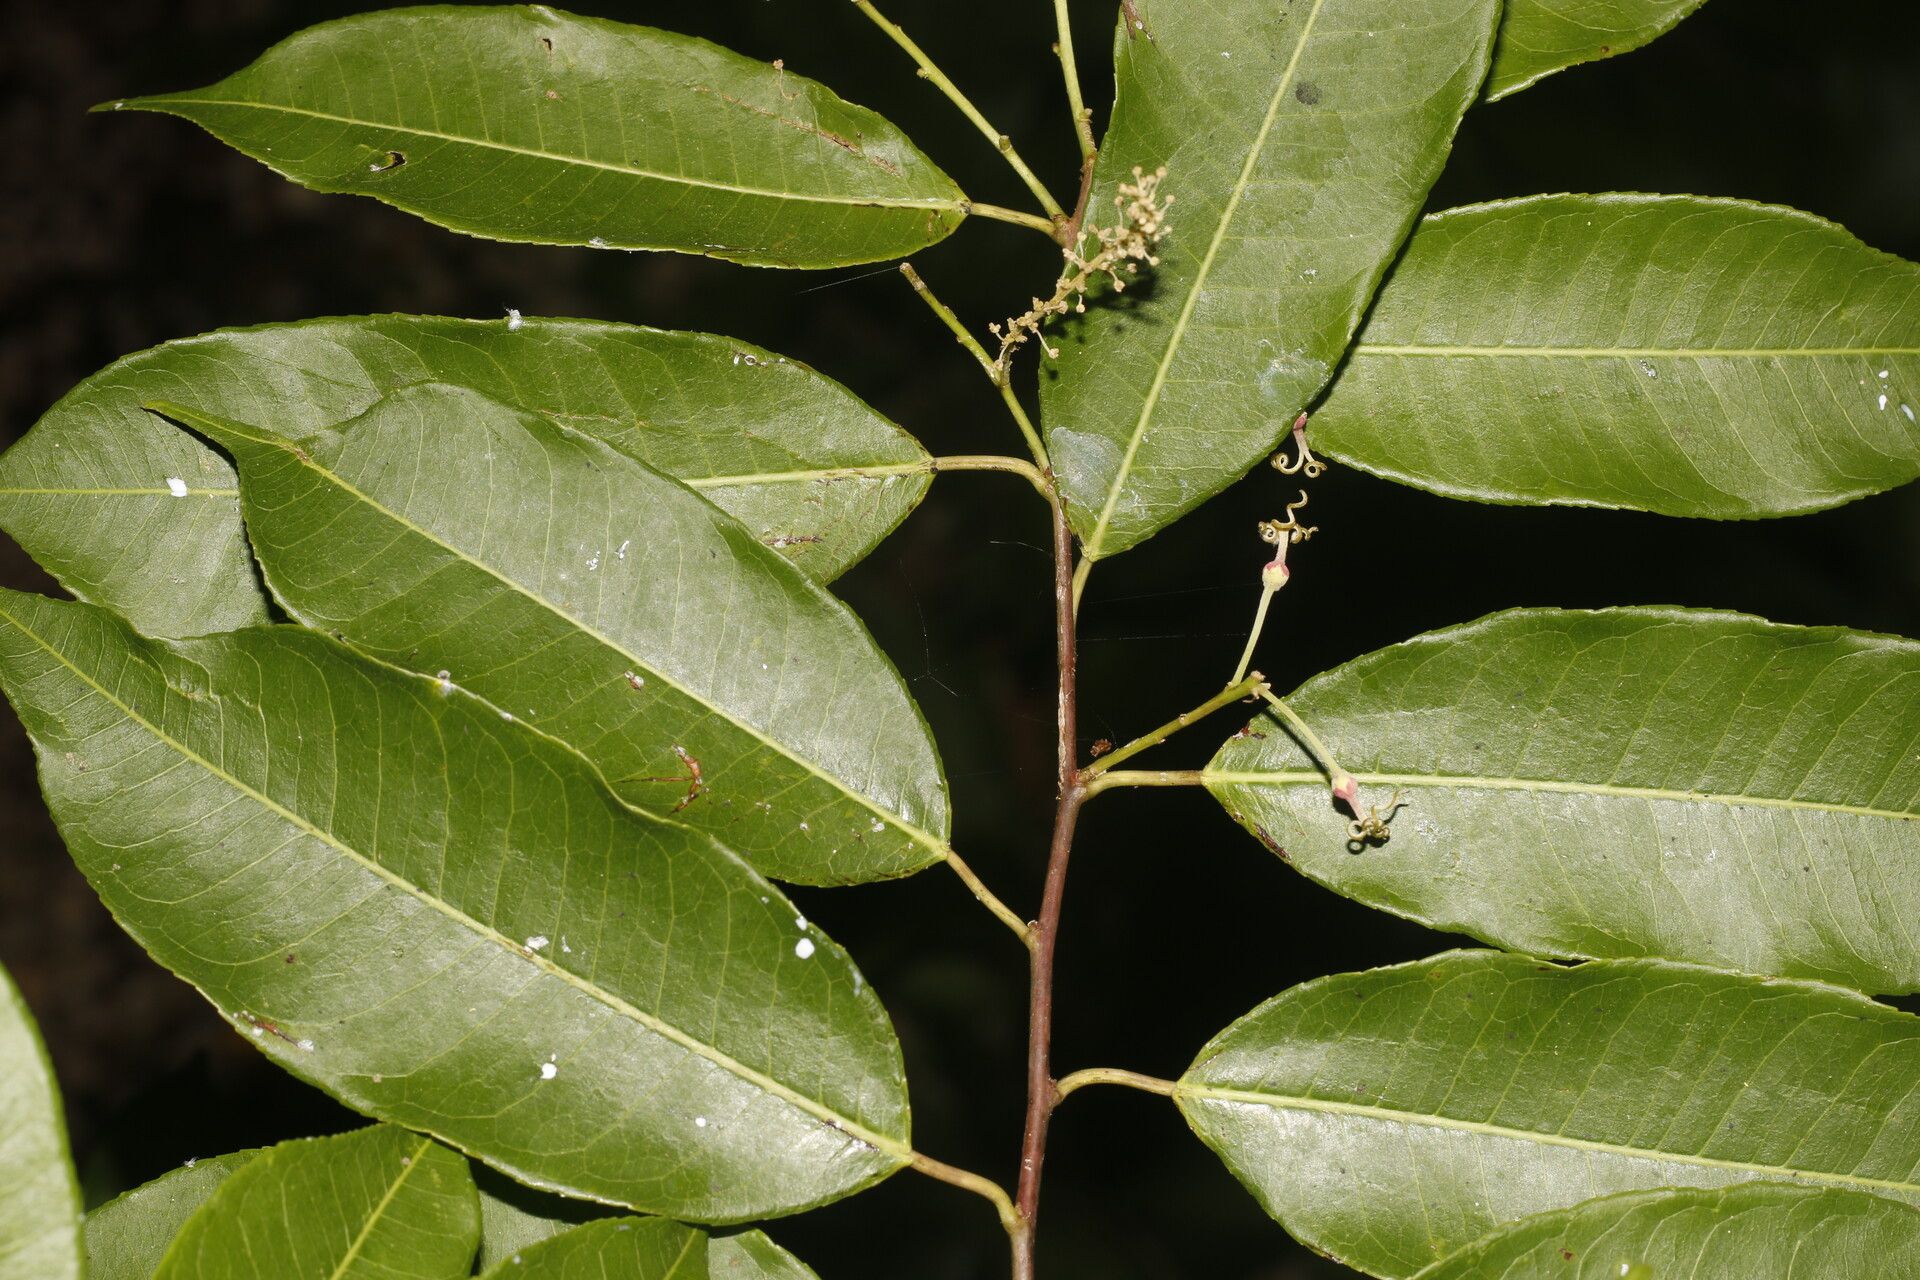
For Mabea excelsa, spring and early summer are your golden windows of opportunity. This is when the plant is actively growing, meaning it has plenty of energy reserves to put into developing roots. Look for semi-hardwood cuttings, which are stems that have started to mature but are still somewhat flexible. You’ll know them when you see them – they’re not brand new, bright green shoots, but they haven’t lignified into tough, woody branches either.
Supplies You’ll Need
Here’s a handy list of what you’ll want to gather before you get started:
- Sharp pruning shears or a clean knife: For taking clean cuts, which helps prevent disease.
- Rooting hormone (optional but recommended): This encourages faster root development. You can find it in powder or liquid form.
- Well-draining potting mix: A good blend of perlite and peat moss or coco coir works beautifully. You want something airy that won’t hold too much moisture.
- Small pots or seedling trays: Clean pots are essential to avoid introducing any lingering bacteria.
- Plastic bags or a propagation dome: To create a humid environment for your cuttings.
- Watering can with a fine rose: For gentle watering.
- Labels and a marker: So you don’t forget what you’ve planted!
Propagation Methods: Let’s Get Growing!
I find stem cuttings to be the most successful and straightforward method for Mabea excelsa.
-
Take Your Cuttings: In spring or early summer, select healthy, non-flowering stems. Using your sharp pruning shears, make a clean cut about 4-6 inches long, just below a leaf node (where a leaf meets the stem). Remove any lower leaves, but leave a few at the top.
-
Prepare the Cuttings: Dip the cut end of each stem into the rooting hormone (if you’re using it). Gently tap off any excess.
-
Plant Them Up: Fill your clean pots or seedling trays with your well-draining potting mix. Make a small hole in the center of the soil with your finger or a pencil. Carefully insert the cut end of the stem into the hole, ensuring the leaf nodes are buried. Gently firm the soil around the stem.
-
Create Humidity: Water the soil gently until it’s evenly moist but not soggy. Then, cover the pots with a plastic bag or place them under a propagation dome. This traps moisture and creates the humid microclimate your cuttings need to thrive.
-
Find the Right Spot: Place your pots in a bright location that receives indirect sunlight. Avoid harsh, direct sun, which can scorch delicate new growth.
The “Secret Sauce” (Pro Tips)
Now, a couple of little tricks that I’ve learned over the years can really make a difference:
- Don’t let those leaves touch the water (if you were to try water propagation): While some plants are happy in water, Mabea excelsa cuttings are prone to rot if their leaves are submerged. If you’re ever tempted to try water propagation with this beauty, ensure only the cut stem is in the water. I generally stick to soil for this one.
- A touch of bottom heat works wonders: If you have a seedling heat mat, placing your pots on it can significantly speed up rooting. The warmth encourages root development from below, giving your cuttings that extra boost.
Aftercare & Troubleshooting
Once your cuttings are nestled in their pots, keep the soil consistently moist but never waterlogged. Mist the leaves occasionally if the humidity feels low. You’ll know your cuttings are happy when you start to see new leaf growth emerging. This can take anywhere from 4 to 8 weeks, so patience is key!
If you notice your cuttings looking wilted, yellowing excessively, or developing dark, soft spots, it’s a sign of rot, usually due to too much moisture. In this case, you might need to discard them and try again, ensuring your soil is better draining and you’re not overwatering. Fungus gnats can also be a nuisance; a layer of sand on top of the soil can help deter them.
A Gentle Encouragement
Propagating plants is a journey, and sometimes it has its bumps. Don’t be discouraged if your first attempt isn’t perfectly successful. Each plant, each cutting, is a unique learning experience. Celebrate the small victories, learn from any setbacks, and most importantly, enjoy the magic of creation. Happy gardening!
Resource:
https://identify.plantnet.org/k-world-flora/species/Mabea%20excelsa%20Standl.%20&%20Steyerm./data