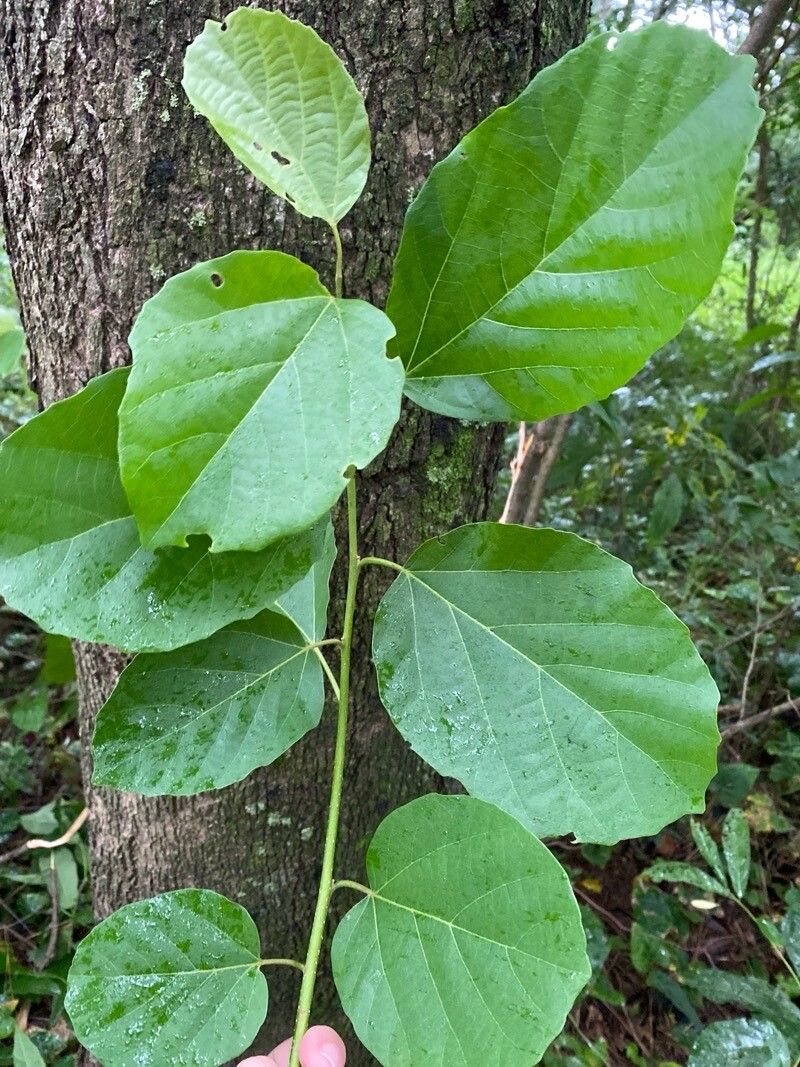
Oh, hello there, fellow plant enthusiast! I’m so glad you’ve stopped by. Today, we’re diving into the wonderful world of Cordia dichotoma, also known affectionately as Sebesten plum or Indian cherry. If you’re looking for a tropical flare in your garden, or even a unique houseplant with fascinating little fruits, you’ve come to the right place. Propagating these beauties is a rewarding journey, and I promise, it’s more accessible than you might think! For beginners, it’s a great plant to get your hands dirty with, offering a good chance of success with a little guidance.
The Best Time to Start
For the absolute best success rate with Cordia dichotoma, I find that late spring or early summer is your golden window. This is when the plant is actively growing and full of vigor. You’ll want to take cuttings from healthy, new, semi-hardwood growth. Think of it as taking a piece of the plant when it’s feeling its most energetic and ready to put on a show.
Supplies You’ll Need
Before we get too excited, let’s gather our tools. You won’t need a whole professional setup here, just a few essentials:
- Sharp pruning shears or a clean, sharp knife: For making clean cuts.
- Rooting hormone (powder or gel): This is a helpful boost to encourage root development. I usually opt for a powder.
- A well-draining potting mix: A blend of perlite, peat moss, and a bit of compost works wonders. You can also find specific seedling or cutting mixes that are excellent.
- Small pots or seed trays: Clean ones are crucial to prevent disease.
- A clear plastic bag or dome: To create a mini-greenhouse.
- Water spray bottle: For keeping things humid.
- Optional: A heat mat: This can significantly speed up root formation, especially if your propagation area is a bit cool.
Propagation Methods
Let’s get down to business! The most reliable way I’ve found to grow more Cordia dichotoma is through stem cuttings.
- Select your cutting: Look for stems that are pencil-thick and have started to firm up, but aren’t woody. You’re aiming for semi-hardwood. Pinching off a length of about 4-6 inches is usually perfect. Make sure your cutting has at least two or three sets of leaves.
- Prepare the cutting: Using your clean shears, make a clean cut just below a leaf node. This is where roots are most likely to form. Gently remove the leaves from the bottom half of the cutting.
- Dip in hormone: Moisten the cut end of your stem with a little water, then dip it into your rooting hormone. Tap off any excess. We want a light coating.
- Plant your cutting: Fill your small pots with the well-draining mix. Make a small hole in the center with your finger or a pencil. Carefully insert the cut end of your Cordia cutting into the hole, ensuring it’s firm enough to stand upright. Gently firm the soil around the base.
- Create a humid environment: Water the soil lightly. Then, cover the pot with a clear plastic bag or a propagation dome. This traps moisture and humidity, which is vital for cuttings before they develop roots. If you’re using a bag, you might want to prop it up with a few sticks so it doesn’t touch the leaves.
The “Secret Sauce” (Pro Tips)
Here are a few little tricks I’ve picked up over the years that can really make a difference:
- My absolute go-to is bottom heat. If you have a heat mat, place your pots on it. This gentle warmth encourages root growth from below, mimicking the soil temperature of a tropical environment. It’s a game-changer, especially during cooler months.
- When you’re watering, don’t let the leaves of your cutting sit in standing water inside the humidity dome or bag. This can lead to fungal issues. A gentle misting of the leaves and watering the soil is best.
- After you’ve potted up your cuttings, give them a good indirect light source. Think bright, but not direct scorching sun. A windowsill that gets morning sun is usually ideal.
Aftercare & Troubleshooting
Once your Cordia cuttings have begun to show signs of new growth – tiny leaves unfurling or a bit of upward vigor – it’s a good sign that roots are forming! You can gently tug on the cutting. If you feel resistance, congratulations, you have roots! At this point, you can gradually acclimate your new plant to open air by increasing the ventilation over a few days. Remove the plastic bag for longer and longer periods.
Keep the soil consistently moist, but not soggy. Overwatering is the most common culprit for failure. Watch out for drooping or yellowing leaves. This can be a sign of too much or too little water, or sometimes, unfortunately, the cutting just didn’t take. If you see blackening or mushy stems at the soil line, that’s a clear indicator of rot, usually due to too much moisture. In that case, it’s best to discard the affected cutting and try again.
A Encouraging Closing
Propagating plants is an exercise in patience and observation. Don’t get discouraged if your first few attempts aren’t perfect. Every gardener has had their share of cuttings that didn’t make it! Celebrate the successes, learn from the challenges, and most importantly, enjoy the process of bringing new life into your garden. Happy propagating!
Resource:
https://identify.plantnet.org/k-world-flora/species/Cordia%20dichotoma%20G.Forst./data