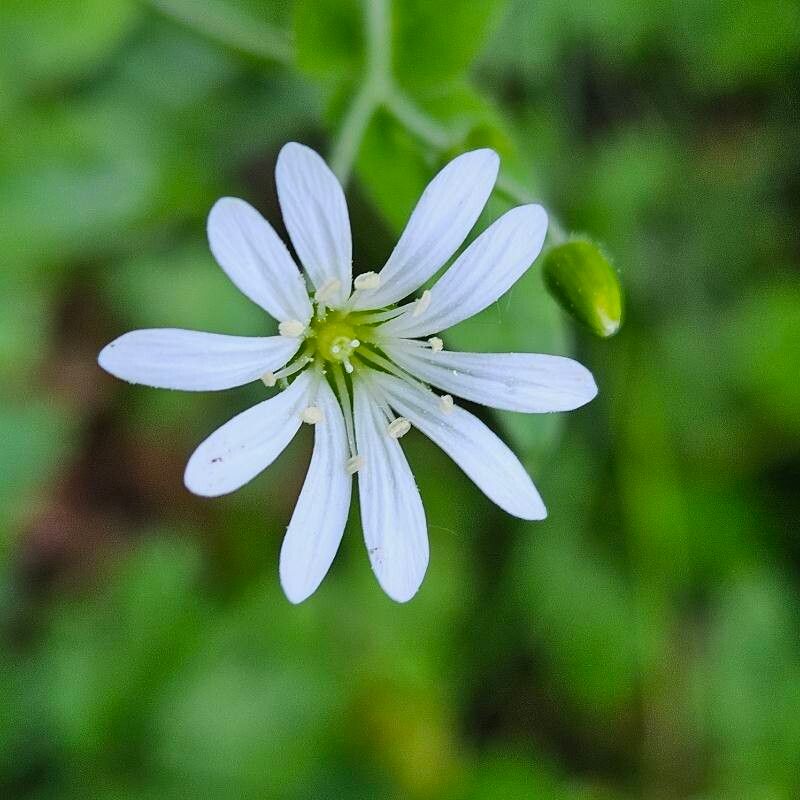
Hello, fellow plant lovers! Today, we’re diving into the delightful world of Stellaria nemorum, also charmingly known as Wood Strawberry or Meadow Chickweed. If you’re drawn to its delicate white flowers and its lovely, creeping habit, you’re in for a treat. Propagating this little gem is a truly rewarding experience, and I’m happy to say it’s generally quite easy, making it a fantastic choice for beginners looking to expand their garden without breaking the bank. Watching a tiny cutting transform into a thriving new plant? Pure magic!
The Best Time to Start
For the highest success rate, I find that late spring to early summer is the sweet spot for propagating Stellaria nemorum. This is when the plant is actively growing, and the stems have a good amount of energy. You’ll be looking for young, non-flowering stems that are still a bit flexible. Trying to propagate in the heat of mid-summer or when the plant is dormant can be a bit more of a challenge.
Supplies You’ll Need
Here’s what you’ll want to have on hand before you get started:
- Sharp pruning shears or clean scissors: Essential for making clean cuts.
- Potting mix: A light, well-draining mix is key. I like to use a blend of peat moss, perlite, and a bit of compost.
- Small pots or trays: Clean containers are a must. You can recycle old yogurt cups, just make sure to poke some drainage holes.
- Rooting hormone (optional but helpful): For an extra boost, though Stellaria nemorum often roots quite readily without it.
- Plastic bags or a propagation dome: To create a humid environment.
- Water: For misting and watering.
- A dibber or pencil: For making planting holes.
Propagation Methods
Stellaria nemorum is a generous plant, and there are a couple of really straightforward ways to get more of it.
Stem Cuttings
This is my go-to method for Stellaria nemorum. It’s efficient and consistently works well.
- Select your cuttings: Look for healthy stems that have at least two to three sets of leaves. They should be about 4-6 inches long. Gently bend a stem; if it snaps easily, it’s a good candidate.
- Make the cut: Using your sharp shears, make a clean cut just below a leaf node (where a leaf attaches to the stem). This is where roots are most likely to form.
- Prepare the cutting: Remove the lower leaves from the cutting, leaving just the top set or two. This prevents them from rotting in the soil.
- Apply rooting hormone (if using): Dip the cut end of the stem into your rooting hormone, tapping off any excess.
- Plant your cuttings: Moisten your potting mix. Use your dibber or pencil to make a hole in the soil. Insert the cutting into the hole, ensuring the leaf nodes are buried. Gently firm the soil around the stem.
- Water and cover: Water the pot thoroughly but gently. To create the necessary humidity, cover the pot with a plastic bag or a propagation dome. Make sure the leaves aren’t directly touching the plastic if possible.
Division
This is a wonderful way to propagate when you have a mature clump that’s looking a bit crowded.
- Gently dig up your plant: In late spring or early fall, carefully excavate the entire Stellaria nemorum clump from the ground.
- Identify divisions: You’ll see that the plant has formed multiple rosettes connected by runners. You can often gently pull these apart with your hands. If they’re stubborn, use a clean trowel or knife to separate them.
- Plant the divisions: Replant each division immediately in its new location or in a pot with fresh potting mix. Make sure the crown (where the leaves emerge) is at soil level. Water them in well.
The “Secret Sauce”
Here are a couple of little tricks I swear by:
- Don’t be afraid of runners! Stellaria nemorum readily produces runners that will naturally root themselves. You can actually pin these rooted runners down to the soil with a short piece of wire or a small stone. Once they’ve established a good root system, you can just snip the runner from the parent plant. It’s nature’s perfect propagation system!
- Think “tropical” for rooting: While not strictly necessary for Stellaria, providing a little bottom heat can significantly speed up root formation, especially if you’re doing cuttings in cooler weather. A heating mat designed for seedlings is perfect for this. It tricks the plant into thinking it’s time to grow roots.
Aftercare & Troubleshooting
Once your cuttings or divisions are planted, the real anticipation begins!
- Keep it humid: Continue to ensure the environment is mist-filled and humid. Ventilate occasionally to prevent fungal issues.
- Bright, indirect light: Place your newly potted plants in a spot that receives bright, indirect light. Direct sun can scorch tender new growth.
- Check for roots: After a few weeks, gently tug on a cutting. If you feel resistance, you’ve got roots! You can also look for new leaf growth as a sign of success.
- Watering: Water when the top inch of soil feels dry. Avoid overwatering, as this is the quickest route to root rot.
- Signs of trouble: The most common issue is rot. If your cuttings turn black and mushy, it’s usually a sign of too much moisture and not enough airflow or draining soil. Yellowing leaves can sometimes indicate overwatering or too much direct sun. Don’t despair; just try again!
A Little Patience Goes a Long Way
Propagating plants is a journey, and Stellaria nemorum is a wonderfully forgiving companion on that path. Be patient, enjoy the process of nurturing these new little lives, and soon you’ll have delightful carpets of green and white flowers to share or simply admire. Happy growing!
Resource:
https://identify.plantnet.org/k-world-flora/species/Stellaria%20nemorum%20L./data