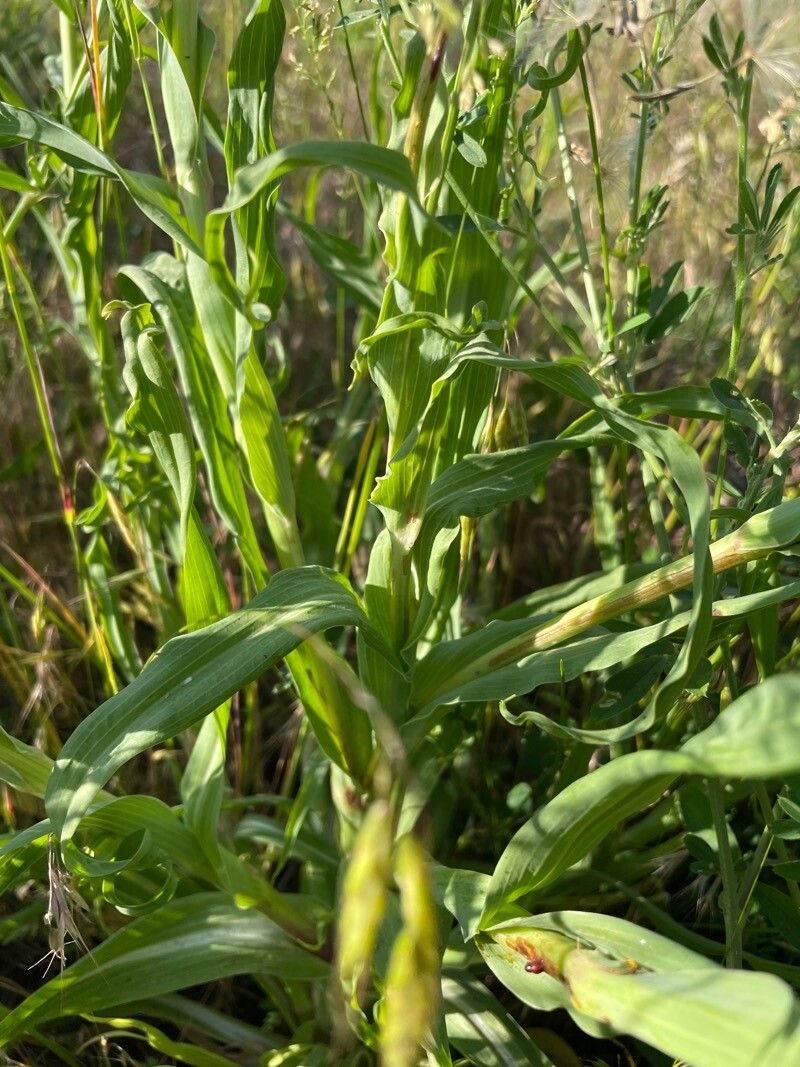
Hello, fellow plant lovers! It’s so good to have you here in my little corner of the internet, where we can chat about all things green and growing. Today, we’re diving into the wonderful world of Tragopogon dasyrhynchus, commonly known as the Goatsbeard or Salsify.
Why Propagate Tragopogon?
There’s something truly special about coaxing a new plant into existence from a bit of what you already have. Tragopogon dasyrhynchus is a garden gem with its charming, dainty flowers and feathery seed heads that add delightful texture to the landscape. Propagating it not only allows you to expand your Salsify patch but also offers a deep sense of accomplishment. For beginners, I’d say Tragopogon dasyrhynchus is a moderately easy plant to propagate, especially from seed. Cuttings can be a tad more nuanced, but we’ll get there together!
The Best Time to Start
The absolute best time to get your hands dirty with Tragopogon dasyrhynchus is when the parent plant is actively growing and mature. For most regions, this means late spring into early summer. If you’re looking to go the seed route, collecting seeds as soon as they are ripe in late summer or early fall is key. Conversely, if you’re trying vegetative propagation, like division, you’ll want to do this in early spring just as new growth begins to emerge, or in early autumn after the heat of summer has passed.
Supplies You’ll Need
To set yourself up for success, gather these handy items:
- Sharp, clean pruning shears or a sharp knife: For making clean cuts.
- Well-draining potting mix: A peat-based mix with added perlite or coarse sand works wonders.
- Small pots or trays: With drainage holes, of course!
- Rooting hormone (optional, but helpful for cuttings): A powder or gel.
- Watering can or spray bottle: For gentle watering.
- Labels and a marker: To keep track of what’s what!
- A small trowel: For handling soil.
Propagation Methods
Let’s explore how you can grow more of these beauties.
Method 1: From Seed
This is hands-down the easiest way to propagate Tragopogon dasyrhynchus.
- Harvest Seeds: Wait for the fluffy, white seed heads to form after the flowers have faded. They look like little white dandelions. Gently pluck the mature seed heads before the wind carries them away.
- Dry and Store: If you’re not sowing immediately, gently rub the seeds out of the fluffy pappus. Store them in a dry, cool, and dark place in a paper envelope or small container.
- Sowing: You can sow seeds directly into the garden in autumn for germination the following spring. Or, start them indoors in late winter or early spring. Fill your pots with the potting mix. Sow seeds about ¼ inch deep.
- Watering: Water gently to moisten the soil.
- Germination: Keep the soil consistently moist but not waterlogged. Seeds can take anywhere from 1 to 4 weeks to germinate.
Method 2: Division
This method is best done when the plant is dormant or just beginning to wake up.
- Excavate Carefully: In early spring or early autumn, gently dig around the base of the established Tragopogon plant. Try to lift the entire root ball.
- Separate the Roots: You’ll likely see multiple crowns or distinct sections. Using your hands or a clean trowel, gently tease apart the root sections. If it’s stubborn, a clean knife or spade can be used, but be as gentle as possible.
- Replant: Immediately replant the divided sections into their new locations. Make sure the crown is at soil level.
- Water Well: Water thoroughly after replanting.
Method 3: Stem Cuttings (More Advanced)
While not as common for Tragopogon as seeds or division, it can be attempted.
- Take Cuttings: In late spring or early summer, select healthy, non-flowering stems. Using your clean shears, cut stems about 4-6 inches long, just below a leaf node.
- Prepare Cuttings: Remove the lower leaves, leaving only the top few. If the stem is particularly thick, you can make a shallow slit at the bottom of the cutting to expose more rooting surface.
- Apply Rooting Hormone: Dip the cut end of the stem into rooting hormone, tapping off any excess.
- Plant Cuttings: Firmly insert the treated end of each cutting into pots filled with your well-draining potting mix.
- Water and Cover: Water gently and then cover the pots with a clear plastic bag or a propagation dome to maintain high humidity.
The “Secret Sauce” (Pro Tips)
Now for a few little tricks I’ve picked up over the years.
- Don’t Overcrowd Your Cuttings: When planting stem cuttings, give them a little personal space. Overcrowding can lead to increased humidity and potential fungal issues. Aim for at least an inch or two between each cutting.
- Bottom Heat is Your Friend for Cuttings: If you’re doing stem cuttings, placing them on a heat mat can significantly speed up root development. It mimics the warmth of spring soil and encourages those roots to get going.
- Harness the Power of Patience with Seedlings: For both seed-started and divided plants, be patient! Don’t be tempted to push them too hard too soon. Let them establish themselves before you worry about them looking like a mature plant.
Aftercare & Troubleshooting
Once those little roots start to form, it’s time for gentle care.
- For Seedlings: Once the seedlings are a few inches tall and have a couple of sets of true leaves, you can transplant them into individual pots if they were started in trays. Gradually acclimate them to outdoor conditions if they were started indoors. Water regularly, keeping the soil consistently moist but not soggy.
- For Divisions: Continue to water divisions regularly for the first few weeks, especially if the weather is dry. They might look a little shocked initially, but that’s normal.
- For Cuttings: Once you see new leaf growth, it’s a good sign that roots are forming! You can gently tug on a cutting to feel for resistance; if it pulls away easily, it hasn’t rooted yet. Once rooted, carefully remove the plastic cover and water as you would a seedling.
Troubleshooting: The most common issue you’ll encounter is rot, which usually stems from overwatering and poor drainage. If you see stems turning mushy or black, it’s a sign of too much moisture. Let the soil dry out a bit more between waterings. For seeds, a fuzzy white mold can sometimes appear – this is damping off, and it’s often caused by cool, overly wet conditions. Improve air circulation and ensure good drainage.
Keep Growing!
Propagating Tragopogon dasyrhynchus is a truly rewarding journey. Whether you’re sowing seeds, dividing established clumps, or bravely attempting cuttings, remember that every gardener has had their share of experiments that didn’t quite work out. The beauty is in the trying, the learning, and the joy of seeing that first tiny new leaf unfurl. So, grab your tools, find a sunny spot, and enjoy the process. Happy gardening!
Resource:
https://identify.plantnet.org/k-world-flora/species/Tragopogon%20dasyrhynchus%20Artemczuk/data