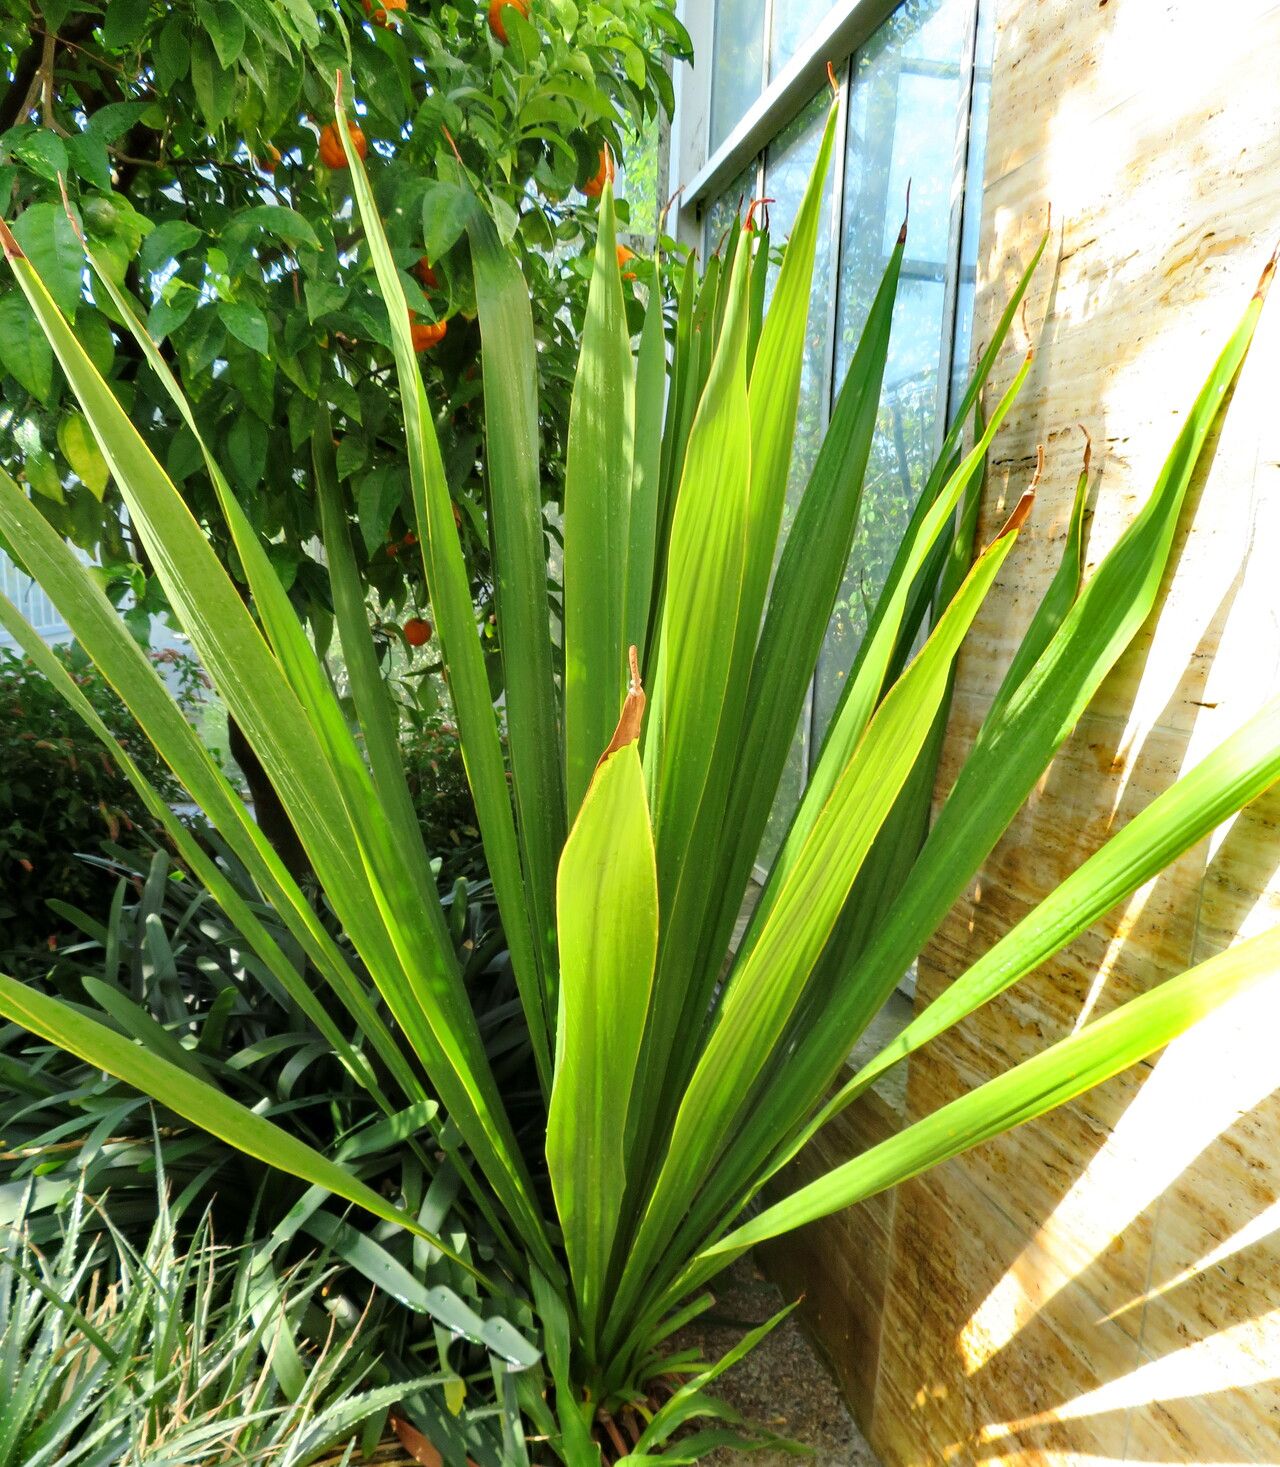
Oh, Doryanthes palmeri! If you’ve ever seen one of these magnificent plants in full bloom, you know the sheer drama it brings to a garden. With its towering flower spikes, tipped with a burst of crimson blossoms, and those long, arching leaves that create a wonderful architectural statement, it’s truly a showstopper. And the best part? You can have more of these beauties! Propagating Doryanthes palmeri opens up a world of possibilities, letting you fill your garden, share with friends, or simply marvel at the miracle of new life. While it might seem a bit daunting at first glance, with a little patience and the right approach, you’ll find it’s quite achievable.
The Best Time to Start
For Doryanthes palmeri, the sweet spot for propagation is typically late spring to early summer. This is when the plant is actively growing and has plenty of energy to put into developing new roots. If you’re looking to divide a mature plant, wait until after it has finished flowering. The plant is usually robust and ready to bounce back at this time.
Supplies You’ll Need
Gathering your supplies before you begin is half the battle won. Here’s what I find most helpful:
- Sharp Pruning Shears or a Clean Knife: For making clean cuts. Sterilize them to prevent disease!
- Well-Draining Potting Mix: A good blend for succulents or cacti works wonders. I like to mix in a good amount of perlite or pumice.
- Rooting Hormone (Optional but Recommended): This can give your cuttings a little boost.
- Small Pots or Seedling Trays: With drainage holes, of course.
- Watering Can with a Fine Rose: For gentle watering.
Propagation Methods
Doryanthes palmeri is best propagated through division. These plants form clumps over time, and gently separating these clumps is the most effective way to create new individuals.
- Prepare Your Parent Plant: Water your Doryanthes palmeri a day or two before you plan to divide it. This helps the soil stay together around the roots, making it easier to handle.
- Gently Extract the Plant: Carefully dig around the base of the plant, using your shovel or spade, and lift the entire clump out of the ground or pot. If it’s in a pot, you might need to gently tap the edges or use a trowel to loosen it from the sides.
- Inspect and Divide: Here’s where you’ll see the magic! Look for sections or offsets that are naturally separating from the main plant. You can often see where new growth is emerging.
- Using Your Hands: For smaller divisions, you might be able to gently pull the clumps apart with your hands. Be patient and work slowly to avoid damaging the roots.
- Using Tools: If the clumps are tightly bound, carefully use your sharp knife or pruning shears to cut through the rhizomes or root structure. Aim for divisions that have some healthy roots and at least one or two healthy leaves.
- Allow to Callus (Optional but Protective): Let the cut surfaces of the divisions air dry for a day or two in a shaded, dry location. This helps the cut end to callus over, which can prevent rot when replanting.
- Potting Up Your New Plants: Fill your small pots with the well-draining potting mix.
- Planting: Dig a small hole in the center of the soil and place your Doryanthes division in it, ensuring the base of the leaves is just at the soil surface. Gently firm the soil around it. If you’re using rooting hormone, dip the cut end into it before planting.
- Watering: Water gently but thoroughly.
The “Secret Sauce” (Pro Tips)
From my years in the garden, I’ve learned a few tricks that can really make a difference:
- Don’t Overcrowd: When you’re dividing, resist the urge to try and get too many tiny pieces. Focus on larger, healthier divisions. They have a much better chance of establishing themselves.
- Think About Airflow: After division and potting, place your new plants in a spot with good air circulation. This is crucial for helping any cuts heal and preventing fungal issues, especially in humid conditions.
- Patience is Key: Doryanthes can be a little slower to establish than some other plants. Don’t panic if you don’t see rapid growth immediately. Give them time to settle in and develop their root system.
Aftercare & Troubleshooting
Once your Doryanthes divisions are potted, provide them with bright, indirect light. Avoid direct, scorching sun for the first few weeks. Water moderately. The soil should be allowed to dry out slightly between waterings. It’s much better to underwater than overwater at this stage.
The most common issue you might encounter is rot. This usually happens if the soil stays too wet for too long, or if the division itself had too much damage. You’ll notice the leaves turning mushy brown or black at the base. If you see this, act quickly. You might be able to salvage a healthy piece from the division, but often, it’s a sign that the plant isn’t going to make it.
A Encouraging Closing
Propagating Doryanthes palmeri is a rewarding journey. It’s about patience, observation, and a little bit of faith in the plant’s ability to thrive. Each new plant you create is a testament to nature’s resilience and your own green thumb. So, get out there, get your hands in the soil, and enjoy the process! You’ll be amazed at what you can grow.
Resource:
https://identify.plantnet.org/k-world-flora/species/Doryanthes%20palmeri%20W.Bull/data