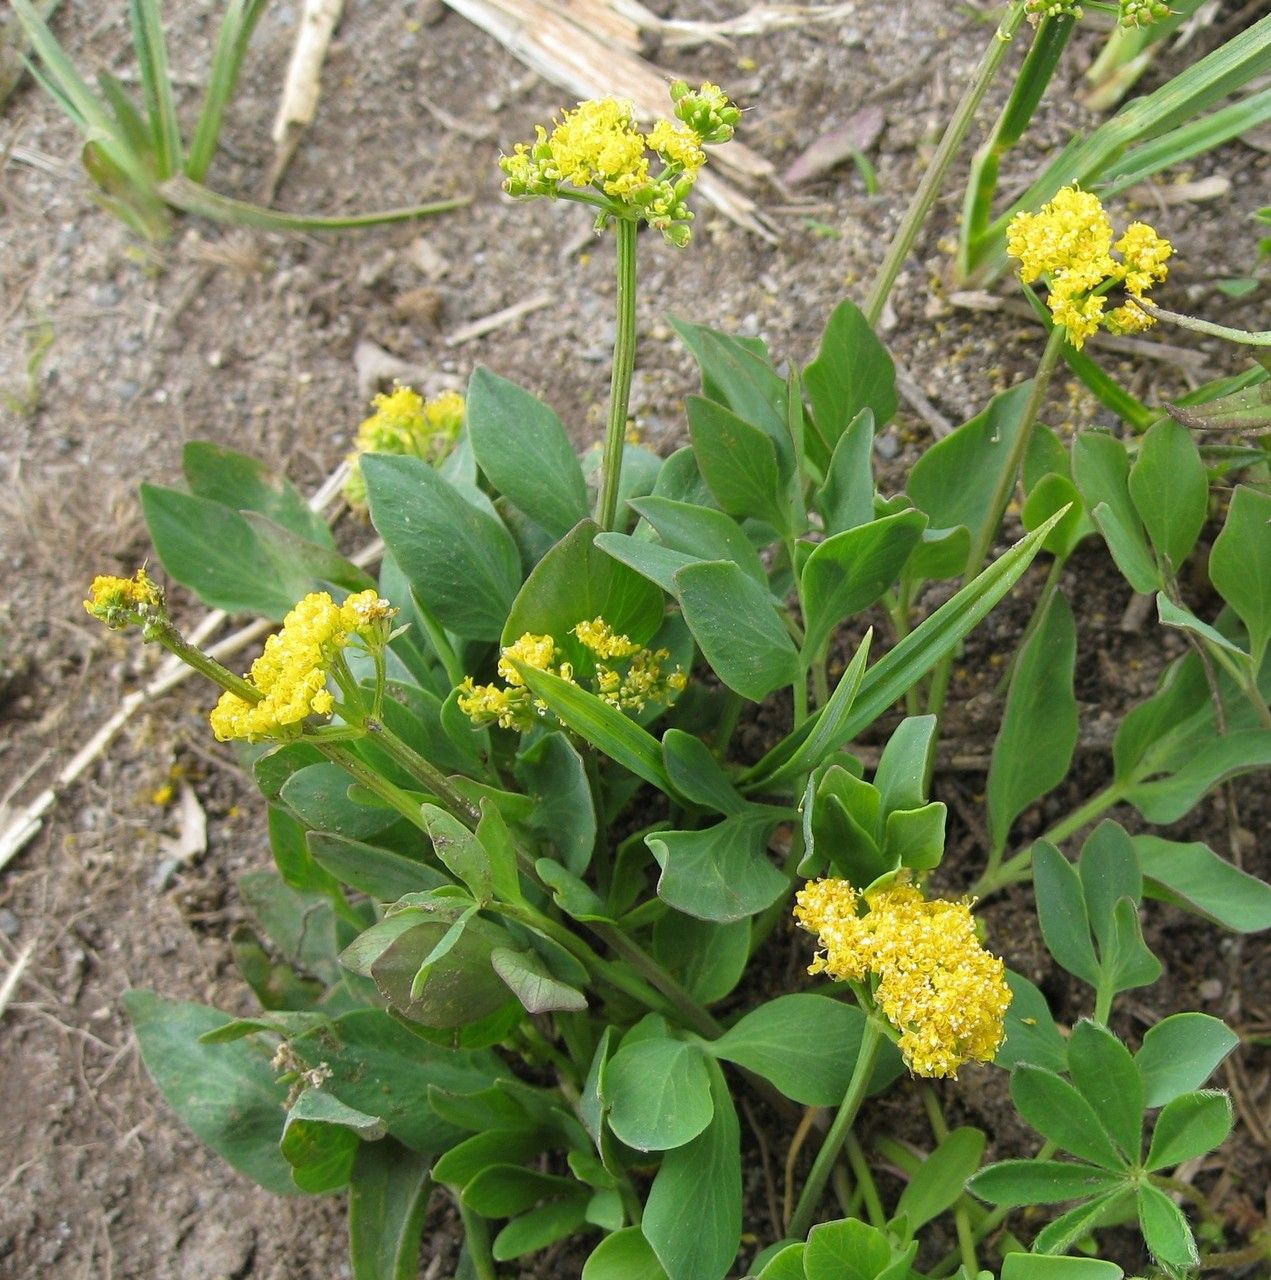
Hello fellow garden enthusiasts! Today, we’re diving into the wonderful world of propagating Tauschia stricklandii, also known as Strickland’s Tauschia. If you’ve ever admired its delicate, airy blooms and unique texture, you’re in for a treat! Sharing this beauty with friends or simply expanding your own collection is incredibly rewarding. Now, for the burning question: is it tricky for beginners? I’d say it’s moderately simple, with a few key steps that make a big difference. Don’t let that deter you; with a little care, you’ll be well on your way to success.
The Best Time to Start
The sweet spot for propagating Tauschia stricklandii is generally in the late spring or early summer. This is when the plant is actively growing and has plenty of energy to put into developing new roots. You want to take cuttings or divide the plant when it’s lush and green, not when it’s stressed from heat or beginning to go dormant.
Supplies You’ll Need
Before we get our hands dirty, let’s gather our essentials:
- Sharp Pruning Shears or a Clean Knife: For making clean cuts that heal well.
- Rooting Hormone (Optional but Recommended): A powder or gel to encourage root development. Look for one containing IBA.
- Well-Draining Potting Mix: A good blend would be 50% peat moss or coco coir and 50% perlite or coarse sand. This is crucial to prevent waterlogging.
- Small Pots or Trays: With drainage holes, of course!
- Watering Can or Spray Bottle: For gentle watering.
- Clear Plastic Bags or Domes: To create a humid environment for cuttings.
- Labels and a Marker: To keep track of your new recruits!
Propagation Methods
Let’s explore the most reliable ways to bring more Tauschia stricklandii into your garden.
Stem Cuttings
This is my go-to method for many plants, and Tauschia stricklandii does quite well with it.
- Take Your Cuttings: In late spring or early summer, select healthy, non-flowering stems. Using your sharp shears, cut a piece about 4-6 inches long. Make the cut just below a leaf node (where a leaf attaches to the stem).
- Prepare the Cuttings: Gently remove the lower leaves from the cutting, leaving just a couple of leaves at the top. This helps prevent rot. If you’re using rooting hormone, dip the cut end into the powder or gel, tapping off any excess.
- Plant the Cuttings: Fill your small pots with your well-draining potting mix. Make a small hole with your finger or a pencil and insert the cut end of the stem about an inch deep. Gently firm the soil around it.
- Create Humidity: Water the soil lightly. Then, cover the pot with a clear plastic bag or a propagator lid. This traps moisture and creates the humid environment cuttings need.
Division
If you have a mature clump of Tauschia stricklandii, dividing it is a straightforward way to get new plants.
- Prepare the Plant: Water the parent plant thoroughly a day or two before you plan to divide it. This helps reduce transplant shock.
- Gently Excavate: Carefully dig up the entire clump. You can use a garden fork for this.
- Separate the Divisions: Gently tease apart the root ball with your hands. If it’s very dense, you might need to use a clean, sharp knife to help separate sections, ensuring each division has plenty of healthy roots and a few stems.
- Replant Immediately: Pot up the divisions into new pots filled with your well-draining mix, or replant them directly into your garden beds, spaced appropriately. Water them in well.
The “Secret Sauce” (Pro Tips)
Here are a couple of things I’ve learned over the years that really give your propagation efforts a boost:
- Don’t Let Those Leaves Touch the Water (for water propagation): While I’m focusing on soil here, if you ever try water propagation with other plants, never let the leaves sit in the water. They’ll rot faster than you can say “root-y tooty”! For soil cuttings, this advice translates to ensuring you’ve removed lower leaves thoroughly.
- Bottom Heat is Your Friend: For stem cuttings, placing the pots on a heated propagator mat can significantly speed up root formation. It mimics the warmth of spring soil and gives those tiny root cells a welcoming environment to grow. You can usually find these online or at garden centers.
Aftercare & Troubleshooting
Once your cuttings have rooted (you can gently tug on them; if there’s resistance, they’ve got roots!), or your divisions are planted, it’s time for continued care.
- Acclimate Gradually: If you used a plastic bag, slowly start to open the bag a little each day for about a week before removing it completely. This allows the new plant to adjust to normal humidity levels.
- Water Wisely: Keep the soil consistently moist but not waterlogged. Overwatering is the fastest way to invite problems.
- Light Requirements: Place your new plants in a location with bright, indirect light. Avoid harsh, direct sun, which can scorch delicate new growth.
Troubleshooting: The most common issue you’ll encounter is rot. If your cutting turns mushy and black, it’s likely rotted. This is usually due to too much moisture and not enough air circulation. Ensure your soil is well-draining and that you’re not overwatering. Stunted growth or wilting can also occur, often linked to insufficient light or poor root development. Be patient; sometimes they just need a little time to get established.
A Encouraging Closing
Propagating Tauschia stricklandii is a journey, not a race. Embrace the learning process, enjoy the satisfaction of nurturing new life, and don’t get discouraged if every single cutting doesn’t succeed. With a little practice and these tips, you’ll soon have a garden brimming with these lovely blooms. Happy propagating!
Resource: