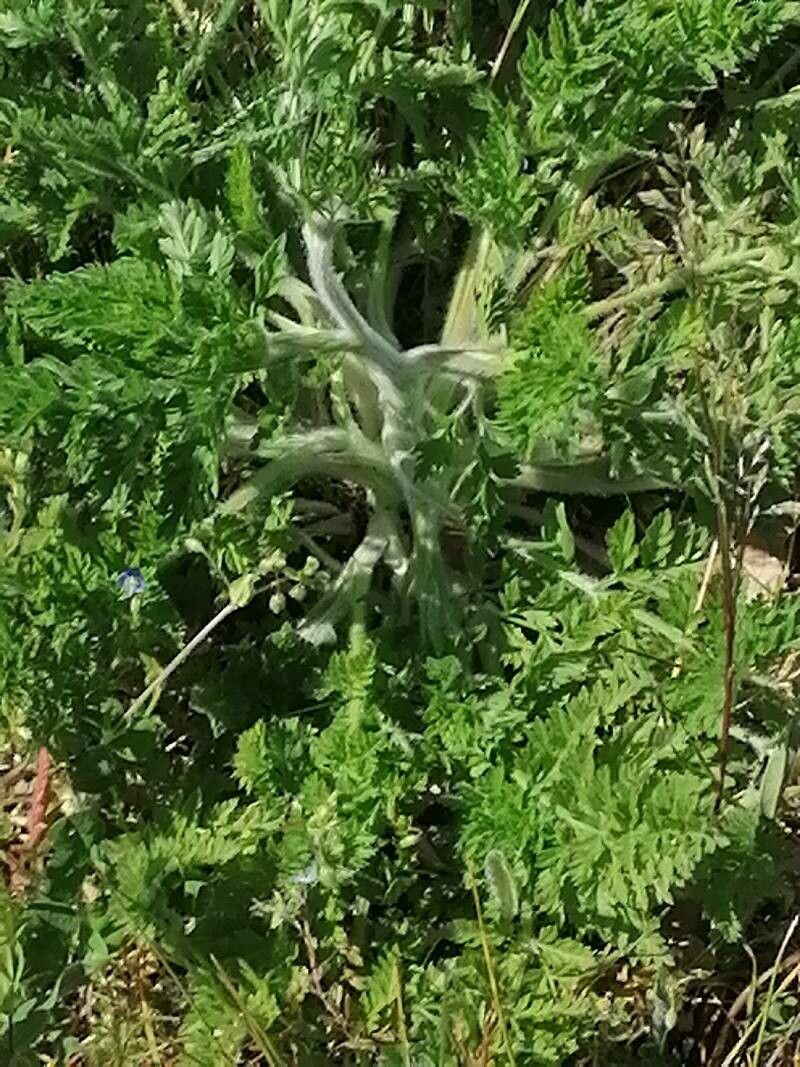
Hello fellow plant lovers! Today, we’re diving into the delightful world of Hymenopappus artemisiifolius, often called annual woollywhite or goldenheads. If you’ve ever admired its delicate, fern-like foliage and charming little white flowers that seem to glow in the garden, you’re in for a treat. Propagating these beauties is a wonderfully rewarding way to fill your garden beds or share their sunny disposition with friends. I’d say they’re moderately easy to propagate, especially from seed, which is where we’ll likely focus our efforts. But don’t let that “moderate” scare you; with a little patience and the right approach, you’ll be a Hymenopappus pro in no time!
The Best Time to Start
For Hymenopappus artemisiifolius, the most successful propagation is usually done from seed. The ideal time to sow these seeds is early spring, just as the last frost is about to pass, or even a few weeks before your last expected frost date indoors. This mimics its natural germination cycle and gives the young plants a good, long growing season to establish themselves. If you’re thinking about taking cuttings (which is a bit trickier with this one), aim for late spring or early summer when the plant is actively growing.
Supplies You’ll Need
Gathering your supplies beforehand makes the whole process so much smoother. Here’s what I recommend:
- Good quality seed-starting mix: A light, well-draining mix is crucial. You can buy a commercial one or mix your own with peat moss, perlite, and compost.
- Seed trays or small pots: Clean, small containers work best for starting seeds or cuttings.
- Watering can with a fine rose: Gentle watering is key to avoid disturbing tiny seedlings.
- Rooting hormone (optional, for cuttings): If you’re trying stem cuttings, this can give them a boost.
- Sharp pruning shears or a clean knife: For taking cuttings, if you go that route.
- Labels and a marker: To keep track of what you’ve sown and when!
- A warm location: This could be a sunny windowsill or a heat mat if you’re starting seeds indoors.
Propagation Methods
While Hymenopappus artemisiifolius isn’t the most enthusiastic plant for stem cuttings, seed propagation is your go-to.
Seed Starting (The Easiest & Most Rewarding Way):
- Prepare your trays: Fill your seed trays or pots with your pre-moistened seed-starting mix. Gently firm it down, but don’t compact it too much.
- Sow the seeds: Hymenopappus seeds are quite small. You can sow them directly on the surface of the soil. I like to sow about 2-3 seeds per cell or small pot, just in case some don’t germinate.
- Lightly cover: A very thin layer of your seed-starting mix (about 1/8 inch) is all they need. You can also gently press them into the surface.
- Water gently: Use your fine-rose watering can to lightly water the surface. You want the soil to be moist, not soggy.
- Provide warmth and light: Place your trays in a warm spot. A temperature of 70-75°F (21-24°C) is ideal for germination. Once seeds sprout, they’ll need bright light. A south-facing window or grow lights about 2-4 inches above the seedlings are perfect.
- Be patient: Germination can take anywhere from 7 to 21 days. Don’t give up too soon!
- Thinning: Once seedlings have a couple of sets of true leaves, thin them out to the strongest one per cell or pot. This gives the remaining seedling plenty of room to grow.
Stem Cuttings (A Bit More Challenging):
- Take cuttings: In late spring or early summer, choose a healthy, non-flowering stem. Using sharp shears, cut a piece about 4-6 inches long. Remove the lower leaves, leaving just a few at the top.
- Apply rooting hormone (optional): Dip the cut end into rooting hormone for a better chance of success.
- Plant them: Insert the cut end into a small pot filled with a well-draining mix, like perlite and vermiculite.
- Keep them moist and humid: Water gently and consider covering the pot with a plastic bag or placing it in a propagator to maintain high humidity.
- Provide bottom heat: This is where a gentle warmth from below can really make a difference.
The “Secret Sauce” (Pro Tips)
Here are a couple of tricks I’ve learned over the years that can really help your Hymenopappus get going:
- Don’t bury those seeds too deep! Hymenopappus seeds generally need light to germinate. A super-thin dusting of soil is all they need to get started. Too deep, and they can struggle to push their way to the surface.
- Bottom heat is your friend for cuttings. If you’re trying stem cuttings, placing your pots on a seedling heat mat set to a moderate temperature (around 70°F or 21°C) can significantly speed up root development and prevent the cutting from rotting.
Aftercare & Troubleshooting
Once your seeds have germinated and developed a few sets of true leaves, or your cuttings have rooted (you’ll know by a gentle tug offering resistance), it’s time for a bit more care.
- Transplanting: When seedlings are about 2-3 inches tall and have a good root system, they can be transplanted into larger pots or directly into your garden. Harden them off first by gradually exposing them to outdoor conditions over a week.
- Watering: Water regularly, especially during dry spells, but always allow the soil to dry out slightly between waterings. Good drainage is key.
- Sunlight: Continue to provide them with plenty of full sun.
- Troubleshooting: The most common issue you might encounter is damping off, a fungal disease that causes seedlings to rot at the soil line. This is usually due to overwatering and poor air circulation. Ensure good air movement around your seedlings and avoid soggy soil. If cuttings fail to root, it might be too cold, too wet, or they just weren’t ready. Don’t be discouraged; just try again!
And there you have it! Growing Hymenopappus from seed is a straightforward joy. Be patient, enjoy the process of watching those tiny seeds transform into lovely plants, and soon your garden will be dotted with their cheerful, woolly white blooms. Happy gardening!
Resource:
https://identify.plantnet.org/k-world-flora/species/Hymenopappus%20artemisiifolius%20DC./data