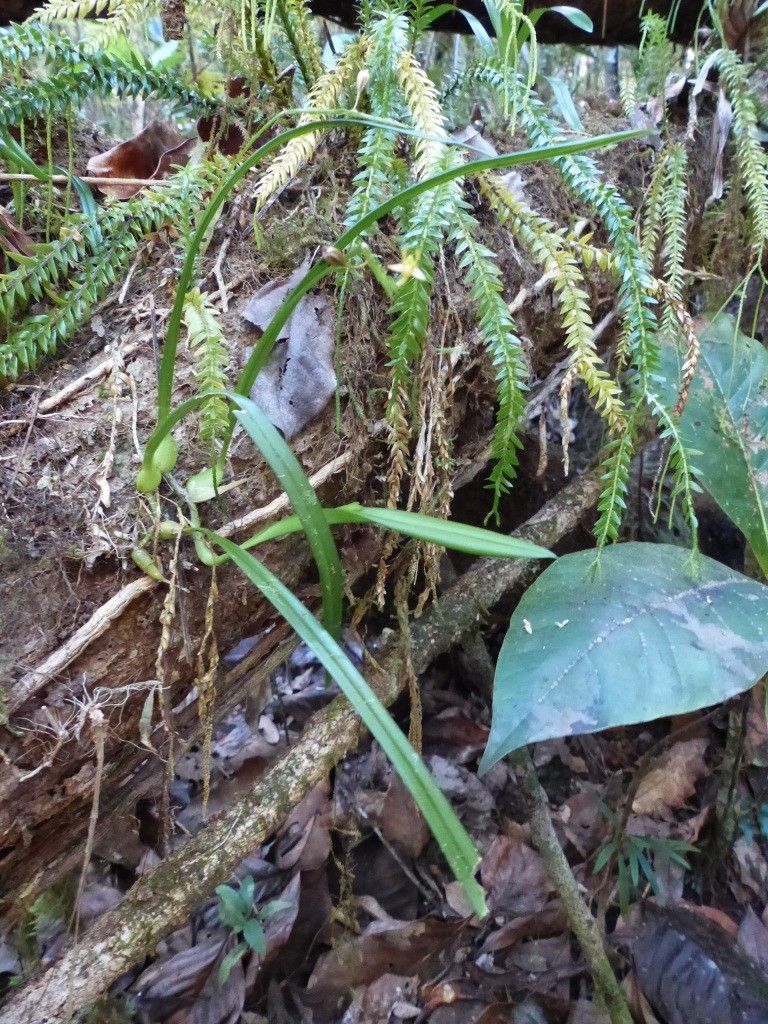
Well hello there, fellow plant enthusiast! Today, we’re diving into the delightful world of Phreatia paleata, a charming little orchid that’s been a quiet favorite in my collection for years. If you’re looking for an orchid that offers delicate beauty without demanding a whole master’s degree in orchid care, you’ll love this one. Propagating Phreatia paleata is like uncovering a hidden treasure – it feels so special to nurture a new life from a piece of something you already cherish. While it’s not quite as straightforward as, say, snapping off a piece of spider plant, it’s certainly achievable and incredibly rewarding, even for those of you just dipping your toes into orchid propagation.
The Best Time to Start
My experience tells me the sweet spot for propagating Phreatia paleata is when the plant is actively growing. Think of late spring or early summer. The days are getting longer, and your established plant will have plenty of energy to spare. You want to catch it before it starts to slow down for its resting period. This vigorous growth phase is when the plant is most receptive to taking cuttings and has the best chance of forming healthy roots.
Supplies You’ll Need
Before we get our hands dirty, let’s gather our tools. A little preparation goes a long way!
- Sharp Pruning Shears or a Clean Knife: Sterilize them with rubbing alcohol. This is non-negotiable to prevent disease.
- Orchid Bark Mix: A fine to medium grade is usually best for Phreatia. You can also use a blend of orchid bark, perlite, and a bit of sphagnum moss.
- Small Pots or Net Pots: Whatever you choose, make sure it has good drainage.
- Sphagnum Moss: Long-fibered sphagnum is excellent for retaining moisture.
- Rooting Hormone (Optional but helpful): A powder or gel can give cuttings a gentle nudge.
- Spray Bottle: For misting.
- Clear Plastic Bag or Humidity Dome: To create a mini-greenhouse.
Propagation Methods
Phreatia paleata is most commonly propagated by division. This is my go-to method because it’s gentle on the mother plant and usually offers the best success rate.
Division Method:
- Gently Remove: Carefully ease your Phreatia paleata out of its pot. You might need to gently loosen the outer edges of the potting medium.
- Inspect the Roots: Look for natural divisions in the plant. You’re looking for sections that have at least two to three healthy pseudobulbs and a good amount of roots attached.
- Make the Cut: Using your sterilized shears or knife, carefully separate the divisions. Try to keep as much of the root system intact as possible for each new piece. If there are any old, dead roots or decaying leaves, trim them away now.
- Potting Up: Fill your small pots with your moistened orchid bark mix.
- Plant Your Divisions: Place each division into a pot, ensuring the new growths are facing upwards. Bury the roots gently in the mix. Don’t pack it too tightly; we want good airflow.
- Initial Watering: Lightly water the potting medium. You don’t want it soggy, just nicely moist.
The “Secret Sauce” (Pro Tips)
Now, for a couple of little tricks I’ve learned over the years that can really make a difference:
- Patience with New Roots: When you first pot up your divisions, you might not see much activity. Resist the urge to overwater or fuss too much. For the first few weeks, I focus on maintaining consistent humidity rather than heavy watering. The plant needs to establish its root system before it can really start growing new leaves.
- Bottom Heat is Your Friend: While not entirely necessary, placing your newly potted divisions on a seedling heat mat can significantly speed up root development. The gentle warmth encourages those roots to form and extend much faster. Just make sure the mat isn’t too hot – consistently warm, not baked!
Aftercare & Troubleshooting
Once your divisions are potted, it’s time to pamper them a bit. Keep them in a bright spot with indirect light. You’ll want to maintain high humidity, which is why the plastic bag or humidity dome comes in handy. Mist lightly every few days, but allow the potting medium to start drying out between waterings.
The most common sign of trouble is rot. If you see pseudobulbs turning mushy and black, or leaves wilting and yellowing without any new growth appearing, it’s likely due to too much moisture and poor airflow. If you suspect rot, remove the affected part immediately with your sterilized tool and try to repot in drier, fresh medium. Don’t be discouraged if you lose one; it happens to all of us in the gardening world!
A Encouraging Closing
Propagating Phreatia paleata is a journey, not a race. Enjoy the process of nurturing these tiny new plants. Be patient, observe them closely, and celebrate every tiny new root or leaf that appears. Soon, you’ll have more of these delightful orchids to enjoy and share. Happy growing!
Resource:
https://identify.plantnet.org/k-world-flora/species/Phreatia%20paleata%20(Rchb.f.)%20Rchb.f./data