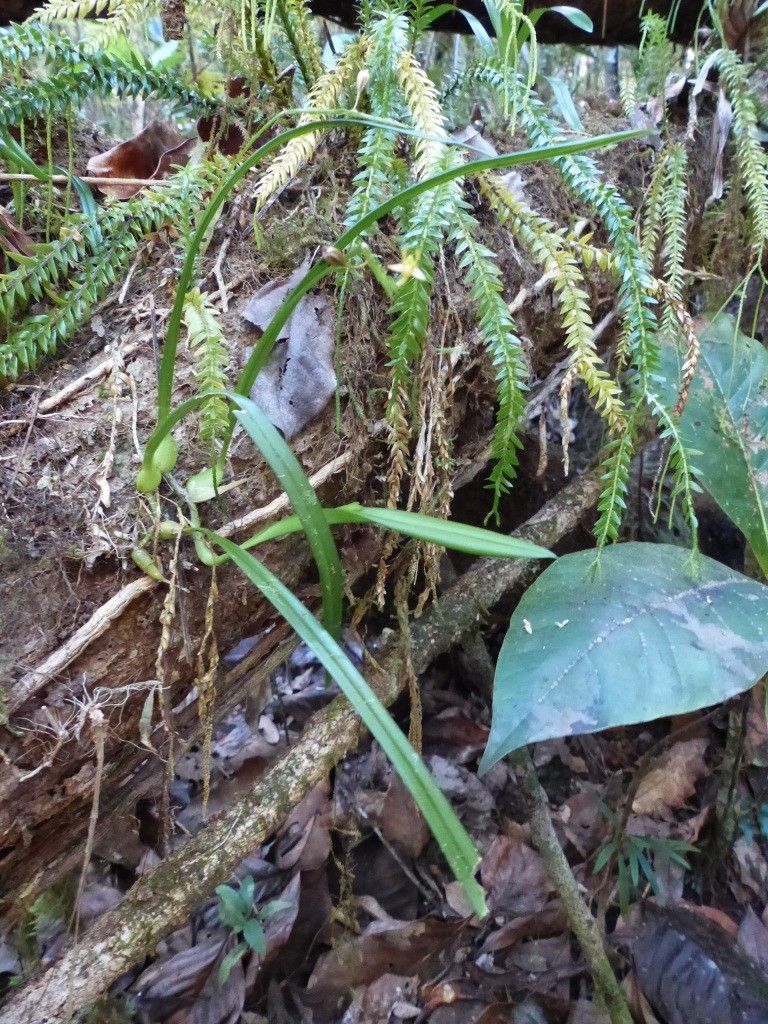
Oh, Phreatia paleata! If you’re looking for an orchid that offers a delicate charm and a bit of an intriguing challenge, you’ve found it. Its slender, arching stems adorned with tiny, unassuming flowers bring such understated elegance to a collection. And propagating these beauties? It’s a truly rewarding experience, a little whisper of success that feels all the more special for the plant’s unique nature. Now, be honest, this isn’t the easiest orchid for absolute beginners, but with a little patience and the right approach, it’s absolutely achievable.
When to Get Your Hands Dirty
The best time to embark on your Phreatia paleata propagation journey is when the plant is actively growing. Think late spring through summer. This is when the plant has plenty of energy to dedicate to developing new roots and shoots. You’ll want to look for plants that aren’t in bloom, as they’ll be channeling their resources into growth rather than flowers.
Your Propagation Toolkit
Here’s what you’ll want to have ready:
- Sharp, sterile pruning shears or a clean knife: Cleanliness is key to preventing disease.
- Fine-grade orchid bark mix: Something airy and well-draining is essential. I often use a mix of fine bark, perlite, and a touch of sphagnum moss.
- Small pots or trays: Clean and with good drainage holes.
- Sphagnum moss: This is your best friend for retaining a bit of humidity.
- Rooting hormone (optional but recommended for cuttings): A little boost can make a big difference.
- Spray bottle: For gentle misting.
- Clear plastic bag or a small propagation dome: To create a humid environment.
Bringing New Life: Methods for Success
Phreatia paleata is typically propagated by division. This is the most straightforward and successful method for this type of orchid.
- Gently remove the plant from its pot. Tip it out carefully.
- Inspect the root system. Look for natural divisions where new growths are emerging. You want to see distinct pseudobulbs (though Phreatia paleata’s are often quite small and stem-like) with their own root system attached.
- Using your sterile shears or knife, carefully separate the divisions. Try to keep as much of the healthy root system intact as possible on each new piece. If there are lots of old, dead roots, gently trim those away.
- Pot each division individually. Use your well-draining orchid mix. Place the division so the base of the pseudobulbs is at or slightly above the surface of the mix.
- Water gently. Avoid waterlogging the new potting medium.
For those adventurous souls, you can sometimes take stem cuttings from older stems that have started to branch, but this is much trickier and less reliable with Phreatia paleata. If you try this, make sure the cutting has at least one node and a few leaves. Place it on the surface of moist sphagnum moss in a humid environment.
My “Secret Sauce” Tips
Here are a couple of things I’ve learned over the years that can really help:
- Don’t bury the crown: Make sure the growing point (where new leaves will emerge) isn’t buried too deep in the potting mix. This is a common cause of rot. A gentle slope upwards from the roots is ideal.
- Embrace humidity, but allow airflow: While you want to create a humid dome for your new divisions, don’t seal it tight. Open it up daily for a few minutes to allow for air circulation. This prevents fungal issues from setting in.
Aftercare and When Things Go Sideways
Once your divisions are potted, place them in a warm spot with bright, indirect light. Mist the potting medium lightly as needed to keep it slightly moist but never soggy. You can also gently mist the leaves, but try to avoid letting water sit in the crown of the leaves for extended periods.
You’ll know your division is happy when you start to see new root growth and, eventually, new leaf development. This can take a few weeks or even months, so patience is key!
The most common sign of a problem is rot. If you see leaves turning yellow and mushy, or the base of the plant looks dark and slimy, it’s likely due to overwatering or poor air circulation. If this happens to a cutting, sadly, it’s often best to discard it and start again. With a division, you might be able to salvage a healthy part if rot hasn’t spread too far.
Go Forth and Grow!
Propagating Phreatia paleata is a journey, not a race. Celebrate the small victories – the first hint of a new root, the unfurling of a new leaf. Enjoy the process, learn from each attempt, and before you know it, you’ll have a whole collection of these delightful little orchids. Happy growing!
Resource:
https://identify.plantnet.org/k-world-flora/species/Phreatia%20paleata%20(Rchb.f.)%20Rchb.f./data