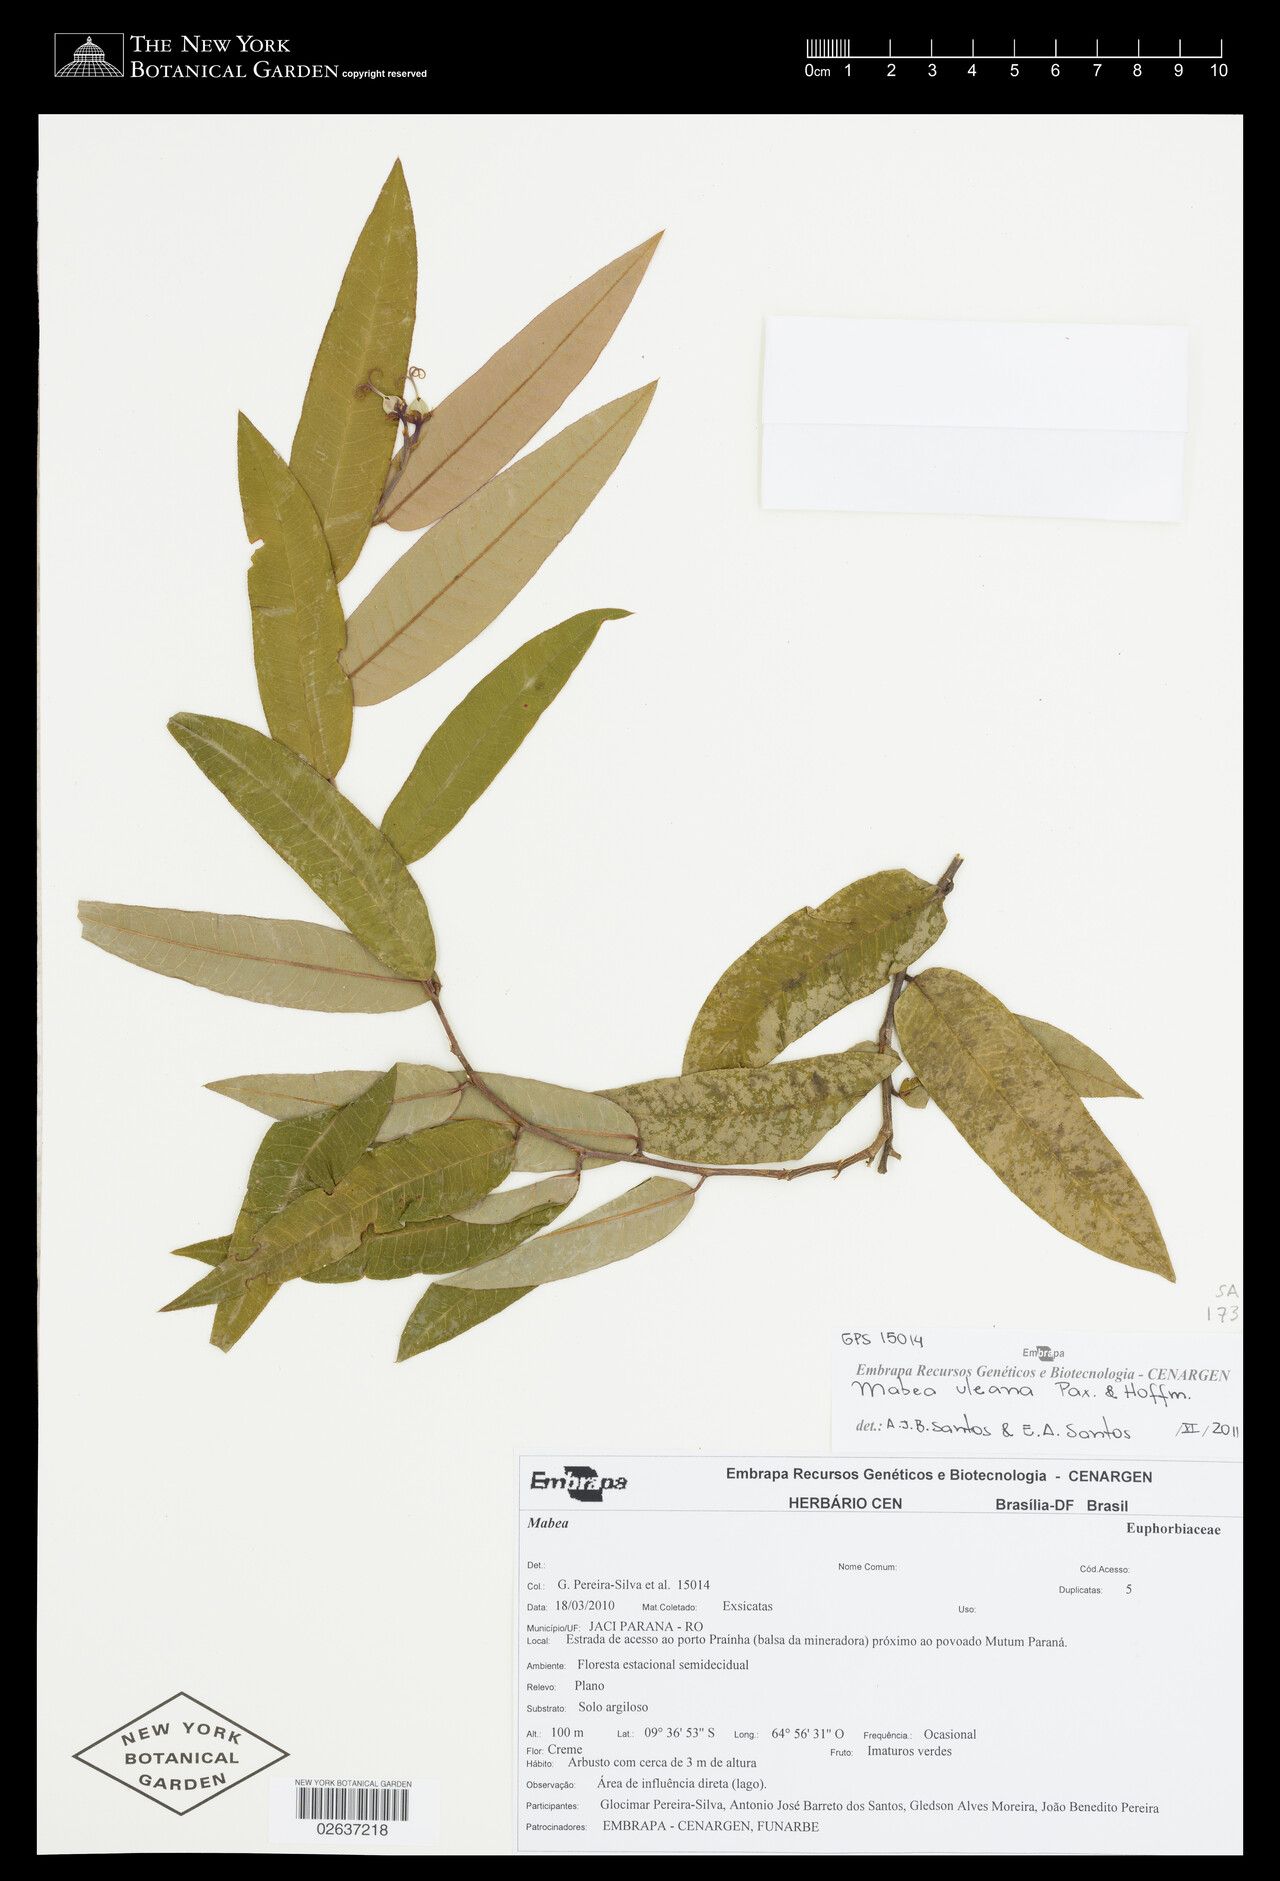
Hey fellow plant lovers! It’s so lovely to have you join me today. We’re going to dive into something really special: propagating Mabea uleana. If you’ve ever seen this striking plant—with its vibrant bracts that can be yellow, red, or pink, resembling delicate flowers—you know it’s a showstopper. Its lush foliage and unique bloom structure make it a real treasure in any garden or conservatory.
Now, about propagation. Is it a walk in the park? For Mabea uleana, I’d say it leans towards being a bit more of an adventure. It’s not an absolute beginner plant, but with a little care and attention, it’s definitely achievable and so incredibly rewarding to see your own little piece of this beauty take hold!
The Best Time to Start
Timing is everything, right? For Mabea uleana, you’ll have the most success when the plant is in its active growth phase. This usually means late spring or early summer. You want to propagate from stems that are healthy and vigorous, but not yet woody. Think of it as working with new, flexible growth.
Supplies You’ll Need
Before we get our hands dirty, let’s gather our tools. Having everything ready will make the process so much smoother. You’ll need:
- Sharp, clean pruning shears or a craft knife: Crucial for making clean cuts to prevent disease.
- Rooting hormone (optional, but recommended): A powder or gel that encourages root development.
- Well-draining potting mix: I like a blend of peat moss, perlite, and a bit of horticultural charcoal. A good starter mix for propagation is ideal.
- Small pots or trays: With drainage holes, of course!
- Clear plastic bags or a propagation dome: To create a humid environment.
- Watering can or spray bottle: For gentle watering.
- Labels and a permanent marker: So you don’t forget what you’ve planted!
Propagation Methods
Mabea uleana is generally propagated through stem cuttings. It’s a tried-and-true method that works beautifully.
-
Taking the Cuttings:
- First, select a healthy stem from your parent plant. Look for a stem that has plenty of leaves and is about 4-6 inches long.
- Using your sharp shears or knife, make a clean cut just below a leaf node. A leaf node is the point on the stem where leaves emerge. This is where the magic happens with rooting.
- Remove the lower leaves from the cutting, leaving just the top 2-3 leaves. If the remaining leaves are very large, you can even cut them in half horizontally. This reduces water loss through transpiration.
-
Preparing the Cuttings:
- If you’re using rooting hormone, dip the cut end of the stem into the powder or gel, tapping off any excess. This step really gives your cuttings a boost.
-
Planting the Cuttings:
- Fill your small pots with your prepared well-draining potting mix.
- Make a hole in the center of the soil with a pencil or your finger.
- Carefully insert the cutting into the hole, ensuring the leaf nodes are below the soil surface. Gently firm the soil around the stem.
-
Creating the Humid Environment:
- Water the soil gently so it’s moist but not soggy.
- Cover the pot with a clear plastic bag, securing it loosely around the rim with a rubber band. Alternatively, use a propagation dome. This creates a mini-greenhouse, retaining humidity for the cuttings.
The “Secret Sauce” (Pro Tips)
Here are a couple of things I’ve learned over the years that really make a difference:
- Bottom Heat is Your Friend: If you have a seedling heat mat, placing your pots on it can significantly speed up root formation. It mimics the warmth of summer soil and encourages those roots to get going.
- Location, Location, Location: Once your cuttings are set up, place them in a bright spot, but out of direct sunlight. Too much sun can scorch the delicate cuttings. A windowsill that gets bright, indirect light is perfect.
Aftercare & Troubleshooting
Keep an eye on your cuttings. The soil should remain consistently moist but not waterlogged. You can check this by gently touching the surface or lifting the pot to feel its weight.
You’ll know your cuttings are rooting when you see new leaf growth or feel a slight resistance when gently tugging on the stem. This can take anywhere from a few weeks to a couple of months.
The most common problem you might encounter is rot. This usually happens when the cuttings are kept too wet or there isn’t enough air circulation. If you see any signs of wilting, blackening at the stem base, or mold, remove the affected cutting immediately to prevent it from spreading. Sometimes, you might just have to accept that not every cutting will make it – it’s part of the gardening adventure!
A Encouraging Closing
Propagating plants is a journey of patience and observation, and Mabea uleana is a wonderful plant to practice with. Don’t get discouraged if your first attempts aren’t perfect. Each cutting, each season, is a learning experience. Savor the quiet moments spent tending to your new little plants. It’s so fulfilling to nurture life and see your collection grow. Happy propagating, my friends!
Resource:
https://identify.plantnet.org/k-world-flora/species/Mabea%20uleana%20Pax%20&%20K.Hoffm./data