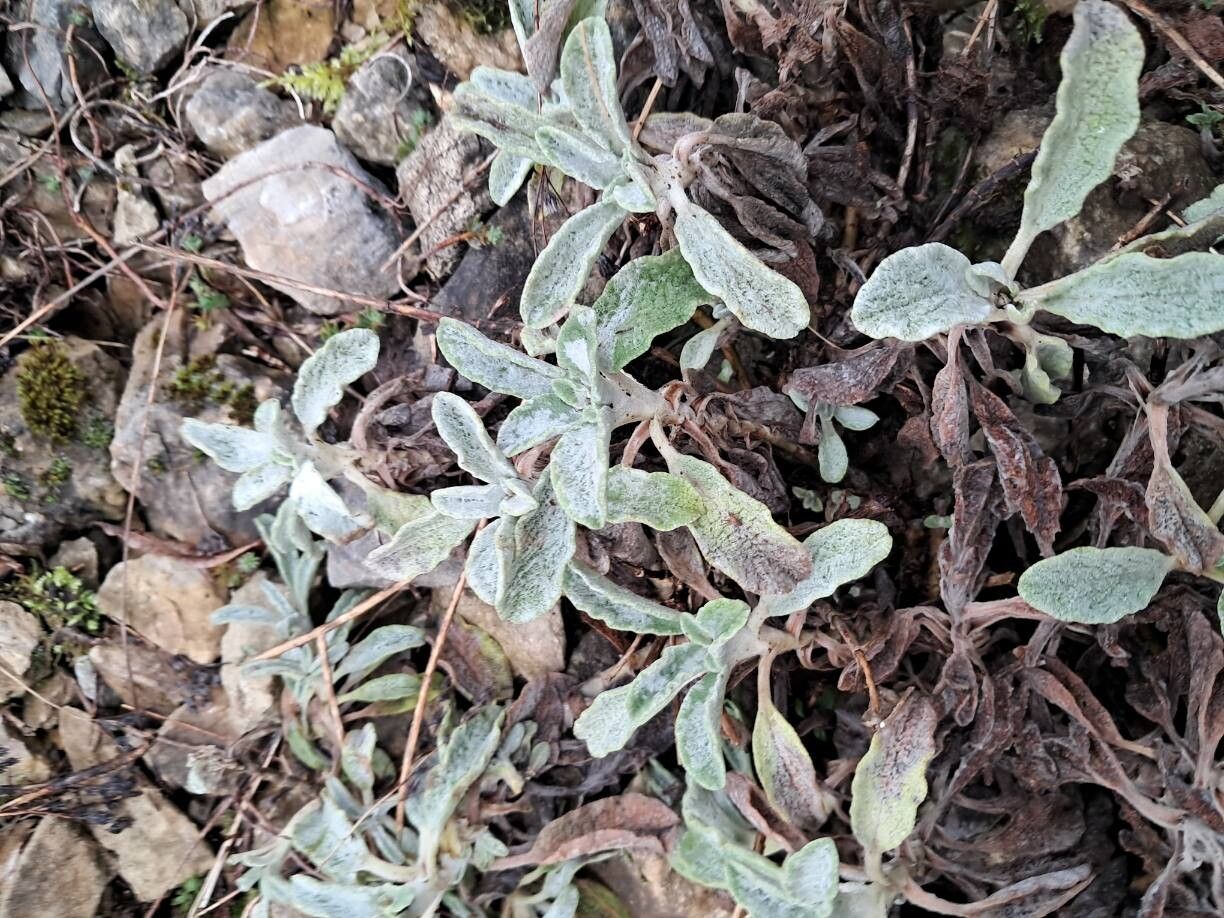
Oh, Sideritis italica! If you’ve ever enjoyed the delightful scent of this Mediterranean gem, with its silvery leaves and charming little white flowers, you’re already in love. I know I am. Beyond its beauty, there’s just something so satisfying about nurturing a new plant into existence from a tiny piece of the parent. It feels like a little bit of magic, doesn’t it? And the good news? While it might seem a touch delicate, propagating Sideritis italica is actually quite achievable, even for those just dipping their toes into the garden world.
The Best Time to Start
For the highest success rate, I like to start my Sideritis italica propagation in late spring or early summer. This is when the plant is actively growing and has plenty of energy to put into rooting. You’re looking for young, vibrant stems that aren’t flowering yet – think of them as eager young shoots ready for adventure.
Supplies You’ll Need
Gathering your tools beforehand makes the whole process much smoother. Here’s what I always have on hand:
- Sharp pruning shears or a clean knife: For making clean cuts.
- Rooting hormone (optional but recommended): A powder or gel to encourage root development.
- Well-draining potting mix: A good blend of peat moss or coco coir with perlite or coarse sand works wonderfully.
- Small pots or seed trays: Cleaned thoroughly.
- A spray bottle: For misting.
- Plastic bags or a propagator lid: To create a humid environment.
- Labels: To keep track of your efforts!
Propagation Methods
Sideritis italica is a champion for stem cuttings. It’s straightforward and usually yields excellent results.
Stem Cuttings:
- Select your cuttings: In late spring or early summer, choose healthy, non-flowering stems from your mature Sideritis italica. Look for stems about 4-6 inches long.
- Make the cut: Using your sharp shears or knife, make a clean cut just below a leaf node (that’s where a leaf joins the stem). This is where roots are most likely to form.
- Prepare the cutting: Gently remove the leaves from the bottom half of the cutting. You want to expose those leaf nodes, as they’ll be buried in the soil. You can prune the remaining leaves in half if they are very large, as this reduces water loss.
- Apply rooting hormone (optional): Dip the cut end of the stem into rooting hormone powder or gel. Tap off any excess.
- Potting up: Fill your small pots with the well-draining potting mix. Make a small hole in the center of the soil with a pencil or your finger.
- Insert the cutting: Gently place the prepared cutting into the hole, ensuring at least two leaf nodes are buried in the soil. Firm the soil around the stem to keep it upright.
- Water and cover: Water the soil until it’s moist but not soggy. Then, place the pot inside a plastic bag or cover it with a propagator lid. This creates a mini greenhouse, keeping humidity high, which is crucial for cuttings.
The “Secret Sauce” (Pro Tips)
Here are a few tricks I’ve learned over the years that seem to give my Sideritis italica cuttings an extra boost:
- Don’t let the leaves touch the water (if water propagating): Although I primarily use soil for Sideritis, if you do try water propagation for a quick check, make sure the lowest leaves are well above the waterline. Leaves submerged will rot, and that’s the fastest way to failure.
- Bottom heat is your friend: If you have a heat mat, placing your pots on it can significantly speed up root development. Sideritis likes it warm, and that gentle bottom heat mimics the soil temperature it craves for rooting.
- Patience, patience, patience: This isn’t a fast-rooting plant like some herbs. Give your cuttings at least 4-6 weeks to establish roots. Resist the urge to tug on them; you’ll know they’re rooted when you see new growth or feel a gentle resistance when you try to move the stem.
Aftercare & Troubleshooting
Once you see those first signs of roots – a bit of new growth at the top or a gentle tug resistance – it’s time to transition.
Gradually acclimate your new plants to lower humidity by opening the plastic bag or propagator lid a little each day over a week. Once they’re established and growing happily, you can pot them up into slightly larger pots with fresh potting mix.
The most common pitfall? Overwatering is the enemy! Soggy soil leads to rot, and you’ll see the stem turn mushy and likely fall over. If you notice this, it’s usually a sign the cutting is lost. Another issue can be lack of humidity early on, causing the cuttings to dry out before roots can form. Keep that mini-greenhouse environment going until roots establish.
A Encouraging Closing
There you have it! Propagating Sideritis italica is a rewarding journey. Remember to be patient, give your cuttings the warmth and humidity they need, and don’t be discouraged if a few don’t make it. Each attempt is a learning experience, and soon you’ll have your own little collection of this lovely, aromatic plant to share with friends or simply enjoy in your garden. Happy propagating!
Resource: