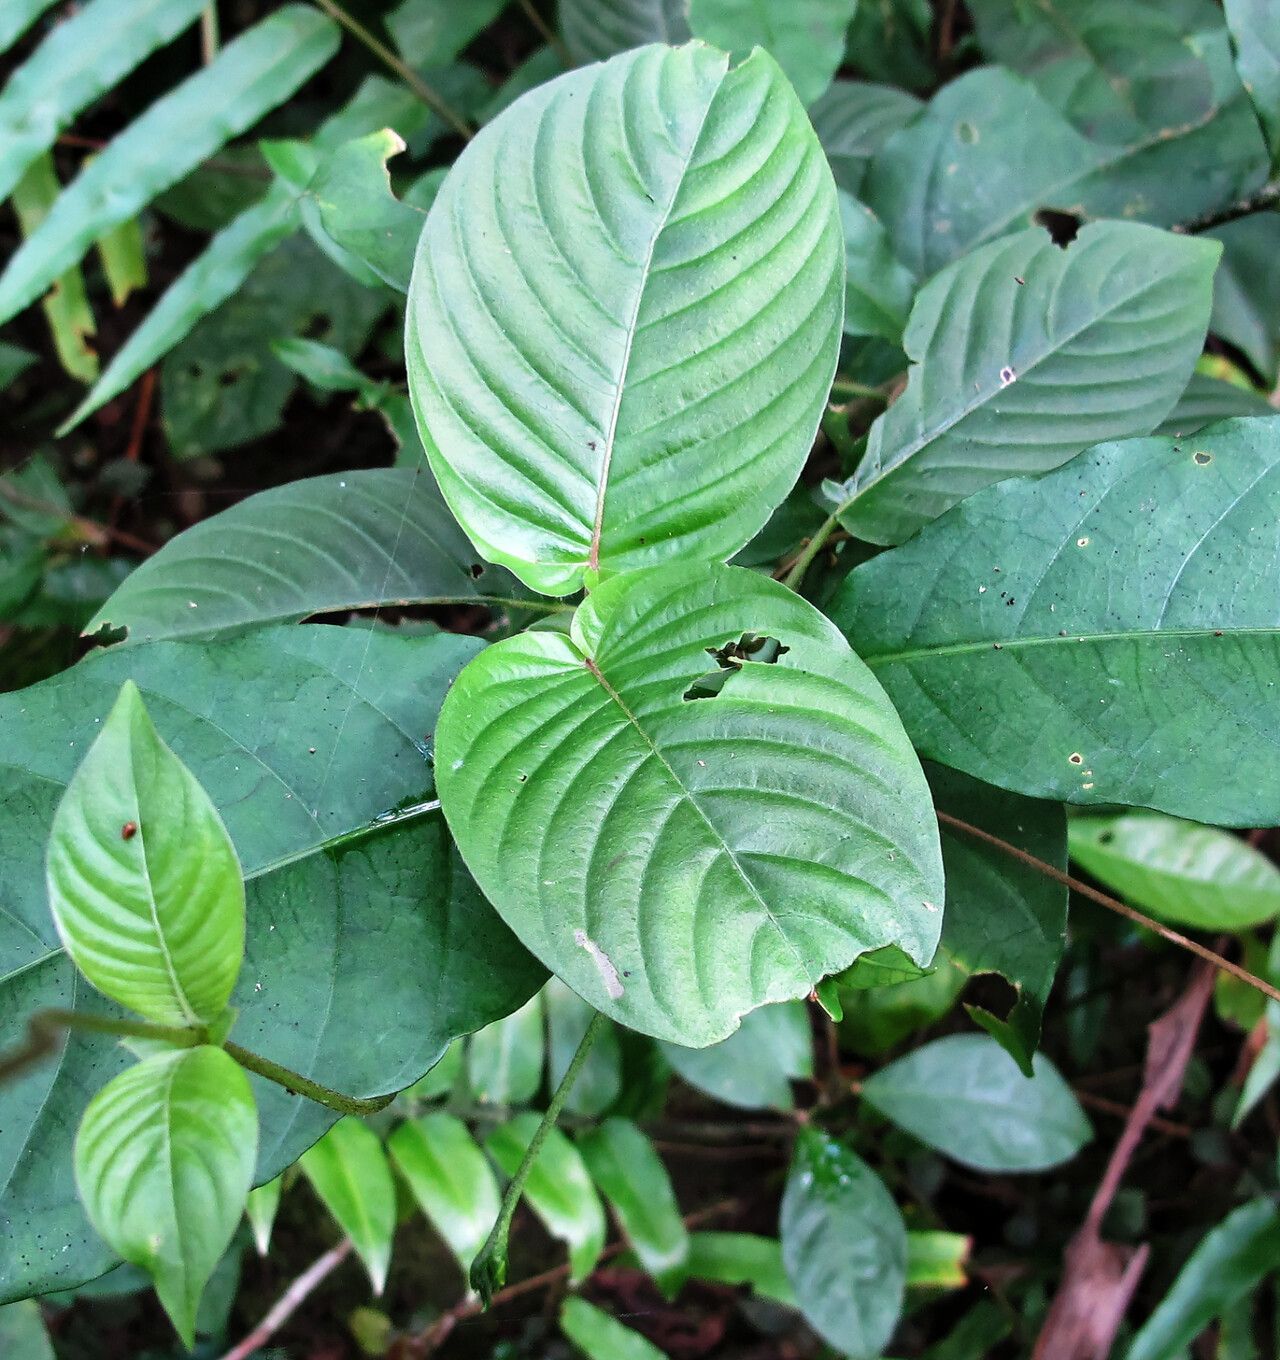
Oh, Sabicea calycina! What a gem. If you’re looking for a plant that brings a touch of the tropics indoors, with its lush, velvety leaves and delicate white flowers, you’ve found it. And the beauty of it is, you can share this joy! Propagating Sabicea calycina is incredibly rewarding, like watching a tiny miracle unfold right before your eyes. For those new to the plant world, don’t be intimidated. When you know a few simple tricks, it’s quite manageable.
The Best Time to Start
Spring is truly your friend when it comes to propagating Sabicea calycina. Think of it as mirroring the plant’s own awakening. As the days get longer and growth starts to pick up, your cuttings will have the best chance of success. Late spring, right before it really hits its stride, is often the sweet spot. You want to catch it when it’s energetically pushing out new growth.
Supplies You’ll Need
Gathering your tools makes the whole process much smoother. Here’s what I always have on hand:
- Sharp Pruning Shears or a Craft Knife: Clean cuts are crucial for healthy root development.
- Potting Mix: A good quality, well-draining potting mix is key. I often use a blend of peat moss, perlite, and a bit of compost.
- Small Pots or Seed Trays: Nothing too big; you want the new plant to feel cozy.
- Rooting Hormone (Optional but Recommended): This can give your cuttings a nice boost.
- Clear Plastic Bag or Humidity Dome: To maintain that essential moisture.
- Watering Can or Spray Bottle: Gentle watering is the order of the day.
Propagation Methods
Let’s get our hands dirty! Stem cuttings are my go-to for Sabicea calycina.
Stem Cuttings:
- Select a Healthy Stem: Look for a lush, healthy stem that isn’t flowering. You want actively growing material.
- Make the Cut: Using your sharp shears or knife, take a cutting about 3-4 inches long. Make the cut just below a leaf node (where a leaf attaches to the stem). This is where the magic happens, where new roots will form.
- Prepare the Cutting: Gently remove the lower leaves, leaving just a couple at the top. If the leaves are very large, you can even trim them in half to reduce water loss.
- Apply Rooting Hormone (If Using): Dip the cut end into your rooting hormone, tapping off any excess.
- Plant Your Cutting: Make a small hole in your prepared potting mix with a pencil or your finger. Gently insert the cut end of the stem, ensuring the leaf nodes that were below the soil line are buried. Firm the soil gently around the cutting.
- Moisten and Cover: Water the soil lightly. Then, cover the pot with a clear plastic bag or a humidity dome to create a mini-greenhouse. This is vital for keeping things humid.
The “Secret Sauce” (Pro Tips)
Here are a few things I’ve learned over the years that really make a difference:
- Don’t let those lovely leaves dip into the water! If you’re using water propagation, or even just misting your cuttings, make sure the leaves stay above the waterline. Any submerged foliage is an invitation for rot.
- Bottom heat is your best friend. A small seedling heat mat placed under your pots can significantly speed up root development. It mimics the warmth of spring soil and gives those roots the encouragement they need.
- Choose the right kind of stem. I’ve found semi-hardwood cuttings (stems that are firm but not woody) tend to root the best for Sabicea calycina. Avoid anything too soft and green, or too old and woody.
Aftercare & Troubleshooting
Once your cuttings are planted, patience is your virtue! Keep the soil consistently moist but not waterlogged. The humidity created by the plastic bag is essential during this rooting phase. Aim for bright, indirect light – think of a nice, sunny window that doesn’t get harsh afternoon sun.
You’ll know your cutting has rooted when you see new leaf growth appearing. You can also gently tug on the cutting; if there’s resistance, roots have formed! Once roots are established, you can gradually remove the plastic bag over a few days to acclimate it to normal humidity.
The most common disappointment? Rotting. If your cutting turns black and mushy, it’s likely too much moisture and poor air circulation. Don’t be discouraged! Just clean your tools and pot, and try again with another cutting.
A Encouraging Closing
Propagating Sabicea calycina is a beautiful journey. It’s a testament to the resilience of nature and a wonderful way to expand your plant family. Don’t worry if your first attempt isn’t a roaring success. Every gardener has plants that don’t make it. Keep learning, keep trying, and most importantly, enjoy the process of nurturing new life. Happy propagating!
Resource:
https://identify.plantnet.org/k-world-flora/species/Sabicea%20calycina%20Benth./data