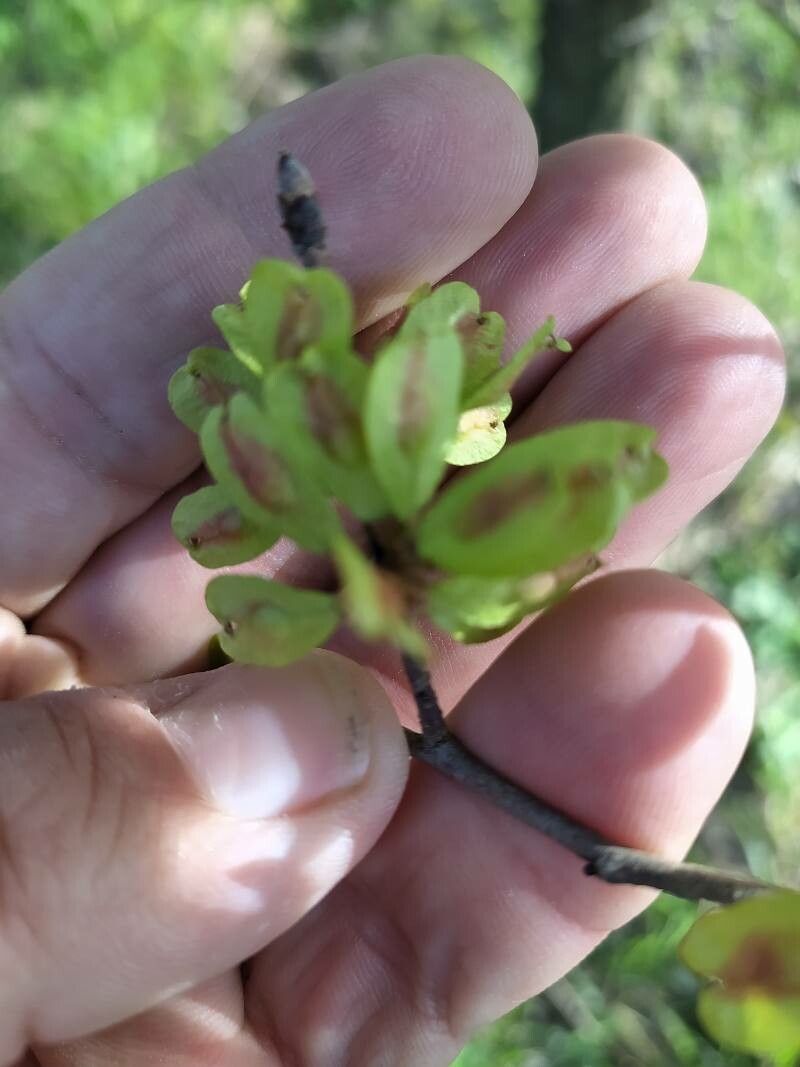
Oh, hello there! Come on in, the kettle’s just boiled. Let’s chat about something truly special: propagating Ulmus uyematsui. If you haven’t met this beauty yet, imagine a tree that’s elegant and hardy, with a graceful branching habit that looks like it belongs in a painting. It’s a real showstopper, and cultivating your own from scratch? Honestly, it’s one of the most satisfying gardening adventures you can embark on.
Now, I won’t sugarcoat it – Ulmus uyematsui can be a little bit of a diva when it comes to propagation. It’s not the absolute easiest for a complete beginner, but with a little patience and these tips, I’m confident you’ll find success. The reward of watching that tiny cutting unfurl its first new leaves? Pure magic.
The Best Time to Start
For the best chance of success with Ulmus uyematsui, you’ll want to work with semi-hardwood cuttings. Think late spring into early summer. You’re looking for stems that are no longer brand new and floppy but haven’t yet become completely woody and stiff. They should snap cleanly when you try to bend them, rather than just kinking. This is when the plant’s growth hormones are just right for rooting.
Supplies You’ll Need
Gathering your supplies beforehand makes the whole process a breeze. Here’s what I always have on hand:
- Sharp Pruning Shears or a Blade: Clean cuts are crucial to prevent disease.
- Rooting Hormone: A powder or gel form works well. Look for one containing IBA (Indole-3-butyric acid).
- Well-Draining Potting Mix: I prefer a blend of perlite, vermiculite, and peat moss (about a 1:1:1 ratio). You can also buy a good quality seed-starting mix.
- Small Pots or Trays: Clean, with drainage holes!
- Plastic Bags or a Humidity Dome: To keep those cuttings moist.
- A Watering Can with a Fine Rose: Gentle watering is key.
- Optional: Bottom Heat Mat: This can significantly speed up rooting.
Propagation Methods: Stem Cuttings
I find stem cuttings to be the most reliable method for Ulmus uyematsui. Here’s how I do it:
- Take Your Cuttings: On a cool morning, select healthy, vigorous stems that are about 4-6 inches long. Make a clean cut just below a leaf node (where a leaf attaches to the stem). Remove the lower leaves, leaving just a few at the top.
- Prepare the Cuttings: Dip the cut end into your rooting hormone, tapping off any excess.
- Pot Them Up: Fill your small pots or trays with your prepared potting mix. Make a hole in the center with your finger or a pencil. Gently insert the cutting into the hole, making sure the base is well-covered with the rooting hormone and soil. Firm the soil gently around the stem.
- Water Gently: Water thoroughly until you see water draining from the bottom of the pot.
- Create a Humid Environment: Place a plastic bag over the pot, or cover the tray with a humidity dome. Make sure the leaves don’t touch the plastic. Prick a few small holes in the bag for ventilation.
- Find a Suitable Spot: Place your pots in a bright, indirect light location. Avoid direct sun, which can scorch the young cuttings. If you’re using a bottom heat mat, now’s the time to turn it on.
The “Secret Sauce” (Pro Tips)
Now, for some of those little tricks I’ve picked up over the years:
- The “Wound” Trick: After dipping the cutting in rooting hormone, you can also gently scrape away a thin sliver of bark (about an inch long) on one side of the bottom of the stem. This exposes more of the cambium layer, where roots often form more readily.
- Don’t Stir the Pot (Too Much!): Once your cuttings are potted, resist the urge to constantly disturb them. Let them settle in. Gently check the moisture levels by feeling the soil, but avoid poking or prodding the stems themselves.
- Air Circulation is King: Even with the humidity dome or plastic bag, it’s important to open and air out your cuttings for a few minutes each day. This helps prevent fungal diseases, which are the enemy of happy cuttings.
Aftercare & Troubleshooting
Be patient! It can take anywhere from 4 to 12 weeks for Ulmus uyematsui cuttings to root. You’ll know they’re happy when you see new leaf growth. You can also give the cutting a very gentle tug; if there’s resistance, roots have formed.
The most common sign of failure is rot. If your cutting turns black and mushy, it was likely too wet or didn’t have enough air circulation. Discard it and try again, making sure your soil is well-draining and you’re airing them out daily. If the leaves start to yellow and droop but the stem remains firm, it might be a sign of insufficient moisture or light.
Once you see good root development, you can gradually remove the humidity dome over a week or so to acclimate your new plant to drier air. Continue to provide bright, indirect light and keep the soil consistently moist but not waterlogged. You can then repot into slightly larger containers as your little tree grows.
A Encouraging Closing
Propagating Ulmus uyematsui is a journey. There might be a few bumps along the way, but don’t get discouraged. Each attempt teaches you something new. Enjoy the process, celebrate every tiny success, and soon you’ll have your very own beautiful elm to nurture. Happy gardening!
Resource:
https://identify.plantnet.org/k-world-flora/species/Ulmus%20uyematsui%20Hayata/data