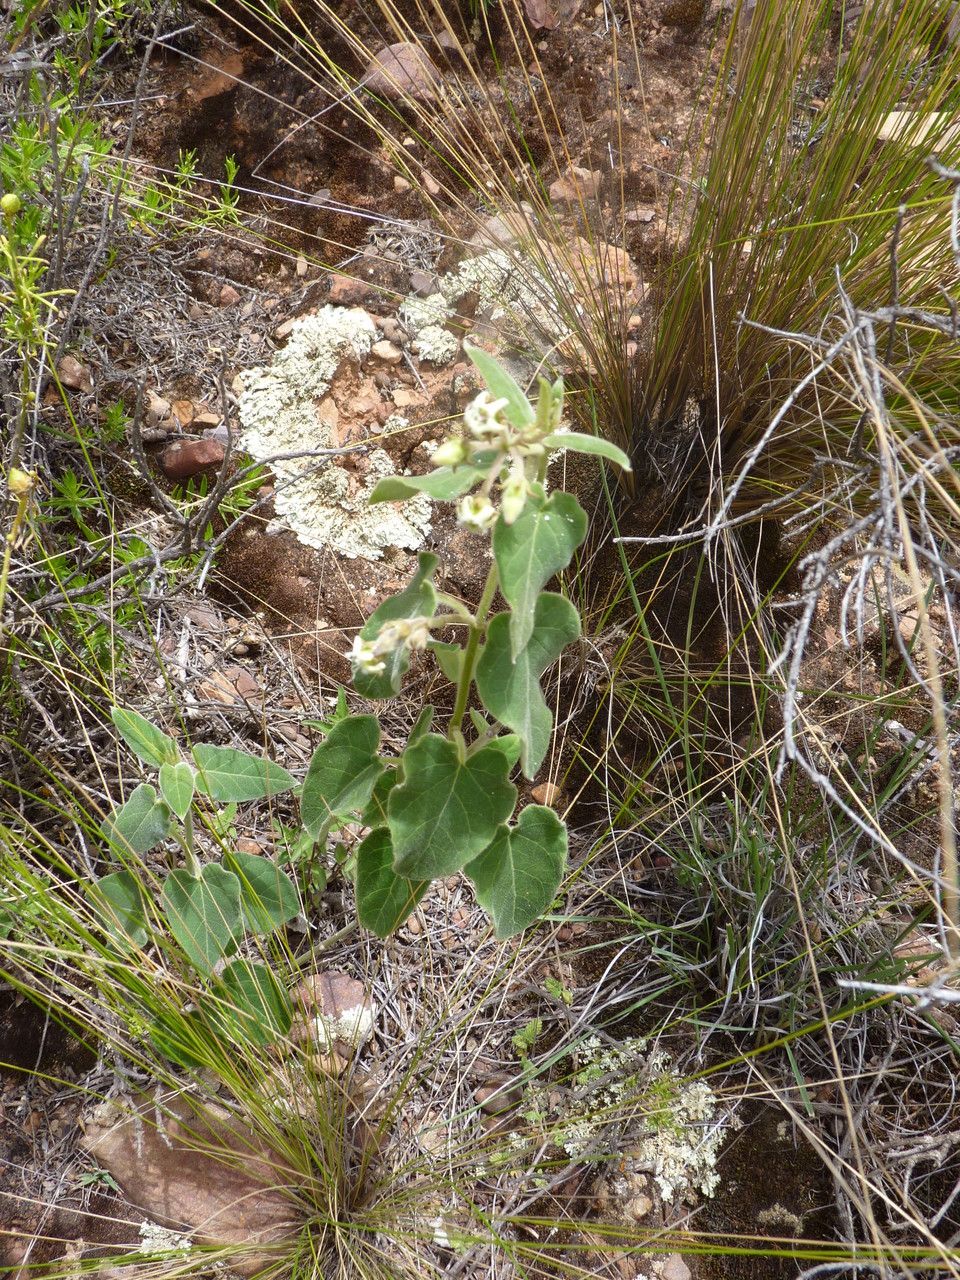
Hey there, green thumbs! It’s that time again when we get to talk about bringing more beautiful plants into our lives. Today, we’re diving into the wonderful world of Philibertia suberecta. If you’ve ever admired its delicate, star-shaped flowers and lovely trailing habit, you’re in for a treat. Propagating this beauty isn’t only possible, it’s incredibly rewarding. It’s a plant that’s generally quite forgiving, so don’t be intimidated if you’re just starting out on your propagation journey.
The Best Time to Start
For Philibertia suberecta, consider propagating in the late spring or early summer. This is when the plant is in its active growing season. New growth is plump and full of energy, which means it’s more likely to develop roots successfully. Waiting until after the plant has finished its main flowering flush can also be a good time to gather cuttings.
Supplies You’ll Need
To give your Philibertia suberecta cuttings the best chance, gather these essentials:
- Sharp, clean pruning shears or a sharp knife: For making clean cuts. Sterilize them with rubbing alcohol before and after use.
- Well-draining potting mix: A 50/50 blend of perlite and peat moss or coco coir works wonderfully. You can also add a bit of horticultural charcoal.
- Small pots or cell trays: About 3-4 inches in diameter are perfect for starting cuttings. Make sure they have drainage holes!
- Rooting hormone (optional but recommended): A powdered or gel form can significantly speed up root development.
- Clear plastic bags or a propagation dome: To create a humid environment for your cuttings.
- Small watering can or spray bottle: For gentle watering.
- Labels: To keep track of what you’ve planted and when.
Propagation Methods
Let’s get our hands dirty! Here are a couple of reliable ways to multiply your Philibertia suberecta.
Stem Cuttings
This is my go-to method for Philibertia suberecta.
- Select your cutting: Look for a healthy, non-flowering stem that’s about 4-6 inches long. You want a piece that’s not too woody but has recent growth.
- Make the cut: Using your sterilized shears or knife, make a clean cut just below a leaf node (where a leaf attaches to the stem).
- Prepare the cutting: Gently remove the lower leaves from the bottom half of the stem. This will prevent them from rotting when buried. You can leave two or three leaves at the top.
- Apply rooting hormone (optional): Dip the cut end of the stem into your rooting hormone. Tap off any excess.
- Plant the cutting: Fill your small pot with your well-draining mix. Make a small hole with your finger or a pencil, and gently insert the cut end of the Philibertia suberecta stem. Firm the soil around it.
- Water gently: Water lightly until the soil is moist but not soggy.
Water Propagation
This method is surprisingly effective and satisfying to watch.
- Take your cutting: Follow steps 1 and 2 for stem cuttings. Again, aim for a healthy stem with a leaf node near the bottom.
- Remove lower leaves: Just like with soil propagation, remove any leaves that would be submerged in water.
- Place in water: Find a clean jar or glass and fill it with room-temperature water. Place your cutting in the water, ensuring the leaf node is submerged.
- Find a good spot: Place the jar in a bright location but out of direct sunlight.
The “Secret Sauce” (Pro Tips)
Here are a few tricks I’ve picked up over the years that can really boost your success rate.
- Don’t let the leaves touch the water in stem cuttings: If you’re doing soil propagation and accidentally leave a leaf tip hovering over the soil where it might touch water in the pot, trim it back. Likewise, in water propagation, make sure no leaves are submerged – they’ll just rot and can infect the whole cutting.
- Bottom heat is your friend: If you have a heat mat designed for seedlings, placing your pot of cuttings on it can make a world of difference. It encourages root development even when the air temperature isn’t super warm. It provides that consistent, gentle warmth that roots love.
- Mist, don’t soak, for humidity: When using a plastic bag or dome, a light misting of water inside the bag daily or every other day is usually enough to maintain humidity. You’re aiming for a steamy environment, not a swamp.
Aftercare & Troubleshooting
Once your cuttings have roots, it’s time for a little pampering.
- For water-propagated cuttings: When you see a good network of roots, at least an inch long, it’s time to transplant them into soil. Handle them gently; those new roots are delicate! Plant them just as you would a fresh cutting in soil, watering thoroughly and then letting the top inch of soil dry out between waterings.
- For soil-propagated cuttings: You’ll know they’re rooting when you see new leaf growth. You can also give a very gentle tug – if there’s resistance, roots have formed. Keep them in their humid environment for another week or two before gradually acclimatizing them to normal room humidity.
- Watch for rot: The most common problem is rot. If your cutting goes soft, turns black and mushy, or smells unpleasant, it’s likely rotted. This is usually due to overwatering or poor drainage. If you catch it early, you might be able to salvage a healthy section, but often, it’s best to start again.
A Bit of Encouragement
Propagating plants is a journey, and like any good journey, it requires patience. Don’t get discouraged if every single cutting doesn’t make it. Each attempt is a learning experience. Celebrate the successes, learn from the challenges, and most importantly, enjoy the process of bringing new life into your home. Happy propagating!
Resource:
https://identify.plantnet.org/k-world-flora/species/Philibertia%20suberecta%20Goyder/data