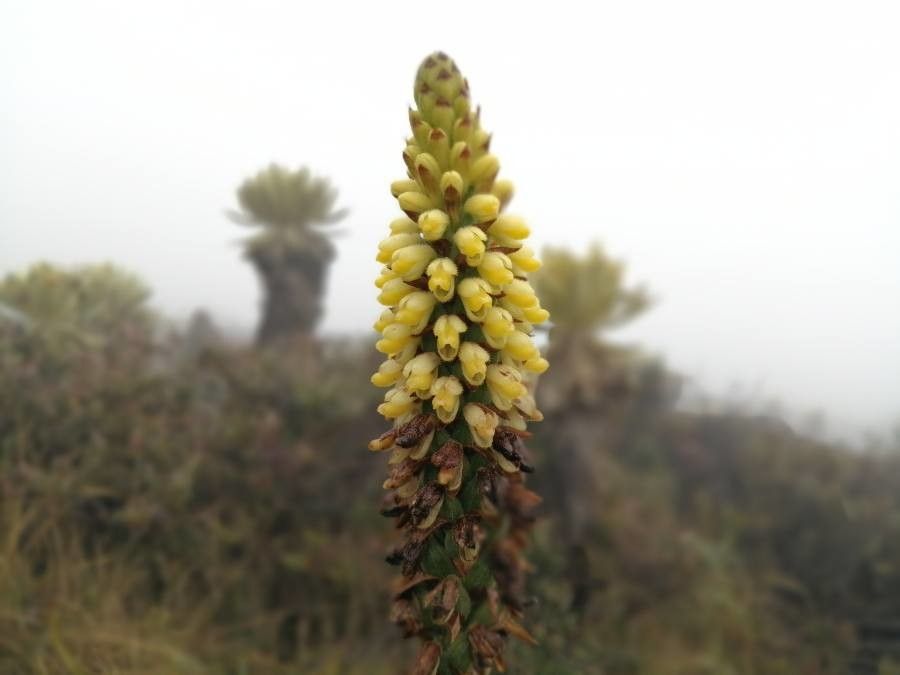
Hey there, fellow plant lovers! It’s so lovely to have you visiting my little corner of the green world. Today, we’re diving into the wonderful process of propagating Gomphichis cundinamarcae, that stunning orchid with its elegant spikes of [mention a key visual feature of Gomphichis cundinamarcae, like delicate blooms, unique foliage, etc.]. If you’ve ever marveled at this beauty and wished you could have more of it gracing your home, you’re in the right place.
Propagating orchids can feel a bit magical, and while some can be a bit fussy, I find starting new Gomphichis cundinamarcae plants incredibly rewarding. It’s a chance to multiply your joy and share these gorgeous blooms with friends. Don’t let the “orchid” label intimidate you; with a little care and some patience, it’s a very achievable project.
The Best Time to Start
Generally, the sweet spot for propagating Gomphichis cundinamarcae is during its active growing season. This is usually after it has finished blooming and you see new leaf growth or pseudobulbs starting to form. Think late spring to mid-summer. This is when the plant has plenty of energy to dedicate to developing roots on its new propagations. Trying to propagate when the plant is dormant or stressed is like asking someone to run a marathon without having eaten all day – they just won’t have the stamina.
Supplies You’ll Need
Gathering your tools before you begin makes everything run so much smoother. Here’s what I always have on hand:
- Sharp Pruning Shears or a Clean Knife: For making clean cuts. Sterilize them with rubbing alcohol between cuts to prevent disease.
- Orchid Potting Mix: A well-draining mix is crucial. I prefer a blend of fine-grade bark, perlite, and a touch of sphagnum moss. You want it to hold some moisture but also allow plenty of air circulation.
- Small Pots or Containers: Clean, appropriately sized pots for your new propagations. Seedling pots or small plastic pots work well.
- Humidity Tray or Enclosure (Optional but Recommended): This helps maintain the high humidity that young orchids crave. A clear plastic bag with air holes or a small greenhouse can work wonders.
- Rooting Hormone (Optional): While not strictly necessary for all orchids, a bit of rooting hormone can give your cuttings an extra boost. Look for one specifically formulated for orchids.
- Pure Water: Distilled, rainwater, or reverse osmosis water are best. Tap water can sometimes contain minerals that build up and harm orchids.
Propagation Methods
For Gomphichis cundinamarcae, division is often the most straightforward and successful method. It’s like gently splitting a family to create new ones, while ensuring everyone gets a good start.
Method: Division
- Gently Remove from Pot: Carefully take your Gomphichis cundinamarcae out of its current pot. If it’s stuck, you might need to gently squeeze the sides of the pot or carefully run a thin knife around the edge.
- Clean the Roots: Gently brush away as much of the old potting mix as you can from the root ball. You want to clearly see the rhizomes (the thick, creeping stems) and how the pseudobulbs (the swollen stem bases) are connected.
- Identify Sections: Look for natural divisions. You’re aiming to separate sections that have at least two to three healthy pseudobulbs and a good amount of healthy-looking roots. Sometimes, you can even see where the rhizome naturally wants to split.
- Make the Cut: Using your sterilized pruners or knife, carefully cut through the rhizome to separate your chosen section. If there are very few roots on a section, try to include at least one pseudobulb that looks plump and healthy, as it will be a food reserve.
- Inspect and Trim: Trim away any dead or mushy roots. If you used rooting hormone, dip the cut end of the rhizome into it at this stage.
- Potting Up: Fill your clean small pots with your prepared well-draining orchid mix. Create a small well in the center for the roots.
- Plant Your Divisions: Place the divided section into the pot, spreading the roots out as much as possible. The base of the pseudobulbs should ideally be at or slightly above the surface of the potting mix. Gently firm the mix around the roots.
- Water Lightly: Water your newly potted divisions very lightly. You don’t want to saturate them, just enough to settle the mix around the roots.
The “Secret Sauce” (Pro Tips)
Here are a few little tricks I’ve picked up over the years that can really make a difference:
- The “Don’t Drench” Rule: After potting, resist the urge to water heavily. Young divisions often resent soggy conditions, which can quickly lead to rot. Water sparingly, allowing the potting mix to dry out slightly between waterings. It’s better to underwater than overwater at this stage.
- Embrace the Humidity Dome: You know how you put a salad in a bag in the fridge to keep it crisp? Think of a clear plastic bag or a small greenhouse for your new orchid divisions. Pop them in, seal it loosely with a few air holes, and place them in a bright spot. This maintains high humidity, which is vital for root development and prevents the leaves from drying out before new roots can form.
- Bottom Heat is Your Friend: If you have a seedling heat mat, placing your potted divisions on it can really speed up root development. The warmth encourages the plant to grow from the bottom up. Just make sure it’s not too hot – lukewarm is the goal.
Aftercare & Troubleshooting
Once your divisions are potted, keep them in a bright, indirect light spot. Aim for consistent humidity and allow the potting mix to dry slightly between waterings. You’re looking for signs of new growth – a new leaf emerging, a tiny root tip poking out, or a new pseudobulb beginning to swell. This can take weeks, so be patient!
The most common issue you’ll encounter is rot. If you notice pseudobulbs becoming soft, mushy, or black, this is a sign of overwatering or poor air circulation. If this happens, gently unpot the plant, trim away the rotted parts with your sterilized tool, and repot into fresh, dry mix. You might have to start over with that particular division, but don’t get discouraged!
Other signs of stress can include wilting leaves, which might indicate it’s too dry, or yellowing leaves, which could be too much light or too much water. Observe your plant closely, and you’ll quickly learn its needs.
A Encouraging Closing
Growing and propagating plants is a journey, and Gomphichis cundinamarcae is a beautiful companion on that path. Remember, every seasoned gardener started as a beginner. Be patient with yourself and your new plant babies. Watch them, learn from them, and most importantly, enjoy the process of bringing more of these delightful orchids into your life. Happy growing!
Resource:
https://identify.plantnet.org/k-world-flora/species/Gomphichis%20cundinamarcae%20Renz/data