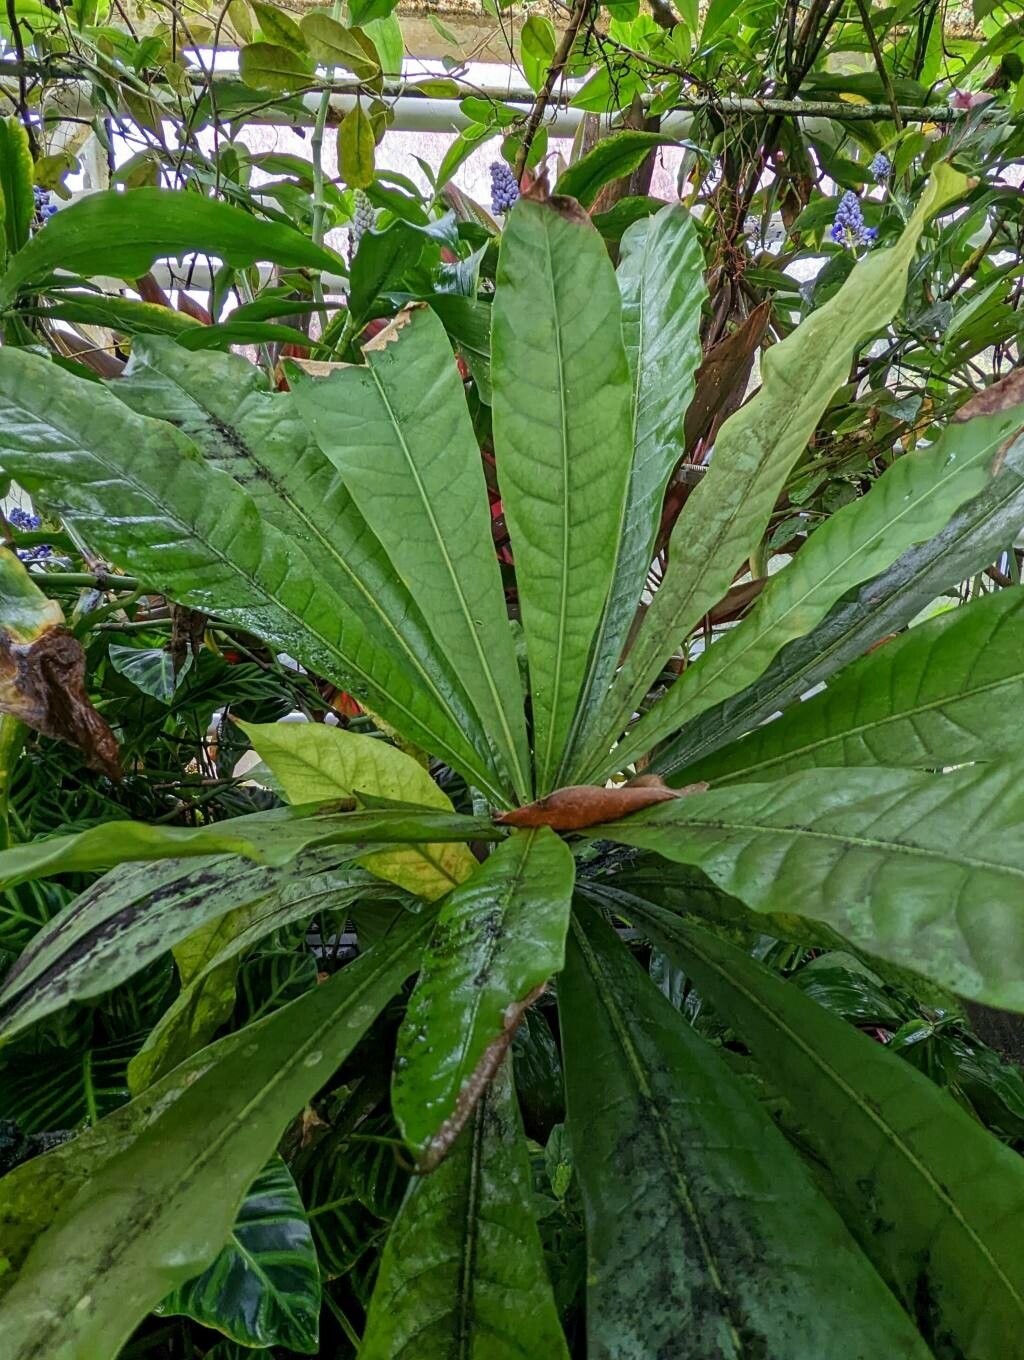
Oh, hello there! Pull up a chair; I’ve got my favorite mug of Earl Grey ready, and I’m so excited to chat with you about a plant that’s truly special: Amphitecna macrophylla. You might know it by its common name, the Pink Trumpet Tree or sometimes the Panama Trumpet Tree. Let me tell you, those blooms are just… spectacular. Imagine showering your garden with delicate, trumpet-shaped pink flowers. It’s a real showstopper, and propagating it yourself? That’s a whole other level of garden joy. Don’t worry, while it sounds a bit fancy, it’s actually a pretty rewarding plant to get to know better.
The Best Time to Start
My sweet spot for propagating Amphitecna macrophylla is when the plant is actively growing, which usually means late spring through summer. You want to snip those cuttings when the plant is full of vigor, not when it’s resting or stressed. Think of it like this: you’re looking for healthy, vigorous growth, not old, woody stems.
Supplies You’ll Need
Here’s what I always have on hand to get my propagation station ready:
- Sharp Pruning Shears or a Knife: Sterilize them with rubbing alcohol before you start. This is crucial to prevent disease.
- Rooting Hormone: I prefer a powdered rooting hormone for cuttings. It gives them a little boost.
- Potting Mix: A well-draining mix is non-negotiable. I like a blend of perlite, peat moss, and a bit of compost. Think airy, not soggy.
- Pots or Trays: Clean pots, about 4-6 inches deep, work perfectly.
- Plastic Bags or a Propagation Dome: This helps maintain humidity, which is vital for cuttings.
- Water: For rinsing and to keep things moist.
- Labels and a Marker: You’ll want to know what you planted where and when!
Propagation Methods
I’ve had the most success with stem cuttings, and it’s a straightforward way to get new plants.
- Take Your Cuttings: Look for healthy, non-flowering stems that are about pencil-thick and at least 6-8 inches long. I like to make the cut just below a leaf node (where a leaf attaches to the stem). Using your sterilized shears, make a clean cut.
- Prepare the Cuttings: Gently remove the lower leaves, leaving just a few at the top. If you have very large leaves, you can even cut them in half to reduce water loss.
- Apply Rooting Hormone: Dip the cut end of the stem into your rooting hormone, making sure to coat it well. Tap off any excess.
- Plant Your Cuttings: Make a hole in your potting mix with a pencil or your finger. Gently insert the cutting into the hole, ensuring the nodes where you removed leaves are below the soil surface. Firm the soil gently around the stem.
- Water and Cover: Water the cuttings lightly but thoroughly. Then, cover the pot with a plastic bag or place it inside a propagation dome. This creates a humid environment.
- Placement: Place the pots in a bright location, but out of direct sunlight. Too much sun will scorch those delicate leaves.
The “Secret Sauce” (Pro Tips)
Here are a few little tricks I’ve picked up over the years that really make a difference:
- Bottom Heat is Your Friend: Seriously, if you can, pop your pots on a gentle heat mat. It encourages root development so much faster. Just a little warmth from below makes a world of difference.
- Don’t Drown Your Dreams (or Your Cuttings): Once you’ve watered them in, resist the urge to overwater. The soil should be consistently moist, like a wrung-out sponge, not waterlogged. If the leaves look limp, it’s more likely due to lack of humidity under the bag than dry soil.
- The “Scratch Test”: After a few weeks, you can gently scratch the bark on a hidden part of the stem near the soil line. If you see green underneath, the stem is still alive and hopefully working on roots! If it’s brown and dry, that cutting might not have made it.
Aftercare & Troubleshooting
Once you start seeing new leaf growth, that’s a good sign roots are forming! You can gradually acclimate your new plant to normal room humidity by opening the plastic bag or dome a little more each day.
The biggest issue you’ll likely encounter is rot. If your cuttings turn black and mushy, it’s usually a sign of too much moisture and not enough airflow. Pull out any rotted cuttings immediately to prevent it from spreading. Ensure your potting mix is draining well and that you’re not overwatering. If a cutting just seems to be sitting there, looking sad and not growing, it might just not have taken. Don’t take it personally; it happens to us all!
A Encouraging Closing
Remember, propagation is a journey, not a race. Some cuttings will root beautifully, and others might not. The key is to keep experimenting, observe your plants, and most importantly, enjoy the process! Watching a tiny cutting transform into a whole new plant is one of the most satisfying feelings a gardener can have. Happy propagating!
Resource: