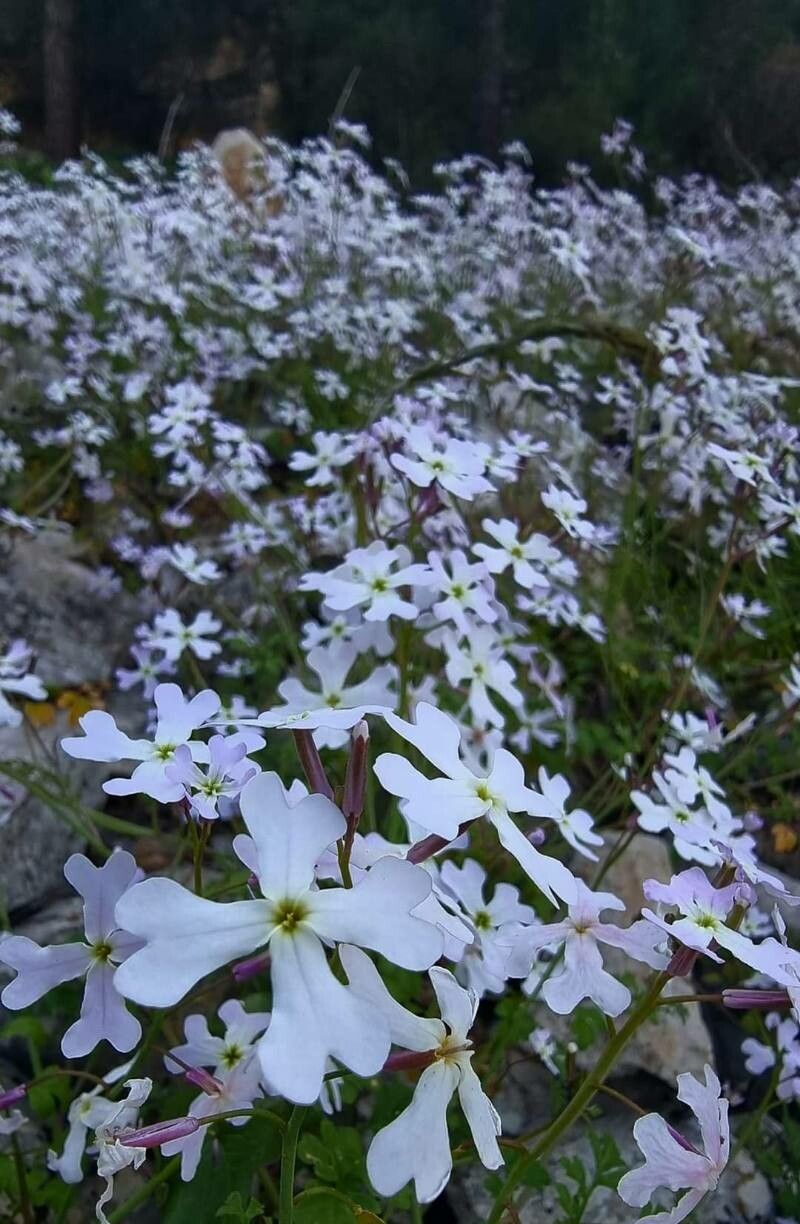
Ah, Ricotia lunaria! If you’re looking for a plant that brings a touch of delicate charm to your garden or windowsill, you’ve found it. Those soft, greyish-green leaves and the promise of charming little flowers… it’s truly a delight. And the best part? Propagating it yourself. There’s a special kind of satisfaction that comes with nurturing a tiny cutting into a thriving new plant. I’d say Ricotia lunaria is a moderately easy plant to propagate. It might take a little patience, but it’s definitely achievable for most home gardeners.
The Best Time to Start
For the highest success rate with Ricotia lunaria, I’ve found that late spring to early summer is your sweet spot. This is when the plant is actively growing and has plenty of energy to put into root development. You want to take cuttings from healthy, non-flowering stems.
Supplies You’ll Need
Before we dive in, let’s gather our tools. Having everything ready makes the process so much smoother.
- Sharp Pruning Shears or a Clean Knife: For making clean cuts on your mother plant.
- Seed Starting Mix or a Well-Draining Potting Mix: I often use a mix of equal parts peat moss and perlite, or a good quality seed starting mix.
- Small Pots or Trays: For your cuttings. Make sure they have drainage holes!
- Rooting Hormone (Optional but Recommended): A little boost can make a big difference.
- Clear Plastic Bag or Dome: To create a humid environment for your cuttings.
- Spray Bottle filled with Water: For misting.
- Label and Pen: To keep track of your plants!
Propagation Methods
I typically find stem cuttings to be the most reliable method for Ricotia lunaria.
Stem Cuttings:
- Select Your Cutting: Choose a healthy, vigorous stem from your mature plant. Look for one that’s about 3-4 inches long and has plenty of leaves. Avoid any stems with flowers or buds.
- Make the Cut: Using your sharp shears or knife, make a clean cut just below a leaf node (where a leaf attaches to the stem). This node is where roots will most likely form.
- Prepare the Cutting: Gently remove the lower leaves from the bottom inch or so of the stem. This prevents them from rotting when buried in the soil. If the remaining leaves are very large, you can cut them in half to reduce water loss.
- Apply Rooting Hormone (Optional): Dip the cut end of the stem into your rooting hormone. Tap off any excess.
- Plant the Cutting: Fill your small pot with your well-draining soil mix. Make a small hole in the center with your finger or a pencil and gently insert the cutting. Firm the soil gently around the base of the stem to ensure good contact.
- Water Gently: Water the soil thoroughly but gently. You don’t want to disturb the cutting.
- Create Humidity: Cover the pot with a clear plastic bag or place it inside a clear propagation dome. Make sure the plastic doesn’t touch the leaves. You can use stakes to prop it up if needed.
- Place in Bright, Indirect Light: Find a warm spot that receives bright, indirect light. Avoid direct sunlight, as it can scorch your delicate cuttings.
The “Secret Sauce” (Pro Tips)
Here are a couple of things I’ve learned over the years that really help.
- Bottom Heat is Your Friend: If you have the option, placing your pots on a heat mat designed for seedlings can significantly speed up root development. It mimics the warmth of the soil that a parent plant might encourage.
- Don’t Drown Your Cuttings: While humidity is important, overwatering is the quickest way to kill a cutting. Make sure the soil stays consistently moist but never waterlogged. I like to check the soil with my fingertip. If it feels dry about an inch down, it’s time for a light watering.
- Air Them Out: Once a day, remove the plastic bag or dome for about 15-30 minutes to allow for some air circulation. This helps prevent fungal issues.
Aftercare & Troubleshooting
Once you see new leaf growth and feel some resistance when you gently tug on the cutting, that’s a good sign roots have formed! You can now slowly acclimate your new plant to normal home humidity by gradually reducing the time it’s covered over a week or two. Continue to water when the top inch of soil feels dry.
The most common issue you’ll encounter is rot. If you see your cutting turning mushy or black, it’s usually a sign of too much moisture and not enough air circulation. If it’s just a small part, you can try to trim it away. If the whole cutting is affected, it’s unfortunately a loss, but don’t get discouraged! Just try again.
A Encouraging Closing
Propagating plants is a journey, and it’s all about learning and observing. Be patient with your Ricotia lunaria cuttings. Some will take off quickly, while others might need a little more time to find their footing. Enjoy the process of nurturing these little green wonders, and soon you’ll have a whole collection to share! Happy propagating!
Resource:
https://identify.plantnet.org/k-world-flora/species/Ricotia%20lunaria%20(L.)%20DC./data