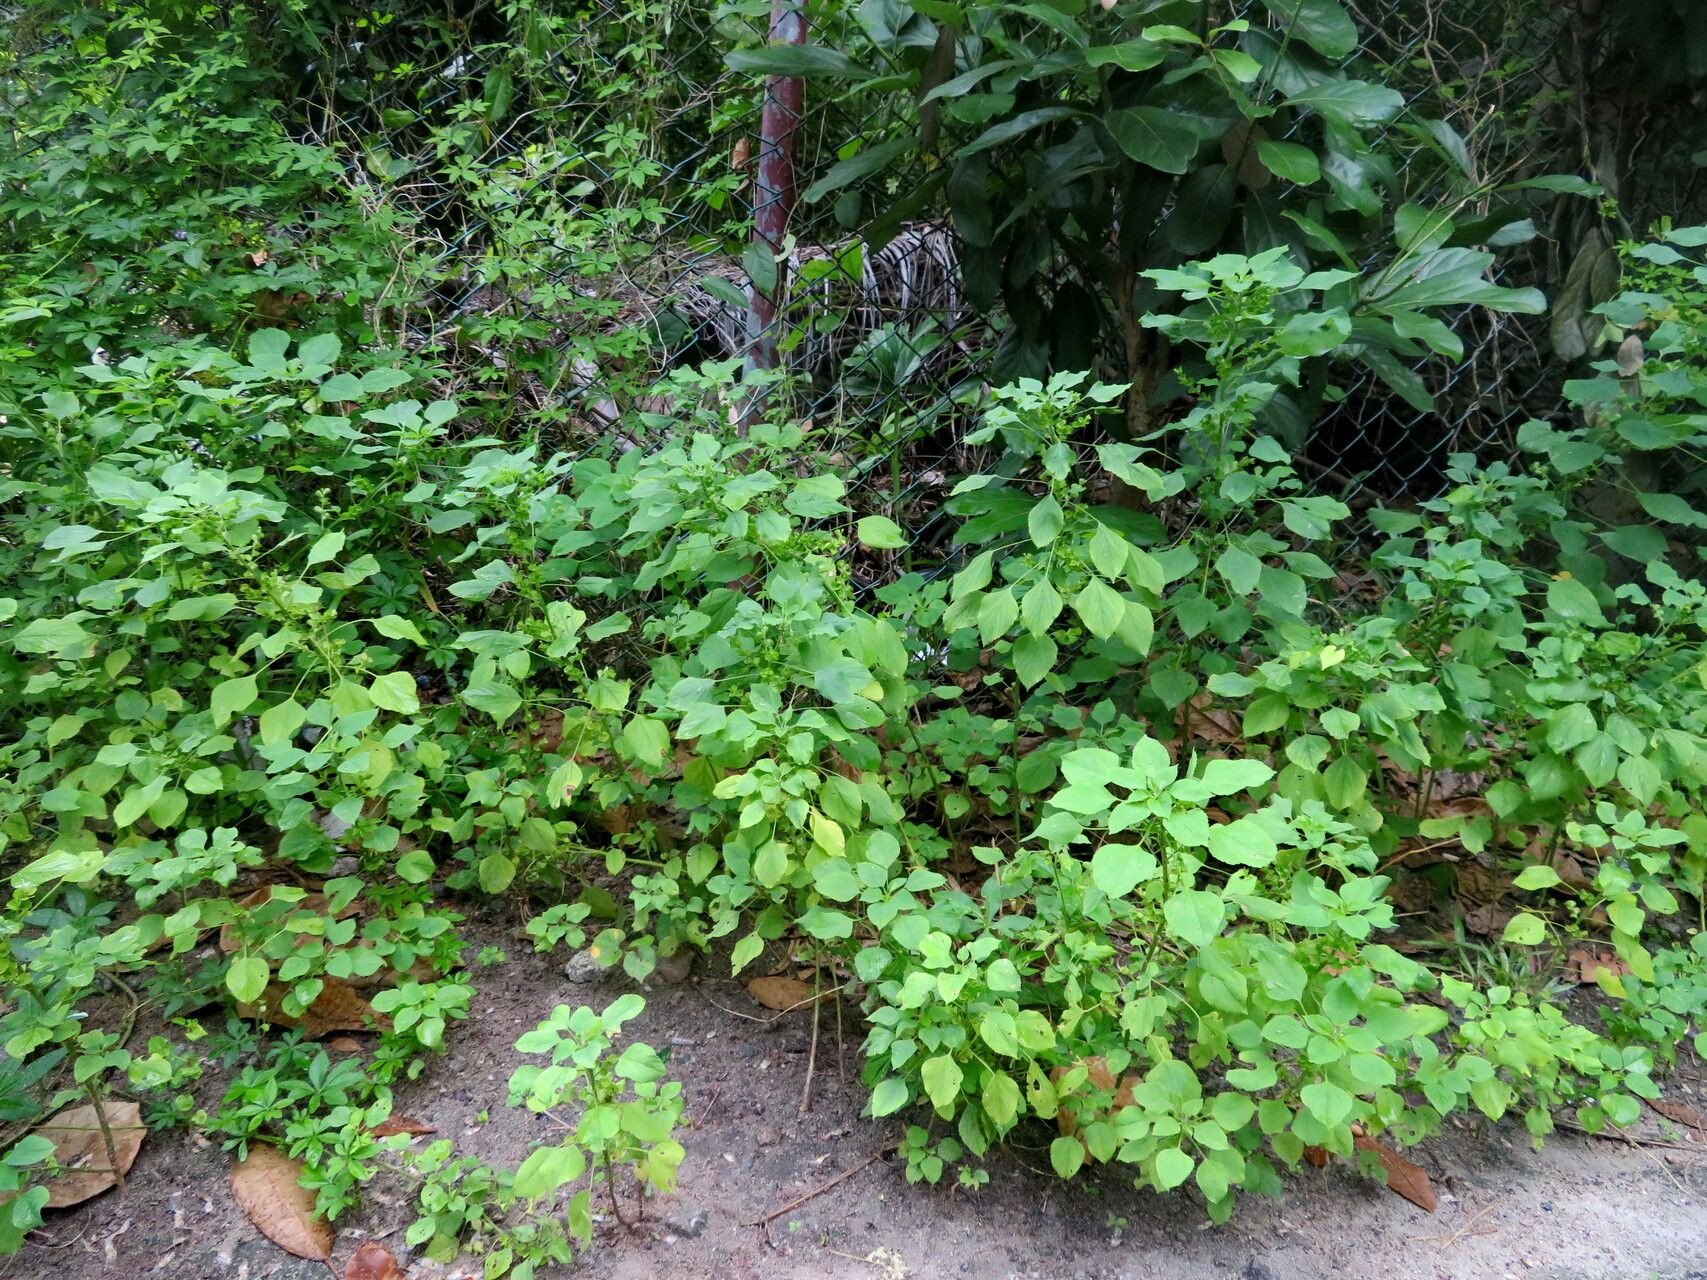
Hey there, fellow plant enthusiasts! If you’ve ever admired the lush, often vibrant foliage of Acalypha indica, and thought, “I wish I had more of those!” – you’re in for a treat. This plant, with its charming clusters of fuzzy flowers and attractive leaves, is a joy to have around. And the even better news? Propagating it is quite accessible, even for those just dipping their toes into the wonderful world of gardening. It’s a fantastic way to expand your collection without spending a fortune, and honestly, watching a tiny cutting transform into a new, thriving plant is one of life’s simple pleasures.
The Best Time to Start
For the most success with propagating Acalypha indica, spring or early summer is your golden window. This is when the plant is in its active growth phase, eager to put out new shoots and establish roots. Starting during this period means your cuttings will have plenty of time and energy to grow before it gets cooler.
Supplies You’ll Need
Here’s a quick rundown of what you’ll want to have on hand:
- Sharp Pruning Shears or a Craft Knife: Clean cuts are crucial.
- Potting Mix: A light, well-draining mix is best. I often use a blend of peat moss, perlite, and a bit of compost.
- Small Pots or Trays: Anything that can hold your cuttings and the soil.
- Rooting Hormone (Optional but Recommended): This can give your cuttings a helpful boost.
- Clear Plastic Bag or Cling Film: To create a mini-greenhouse effect.
- Watering Can or Spray Bottle: For gentle watering.
Propagation Methods
Let’s get our hands dirty! My preferred method for Acalypha indica is stem cuttings. It’s straightforward and generally yields great results.
Stem Cuttings:
- Select a Healthy Stem: Look for a mature, but not woody, stem on your Acalypha plant. You want a piece that has healthy leaves and hasn’t just flowered.
- Make the Cut: Using your clean shears or knife, cut a stem about 4-6 inches long. Make your cut just below a leaf node (where a leaf attaches to the stem). This node is where new roots will emerge.
- Prepare the Cutting: Gently remove the lower leaves, leaving only a couple of leaves at the top. This reduces moisture loss. If the leaves are large, you can even cut them in half to further minimize transpiration.
- Apply Rooting Hormone (If Using): Dip the cut end of the stem into your rooting hormone. Tap off any excess.
- Plant the Cutting: Fill your small pot with your prepared potting mix. Make a small hole in the center with your finger or a pencil. Insert the cut end of the stem into the hole, ensuring the leaf nodes are buried.
- Firm the Soil: Gently firm the soil around the cutting to provide support.
- Water Gently: Water the soil lightly until it’s evenly moist, but not waterlogged.
- Create a Humid Environment: Cover the pot with a clear plastic bag or cling film. You can use stakes to keep the plastic from touching the leaves. This will trap moisture and create a humid environment essential for rooting.
The “Secret Sauce” (Pro Tips)
Here are a few little tricks I’ve picked up over the years that can really help your cuttings along:
- Don’t Let Leaves Touch the Water (in a water propagation scenario, but good to remember even with soil): While I prefer soil for Acalypha, if you ever try water propagation for other plants, this is key. Submerged leaves rot quickly and can take your whole cutting down with them.
- Bottom Heat is Your Friend: If you can, place your pots on a heated propagation mat. This gentle warmth from below encourages root development much faster than ambient room temperature alone. It doesn’t need to be scorching hot, just a consistent, mild warmth.
- Fresh Cuttings are Best: Try to get your cuttings into their new pot and climate as soon as possible after taking them from the parent plant. The longer they sit around, the more stressed they become.
Aftercare & Troubleshooting
Once your cutting is planted and covered, find a bright spot with indirect light. Avoid direct sunlight, which can scorch those delicate leaves. Keep the soil consistently moist but never soggy. You can gently lift the plastic occasionally to let it breathe.
You’ll know your cutting has rooted when you see new leaf growth appearing, or if you gently tug on it and feel resistance. This usually takes anywhere from 3-6 weeks.
What if things go wrong? The most common issue is rot. If your cutting looks mushy, turns black, or smells foul, it’s likely rotted. This is usually due to overwatering or a lack of air circulation. If you see this, it’s best to discard it and start again, being more mindful of moisture levels next time. Another sign of distress is wilting. Sometimes, this is just transplant shock, but if it persists and the soil is correct, it might indicate the cutting hasn’t formed roots yet.
A Encouraging Closing
Watching those first tiny roots unfurl or a new leaf emerge is incredibly rewarding. Don’t be discouraged if your first attempt isn’t perfect. Gardening is a journey of learning and observation. Be patient, enjoy the process, and soon you’ll have a whole new gang of Acalypha plants to fill your space with their charm! Happy propagating!
Resource:
https://identify.plantnet.org/k-world-flora/species/Acalypha%20indica%20L./data