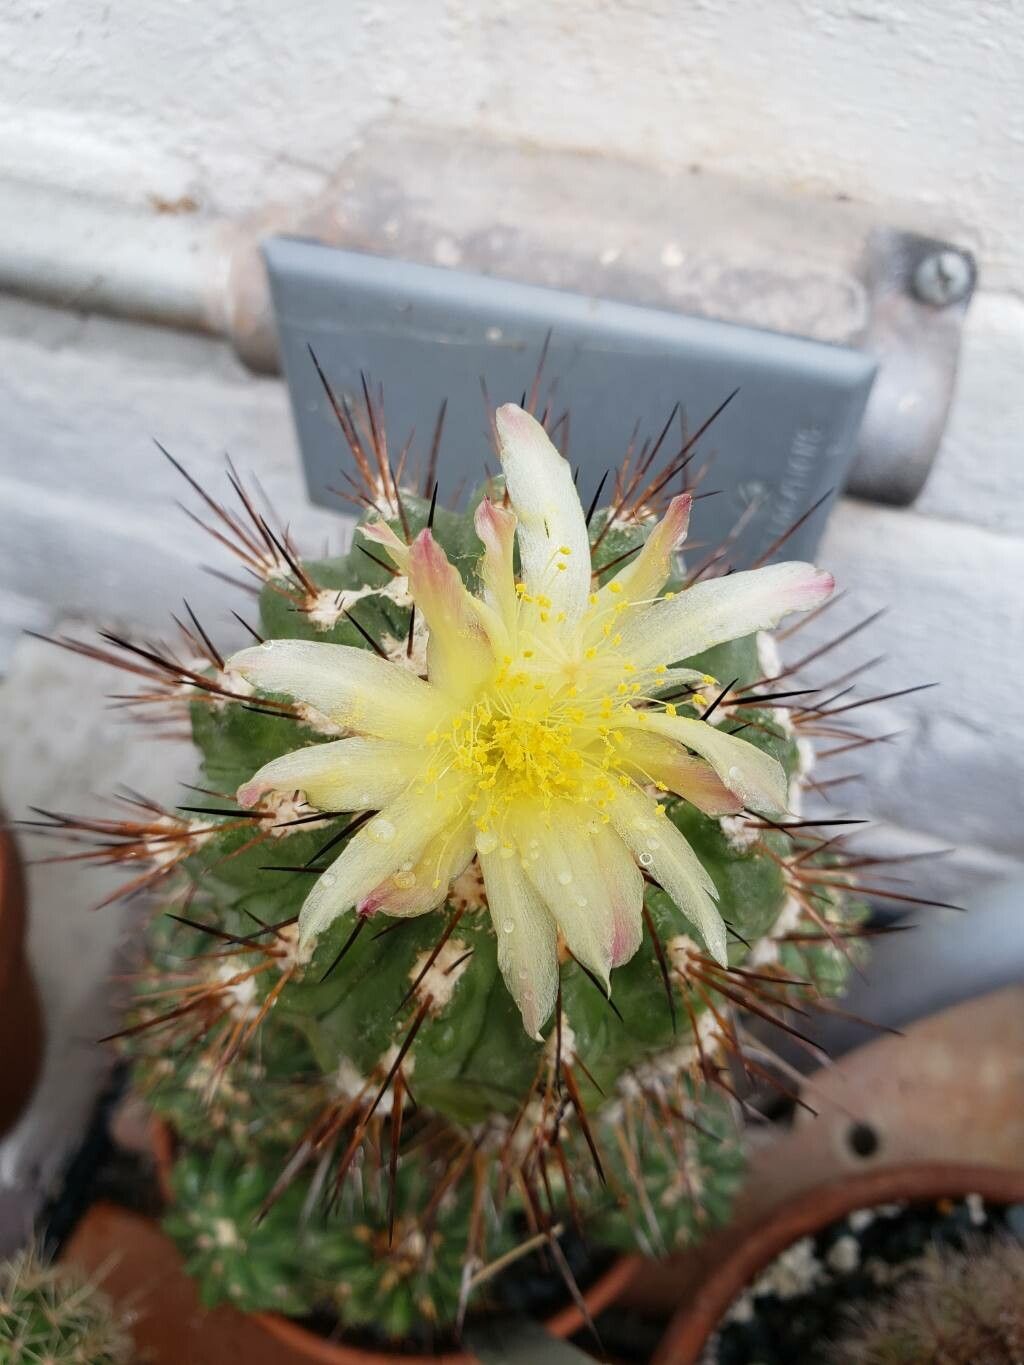
Welcome, fellow plant enthusiasts! Today, we’re diving into the fascinating world of propagating Copiapoa montana. If you’re like me, you’ve probably been captivated by its rugged charm and unique form. These Chilean cacti, with their often fuzzy, woolly bodies, are truly special. And the joy of growing a whole new Copiapoa from a piece of an existing one? It’s incredibly rewarding. Now, I’ll be honest, Copiapoa montana can be a bit of a diva when it comes to propagation. It’s not quite a ‘stick it in the ground and away it goes’ situation, but with a little care and attention, it’s absolutely achievable for the determined gardener.
The Best Time to Start
For Copiapoa montana, the spring and early summer are your best friends. This is when the plant is actively growing and has the energy reserves it needs to push out new roots. Waiting until after the main growing season also means your cuttings have a good chunk of warm weather ahead to establish themselves before winter chills set in.
Supplies You’ll Need
To give yourself the best chance of success, gather these items:
- Well-draining potting mix: A cactus and succulent mix is a good start, but I like to add extra perlite or pumice to ensure it drains like a sieve.
- Clean, sharp pruning shears or a knife: Sterilize them with rubbing alcohol to prevent disease.
- Rooting hormone (optional, but recommended): This encourages faster root development.
- Small pots or trays: Ensure they have drainage holes!
- Grit or small gravel: For the surface of your potting mix.
- Gloves: Some cacti have surprisingly sharp spines!
- A spray bottle: For gentle misting.
Propagation Methods
The most reliable way to propagate Copiapoa montana is through offsets (pups) or stem cuttings.
Propagating from Offsets
Many Copiapoa species produce offsets at their base. These are essentially miniature versions of the parent plant.
- Gently unpot the parent plant. Shake off excess soil carefully.
- Locate the offsets. You’ll see small plantlets growing from the base of the main stem.
- Separate the offsets. Using your sterilized knife or shears, carefully cut or twist the offset away from the parent. Try to get a bit of its own root system if possible.
- Allow the offset to callous. This is crucial! Place the offset in a dry, well-ventilated spot out of direct sunlight for 3-7 days. You want the cut end to dry and form a protective callus. This prevents rot.
- Pot it up. Fill a small pot with your well-draining mix. Make a small hole with your finger and gently place the offset in. You can add a bit of grit to the surface for stability. Don’t water yet.
Propagating from Stem Cuttings
If you don’t have offsets, you can take stem cuttings.
- Select a healthy stem. Choose a segment of the Copiapoa that looks robust and is free of pests or disease.
- Make a clean cut. Use your sterilized tool to make a clean cut. You want a piece that’s at least 2-3 inches long.
- Allow the cutting to callous. Just like with offsets, this step is non-negotiable. The cut end needs to dry out completely, which can take anywhere from a week to several weeks. Be patient! You’re looking for the cut surface to be dry and firm.
- Pot it up. Once calloused, pot the cutting in your well-draining mix. You can dip the calloused end in rooting hormone before inserting it into the soil, if you’re using it. Again, don’t water immediately.
The “Secret Sauce” (Pro Tips)
Here are a few tricks I’ve learned over the years that really make a difference:
- Don’t overwater the freshly potted cuttings. This is the number one killer! Wait until you see signs of root growth before giving them their first proper drink. For the first few weeks, a very light misting of the soil surface every now and then is all they need.
- Bottom heat is your friend. If you can, place your pots on a seedling heat mat. This gentle warmth from below really encourages those roots to form, especially during those cooler spring days.
- Handle with care and patience. Copiapoa are slow growers. Don’t expect overnight results. Observe them, check for dryness, and trust the process. They’ll tell you when they’re ready.
Aftercare & Troubleshooting
Once your cutting or offset has been in its pot for a few weeks, gently tug on it. If you feel resistance, congratulations – you have roots!
- First watering: Water thoroughly but allow it to drain completely.
- Light: Provide bright, indirect light. Avoid harsh, direct sun until the plant is well-established.
- Ongoing care: Water only when the soil is completely dry. This might be every few weeks, depending on your environment.
The most common problem you’ll encounter is rot. Signs of rot include a mushy base, discoloration (often black or brown and spreading), and a general wilting or collapse of the cutting. If this happens, it’s usually due to too much moisture and a lack of proper callousing. If you catch it early, you might be able to cut away the rotten part and let it callous again, but often it’s a lost cause. Prevention is key here: that dry callous and excellent drainage are your best defenses.
A Encouraging Closing
Growing Copiapoa montana from cuttings or offsets is a journey. It requires a bit of patience and a watchful eye, but the reward of seeing a new plant emerge is truly magical. Don’t be discouraged if your first attempt isn’t a runaway success. Every gardener has their share of experiments that don’t quite pan out. Just keep trying, observe your plants closely, and enjoy the process of nurturing new life. Happy growing!
Resource:
https://identify.plantnet.org/k-world-flora/species/Copiapoa%20montana%20F.Ritter/data