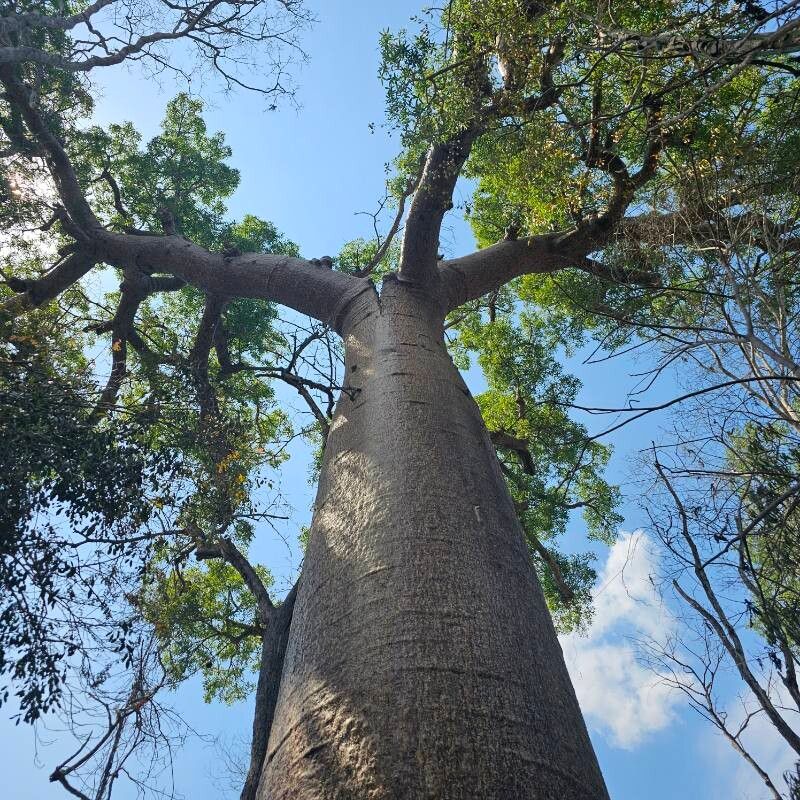
Oh, Adansonia za! If you’ve ever seen one of these magnificent baobab trees, you know what I’m talking about. Their swollen trunks are just begging to be noticed, and their surprisingly delicate flowers are a true marvel. Growing a baobab from scratch is a journey, for sure, but a deeply rewarding one. Let me tell you, it’s not for the faint of heart, and I wouldn’t tell a complete beginner to jump straight into this one. But with a little dedication and a lot of patience, you can absolutely enjoy the magic of growing your own Adansonia za.
When is the Best Time to Start?
The ideal time to propagate your Adansonia za is during its active growing season. For most baobabs, this means spring and summer when temperatures are warm and daylight hours are longer. This is when the plant has the most energy reserves to put into developing roots. Trying to propagate when the plant is dormant or stressed is just asking for trouble.
What You’ll Need
Here’s a little kit to get you started:
- Sharp Pruning Shears or a Clean Knife: For making clean cuts. Sterilize them with rubbing alcohol before and after use, please!
- Well-Draining Potting Mix: A blend of perlite, coarse sand, and a good quality potting soil works wonders. Think cactus mix, but maybe a bit richer.
- Small Pots or Seedling Trays: With drainage holes, of course!
- Rooting Hormone (Optional but Recommended): This can give your cuttings a helpful boost. Look for one formulated for woody cuttings.
- Watering Can with a Fine Rose: For gentle watering.
- Plastic Bag or Clear Dome: To create a humid environment.
- Labels and a Pen: To keep track of your efforts!
Let’s Get Propagating!
While seeds can be a whole adventure with baobabs, I find stem cuttings to be the most reliable method for propagating Adansonia za for home gardeners.
- Choose Your Cutting: During the active growing season, select a healthy, semi-hardwood stem. It should be pencil-thick and about 6-8 inches long. Look for growth that’s not too soft and floppy, but not fully woody either.
- Make the Cut: Using your sterilized pruning shears or knife, make a clean cut just below a leaf node. A leaf node is where a leaf attaches to the stem.
- Prepare the Cutting: Gently remove the lower leaves from the cutting, leaving just two or three at the very top. This reduces water loss from transpiration and prevents leaves from rotting in the soil.
- Apply Rooting Hormone (If Using): Dip the cut end of the stem into your rooting hormone powder, tapping off any excess.
- Planting Time: Fill your small pots with your prepared potting mix. Make a hole in the center of the soil with your finger or a pencil.
- Insert the Cutting: Carefully insert the cut end of the stem into the hole, ensuring the bottom leaves are not touching the soil. Gently firm the soil around the cutting.
- Water Gently: Water the potting mix thoroughly until it drains from the bottom of the pot.
- Create Humidity: This is crucial! Cover the pot with a clear plastic bag or place it under a clear dome. This traps humidity around the cutting, which is vital for root development. Make sure the plastic doesn’t touch the leaves.
The “Secret Sauce”
Now, here are a few little tricks I’ve learned over the years that can really make a difference with these beautiful trees:
- Bottom Heat is Your Friend: If you can, place your pots on a heat mat specifically designed for seedlings. A consistent warmth at the base of the cutting (around 70-75°F or 21-24°C) encourages root formation much faster than just ambient room temperature.
- Don’t Drown Your Dreams: While humidity is key, overwatering is the quickest way to kill a cutting. Let the top inch of soil dry out slightly between waterings. The plastic cover will help retain moisture, so you won’t need to water as often as you might think.
- Air It Out: Even with the humidity cover, it’s a good idea to “vent” your cuttings daily for a few minutes. This allows for some air circulation and helps prevent fungal issues. Just lift the bag or dome for a bit.
Aftercare and Troubleshooting
Once your cuttings have been planted, it’s all about patience and observation.
- Checking for Roots: You’ll want to gently tug on the cutting after about 4-8 weeks. If there’s resistance, congratulations, roots are forming! You can also look for new leaf growth, which is a good sign.
- Transitioning: When you see good root development, gradually acclimate your new plant to less humid conditions by increasing the venting time. Eventually, you can remove the plastic cover altogether.
- Troubleshooting Rot: The biggest enemy here is rot. If your cutting turns black and mushy, or the leaves start to yellow and fall off rapidly, it’s likely suffering from overwatering or fungal disease. Unfortunately, in these cases, it’s usually best to discard the cutting and start again. Make sure your soil is very well-draining and you’re not watering too frequently.
Growing a baobab is a testament to nature’s resilience and your own dedication. Don’t get discouraged if your first few attempts don’t pan out. Each plant is a unique experiment, and every gardener has their own share of failures. Keep going, enjoy the process, and one day you’ll have the immense satisfaction of nurturing a magnificent Adansonia za from a humble cutting. Happy gardening!
Resource:
https://identify.plantnet.org/k-world-flora/species/Adansonia%20za%20Baill./data