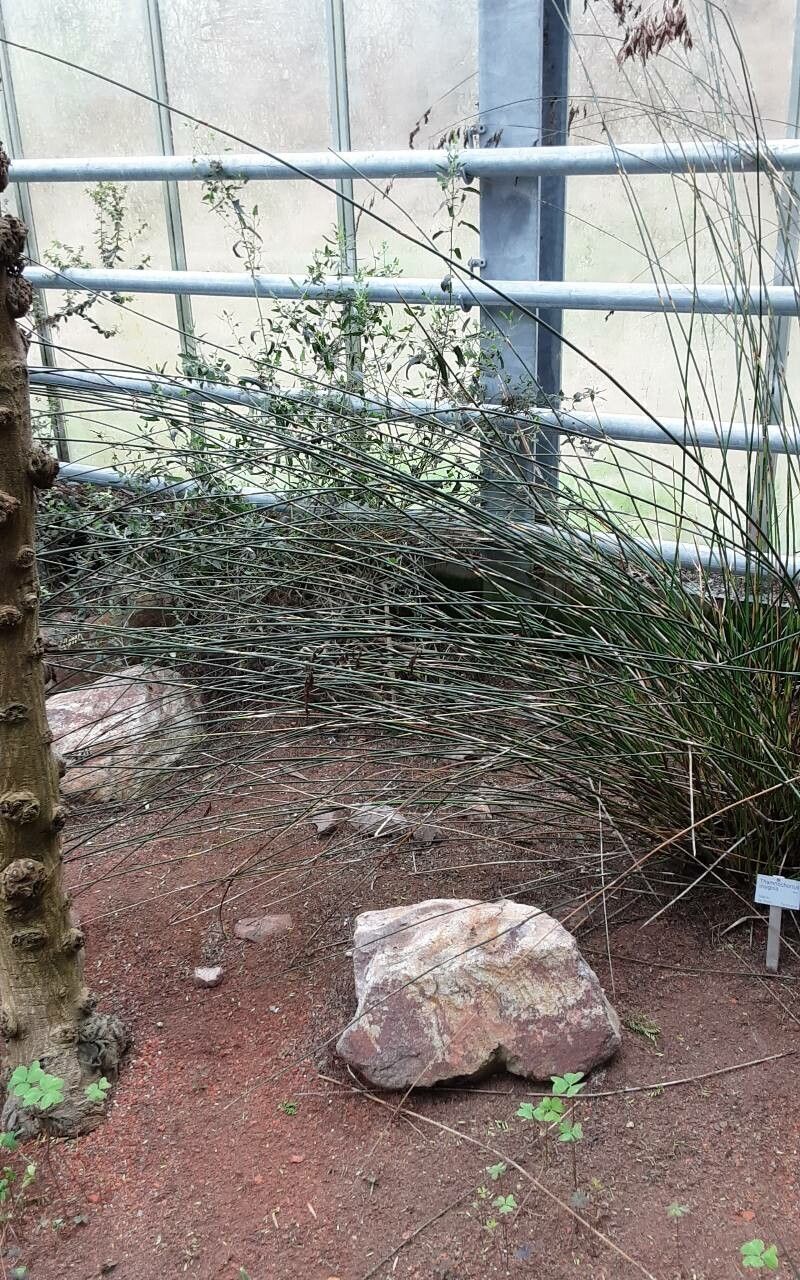
Hello there, fellow plant lovers! Today, I want to chat about a truly special grass that has captured my heart over the years: Thamnochortus insignis. You might know it by its common name, the Cape rushes, and oh, what a showstopper it is! With its elegant, weeping habit and fine, almost feathery foliage, it brings a unique texture and movement to any garden. It’s not just its beauty, though. The joy of successfully propagating these beauties is immense. It’s a chance to multiply that gorgeous greenery and share it with friends – or just to fill your own garden with more of what you love. Now, I’ll be honest, Thamnochortus insignis isn’t the absolute easiest plant for a complete beginner to propagate, but with a little care and these tips, you’ll be well on your way to success.
The Best Time to Start
For the highest success rate with Thamnochortus insignis, I find that late spring through early summer is your golden window. This is when the plant is actively growing, meaning it’s full of energy and more likely to put that energy into creating new roots. You want to take cuttings from stems that are firm and mature, but not woody or old. Think of it like taking a healthy, vibrant shoot – that’s your target.
Supplies You’ll Need
Here’s a little toolkit that will serve you well:
- Sharp Pruning Shears or a Clean Knife: For taking clean cuts.
- Rooting Hormone (Powder or Gel): This isn’t strictly essential for all cuttings, but it can give you a significant boost, especially for slightly trickier propagations. Thamnochortus roots respond well to it.
- Well-Draining Potting Mix: A mix of perlite, coarse sand, and a good quality potting soil is perfect. You want something that won’t hold too much moisture. Think airy and free-draining.
- Small Pots or Trays: Clean pots are a must!
- Watering Can with a Fine Rose: Gentle watering is key.
- Plastic Bags or a Propagation Dome: To create a humid environment.
- Soft Brush: To gently dust off excess rooting hormone.
Propagation Methods
For Thamnochortus, I’ve found the most reliable method to be stem cuttings. Division is also possible, but often more challenging and can shock the parent plant.
1. Stem Cuttings:
- Select Your Cuttings: Look for healthy, non-flowering stems that are about 4-6 inches long. Gently bend a stem; if it snaps cleanly, it’s a good candidate. If it bends without breaking, it might be too soft.
- Make the Cut: Using your sharp shears or knife, make a clean cut just below a leaf node. A leaf node is where a leaf attaches to the stem – that’s where the magic of root development happens!
- Prepare the Cutting: Remove the lower leaves from the cutting, leaving only the top few leaves. This prevents them from rotting when you put the cutting in the soil or water.
- Apply Rooting Hormone: If you’re using it, dip the cut end of the stem into the rooting hormone, tapping off any excess.
- Plant Your Cuttings: Fill your clean pots with your well-draining potting mix. Make a hole with your finger or a pencil, and gently insert the cut end of the stem. Firm the soil gently around the base of the cutting. You can typically fit 3-5 cuttings per small pot, spaced a few inches apart.
- Water Gently: Water the soil lightly after planting. You want it to be moist, not soggy.
- Create Humidity: Cover the pot with a clear plastic bag or a propagation dome. Make sure the leaves don’t touch the plastic. You can use small stakes to prop up the bag if needed. This traps moisture and helps prevent the cuttings from drying out, mimicking the humid conditions they crave.
- Place in Bright, Indirect Light: Find a spot that gets bright light but no direct sun, which can scorch the delicate cuttings.
- Be Patient! Roots can take anywhere from 4-8 weeks to develop. You can gently tug on a cutting to feel for resistance – that’s a good sign of roots forming.
The “Secret Sauce” (Pro Tips)
Here are a few things I’ve learned over the years that really make a difference:
- Don’t Overwater! This is perhaps the most crucial tip for Thamnochortus. They hate wet feet. Soggy soil is the fastest way to invite rot. Aim for consistent moisture, but allow the surface of the soil to dry out slightly between waterings.
- Bottom Heat is Your Friend: If you have the space, using a heat mat specifically designed for seedlings and cuttings can significantly speed up the rooting process. It encourages root development from below, giving your cuttings a real head start.
- Fresh, Clean Materials: I can’t stress this enough. Always use sterilized pots and clean tools. Bacteria and fungi are the enemies of successful propagation, and starting with a clean slate is your first line of defense.
Aftercare & Troubleshooting
Once you feel that resistance when gently tugging on your cuttings, it’s time to start transitioning them!
- Acclimatize Gradually: For a week or so, gradually remove the plastic cover for longer periods each day. This helps the new plant get used to normal humidity levels.
- Pot Up: Once the cuttings are well-rooted and growing, you can carefully pot them into individual containers. Use the same well-draining mix.
- Watering: Continue to water when the top inch of soil feels dry.
- Troubleshooting: The most common issue you’ll face is rot. If a cutting turns black and mushy, it’s likely rotted. This is usually a sign of too much moisture or poor drainage. If you see signs of rot, remove the affected cutting immediately to prevent it from spreading. Yellowing leaves can sometimes indicate too much water or not enough light. Fungal spots are also a possibility; ensure good air circulation.
A Little Encouragement
Propagating plants is a journey, not a race. You might have some cuttings that don’t make it, and that’s perfectly okay! Every gardener has experienced failures. With Thamnochortus insignis, the reward of seeing those delicate roots emerge and watching your new plant unfurl is absolutely worth the patience. So, gather your supplies, embrace the process, and enjoy the magic of growing something new! Happy gardening!
Resource:
https://identify.plantnet.org/k-world-flora/species/Thamnochortus%20insignis%20Mast./data