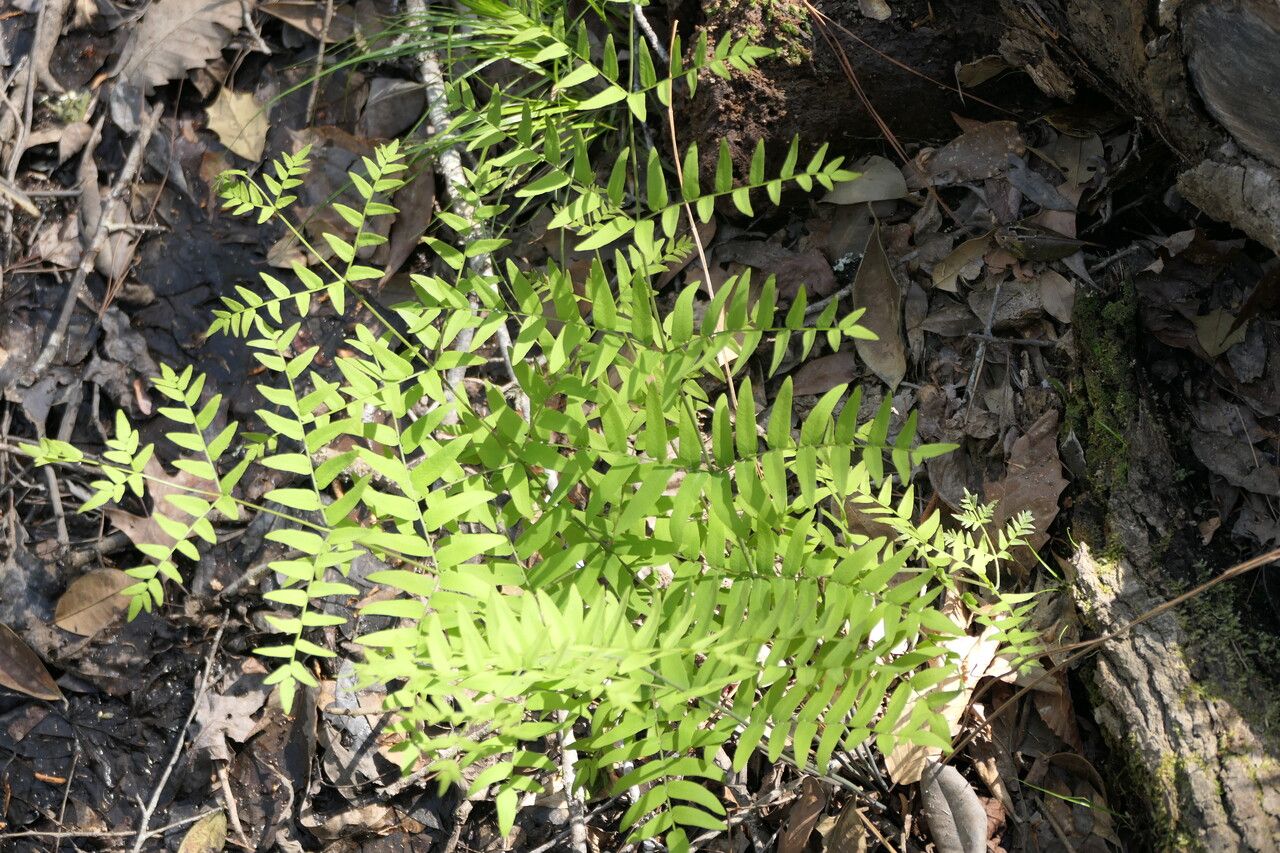
Oh hello there! It’s so lovely to have you pop by. Today, we’re diving into the wonderful world of propagating Osmunda spectabilis, also known as the American Royal Fern. It’s such a magnificent fern, with those gorgeous, coppery-brown fertile fronds that look like they belong in a fairytale. Seeing new life spring from a piece of an existing plant is truly one of gardening’s greatest joys, and I find it so rewarding to share this beautiful fern with friends (and my own garden!). Now, I’ll be honest, Osmunda spectabilis can be a little bit finicky compared to some of your common houseplants, but with a bit of care and the right approach, it’s absolutely achievable, even for keen beginners.
The Best Time to Start
For Osmunda spectabilis, the sweet spot for propagation is typically late spring or early summer, just as the plant is really hitting its stride with active growth. You want to catch it when it’s full of vigor. You can also divide larger clumps in early spring as the new fiddleheads begin to unfurl, but late spring/early summer is generally best for cuttings.
Supplies You’ll Need
To get your ferns happily rooted, gather these essentials:
- Sharp, sterilized pruning shears or a sharp knife: Cleanliness is key to prevent disease.
- Rooting hormone powder or gel: This really gives your cuttings a helpful boost.
- A well-draining potting mix: I like a blend of peat moss, perlite, and a bit of compost. For ferns, a slightly acidic mix is perfect.
- Small pots or propagation trays: Ensure they have drainage holes!
- Plastic bags or a clear propagation dome: To create a humid environment.
- Watering can with a fine rose: To water gently.
- A warm, bright location with indirect light: Avoid harsh sun.
- Optional: Bottom heat mat: This can significantly speed up root development.
Propagation Methods
The most reliable way to propagate Osmunda spectabilis is through division. While you might be tempted to try stem cuttings, ferns can be a bit more challenging in that regard. Division is the tried-and-true method for this beauty.
Division: Getting Started
- Prepare your parent plant: Gently remove the Osmunda spectabilis from its pot or from the ground. If it’s in the ground, carefully dig around it, trying not to disturb the roots too much.
- Inspect the root ball: You’ll want to look for distinct clumps or crowns where new growth is emerging. The goal is to separate these natural divisions.
- Make the cut (gently!): Using your clean shears or knife, carefully split the root ball into sections. Each section should have at least a few healthy roots and a healthy bud or growing point. Sometimes, you can gently pull the sections apart with your hands, especially if the root system isn’t too dense. If you encounter resistance, that’s when your tool comes in handy. Be patient; don’t force it.
- Potting up your divisions: Plant each division into its own pot filled with your prepared potting mix. Make sure the crown (where the fronds emerge from the roots) is at soil level.
- Water thoroughly: Give each new plant a good, gentle watering to settle the soil around the roots.
The “Secret Sauce” (Pro Tips)
Here are a few things I’ve learned over the years that make a real difference:
- Don’t let the soil dry out, but don’t drown it either! Ferns love consistent moisture, but soggy conditions invite rot faster than you can say “oops!” Aim for soil that feels like a wrung-out sponge – moist but not dripping.
- Humidity is your best friend. After potting your divisions, cover the pots with clear plastic bags or a propagation dome. This creates a mini greenhouse, keeping the humidity high, which is crucial for the fern to establish itself without drying out. Poke a few small holes in the bag for a little air circulation.
- Give them a little warmth. If you have a bottom heat mat, placing your pots on it can dramatically speed up root formation. It mimics the cozy warmth of a spring soil bed.
Aftercare & Troubleshooting
Once your divisions are potted, keep them in that warm, bright, indirect light. Check regularly for moisture and water as needed. You’ll know your division is happy and starting to root when you see the emergence of new fiddleheads or unfurling fronds. This can take anywhere from a few weeks to a couple of months.
The most common sign of trouble is rot, which usually manifests as mushy, black stems or roots, and a general wilting that doesn’t improve with watering. If you suspect rot, it’s often a case of overwatering. You might be able to save a division by carefully removing the rotted parts and repotting in fresh, drier soil, but it’s a tough one to come back from. Another issue can be drying out, where the fronds turn brown and crispy. This is usually a sign that the humidity wasn’t high enough or it wasn’t watered consistently.
A Encouraging Closing
So there you have it! Propagating Osmunda spectabilis by division is a rewarding way to expand your fern collection. Be patient with your new plants; they’re working hard to establish themselves. The joy of watching those delicate fronds unfurl is absolutely worth the effort. Happy gardening, and enjoy the leafy green magic!
Resource:
https://identify.plantnet.org/k-world-flora/species/Osmunda%20spectabilis%20Willd./data