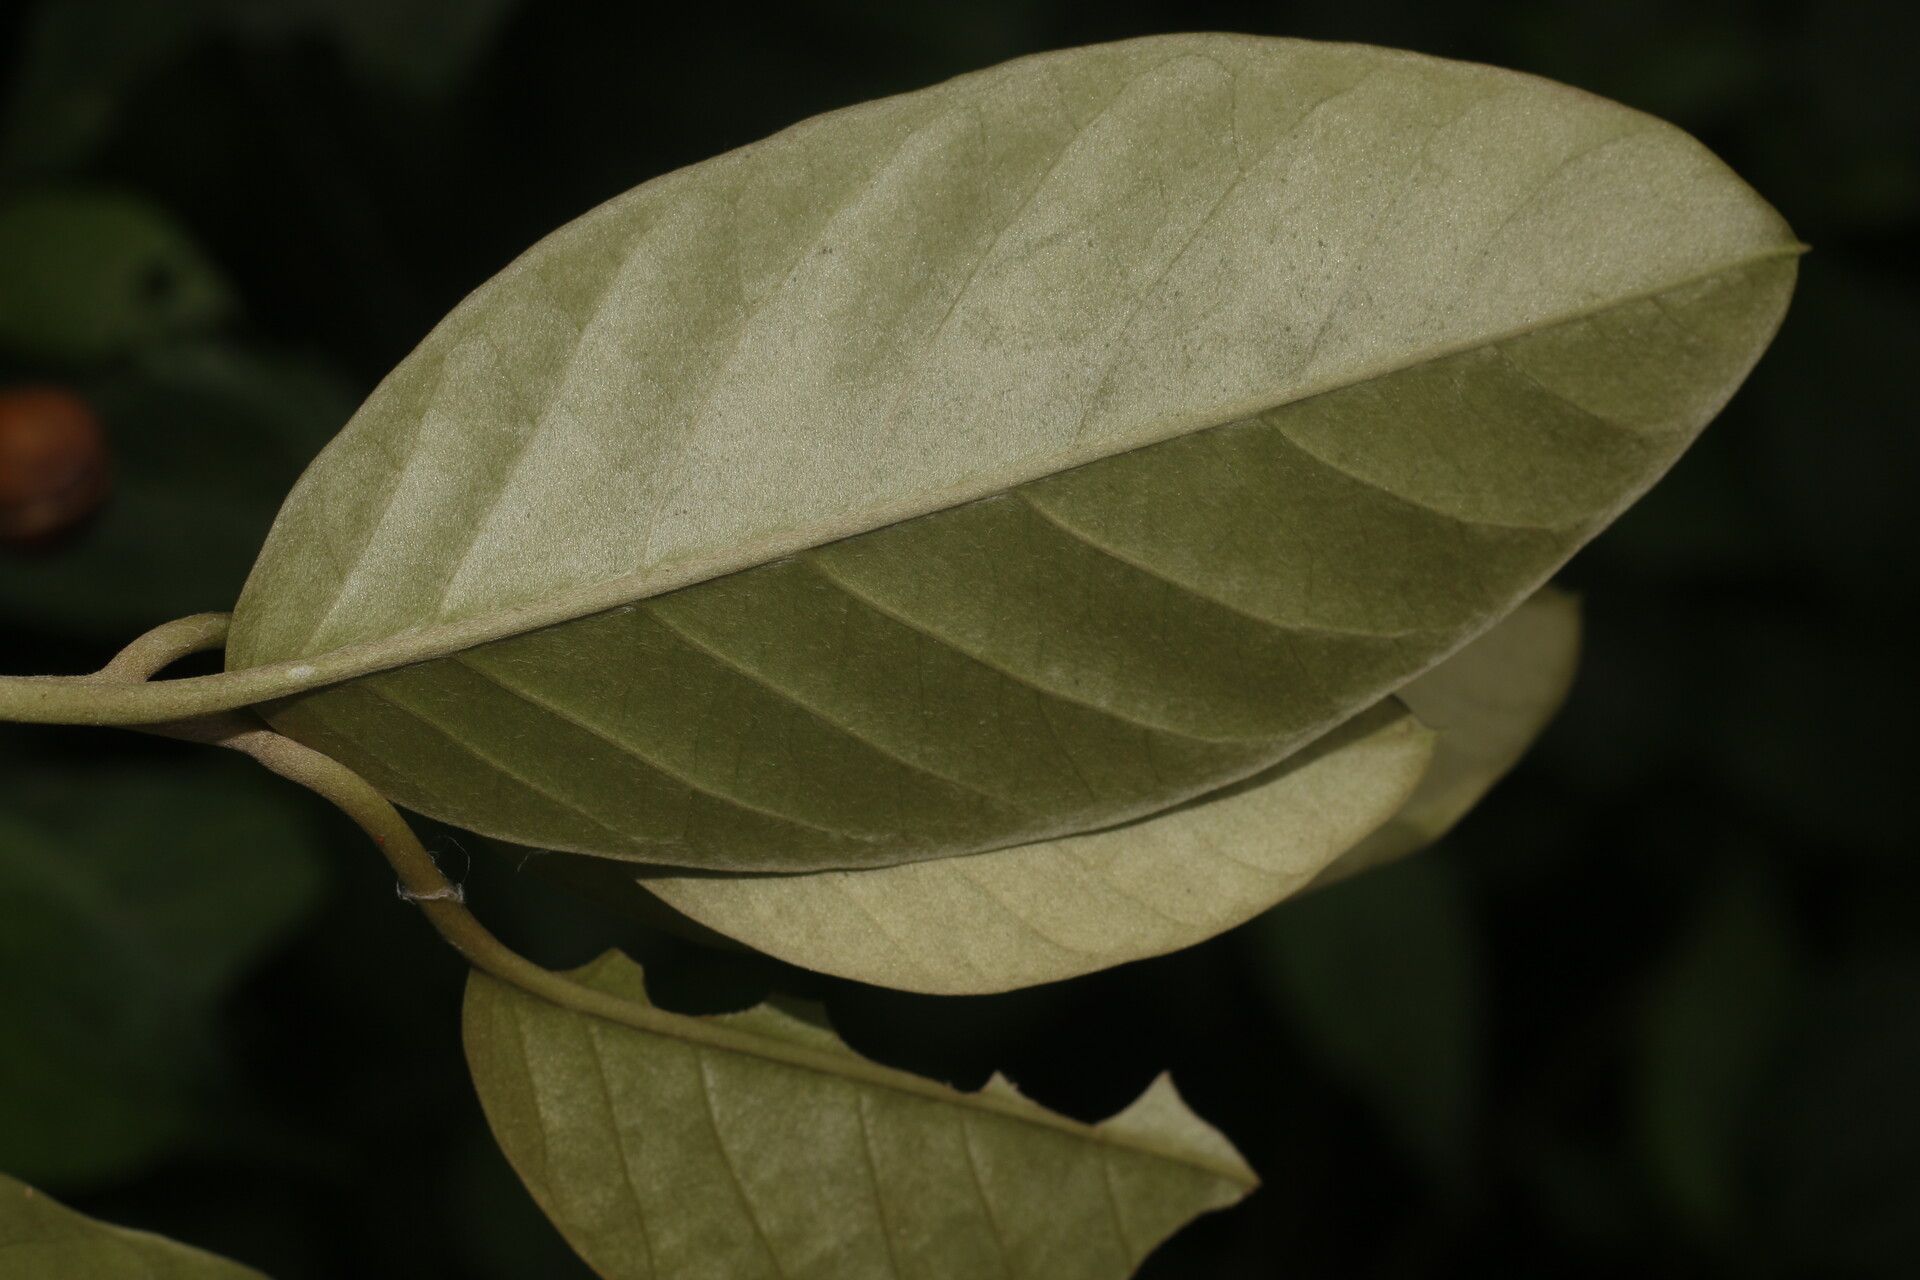
Oh, Itzaea sericea! If you’ve ever seen this beauty gracing a garden or perhaps a friend’s sun-drenched windowsill, you know what a treat it is. With its delicate, silvery foliage and that lovely, understated charm, it’s no wonder you’re curious about bringing more of it into your life. Propagating it myself has always felt like a little bit of garden magic, a way to share its beauty and, honestly, just to have more of it to enjoy! For beginners, I’d say Itzaea sericea is moderately easy. It’s not a finicky diva, but it does appreciate a bit of know-how.
The Best Time to Start
For us gardeners, spring is usually our golden ticket. That time when the days start to lengthen and plants are waking up from their winter slumber is when they’re brimming with new energy. Look for new growth that’s still a little soft but not brand new, spindly growth. You want it to have a bit of substance. This is when the plant is most eager to put out roots.
Supplies You’ll Need
Gathering your tools before you begin saves so much hassle. Here’s what I always have on hand:
- Sharp Pruning Shears or a Clean Knife: Essential for making clean cuts.
- Potting Mix: A good quality, well-draining potting mix is key. I often mix in a bit of perlite or pumice for extra aeration, especially if my regular mix seems a touch heavy.
- Small Pots or Trays: Whatever you have that can hold your cuttings and retain a bit of moisture.
- Rooting Hormone (Optional, but helpful): Especially for woody cuttings, this can give them a boost. I prefer a powder.
- Plastic Bags or a Propagation Dome: To create a humid environment.
- Watering Can with a Fine Rose: For gentle watering.
- Labels and a Pen: So you know what’s what and when you started it!
Propagation Methods
While Itzaea sericea can sometimes be persuaded to root from seed (though it’s less common and often slower), the most reliable and satisfying method for me is stem cuttings.
Taking Stem Cuttings:
- Select Your Cuttings: Choose healthy stems that are about 3-5 inches long. Look for sections with at least a couple of sets of leaves. As I mentioned, that slightly hardened, but not woody, growth is perfect.
- Make the Cut: Using your sharp pruning shears or knife, make a clean cut just below a leaf node (where a leaf attaches to the stem). This is where the plant is more likely to initiate root growth.
- Prepare the Cutting: Gently remove the lower leaves from the cutting, leaving only a couple of sets at the very top. This prevents them from rotting in the soil or water. If the remaining leaves are very large, I’ll sometimes even cut them in half horizontally.
- Apply Rooting Hormone (Optional): If you’re using rooting hormone, dip the cut end into the powder, tapping off any excess.
- Plant the Cuttings: Fill your small pots or trays with your prepared potting mix. Make a small hole in the center with your finger or a pencil, and gently insert the cut end of the stem. Firm the soil around it. Give it a gentle watering.
- Create Humidity: To keep your cuttings from drying out, I like to either cover the pots with a clear plastic bag (propping it up with stakes so it doesn’t touch the leaves) or place them under a propagation dome.
- Place Wisely: Find a bright spot with indirect light. Avoid direct sunlight, which can scorch the delicate cuttings.
Water Propagation (An alternative approach):
Some people find success with water propagation for Itzaea sericea, and it’s lovely to watch the roots develop!
- Prepare your cuttings as described above (steps 1-3).
- Place the cuttings in a clean jar or glass filled with fresh water.
- Crucially, ensure no leaves are submerged in the water. Any leaves touching the water will rot, which can prevent root formation and even rot the stem.
- Place the jar in a bright location with indirect light.
- Change the water every few days to keep it fresh and oxygenated.
The “Secret Sauce” (Pro Tips)
Here are a few little tricks I’ve learned over the years that seem to make a difference:
- Bottom Heat is Your Friend: This is a big one for me. Itzaea sericea really loves a bit of warmth from below when it’s trying to root. If you have a heat mat designed for seedlings, place your pots on top of it. You’ll be amazed at how much faster and more successful your cuttings can be.
- Don’t Rush the Transplant: When propagating in soil, be patient. It can take several weeks, sometimes even a couple of months, for roots to establish. You’ll know they’re ready when you gently tug on a cutting and feel resistance, or if you see new growth appearing at the top. For water propagation, wait until the roots are at least an inch long before attempting to pot them up.
- The “Wipe Test” for Rot: If you’ve opted for water propagation and the water is becoming cloudy, or you see a slimy coating on the stem or leaves, it’s a sign of rot. Immediately remove the affected cutting, trim away any rotten bits, and start with fresh water, perhaps even in a different glass. Cleanliness is paramount.
Aftercare & Troubleshooting
Once you see those beautiful new roots forming (either in the soil or water), it’s time to give your little ones a bit more attention.
If you started them in soil, continue to keep the soil consistently moist but not soggy for the first few weeks after they’ve rooted. As they grow stronger, you can gradually introduce them to a regular watering schedule similar to your mature Itzaea sericea.
If you transitioned from water to soil, water very gently to avoid dislodging those delicate new roots. Again, keep the soil consistently moist.
The biggest bugbear you’ll likely encounter is rot. This usually happens when cuttings are kept too wet, lack air circulation, or if you’ve used contaminated water. Prevention is all about good drainage, not overwatering, and ensuring decent airflow. If a cutting shows signs of wilting and browning, it’s often a sign that things have gone wrong. Don’t be discouraged; just try again!
A Encouraging Closing
Propagating plants is a journey, and sometimes not every attempt works out perfectly. But that’s part of the gardening adventure, isn’t it? Each success is a little triumph, and even the failures teach us something. So, grab your shears, get your hands in some soil, and give it a go. Be patient, observe your little cuttings carefully, and enjoy the wonderful process of bringing more of that lovely Itzaea sericea into your world. Happy propagating!
Resource: