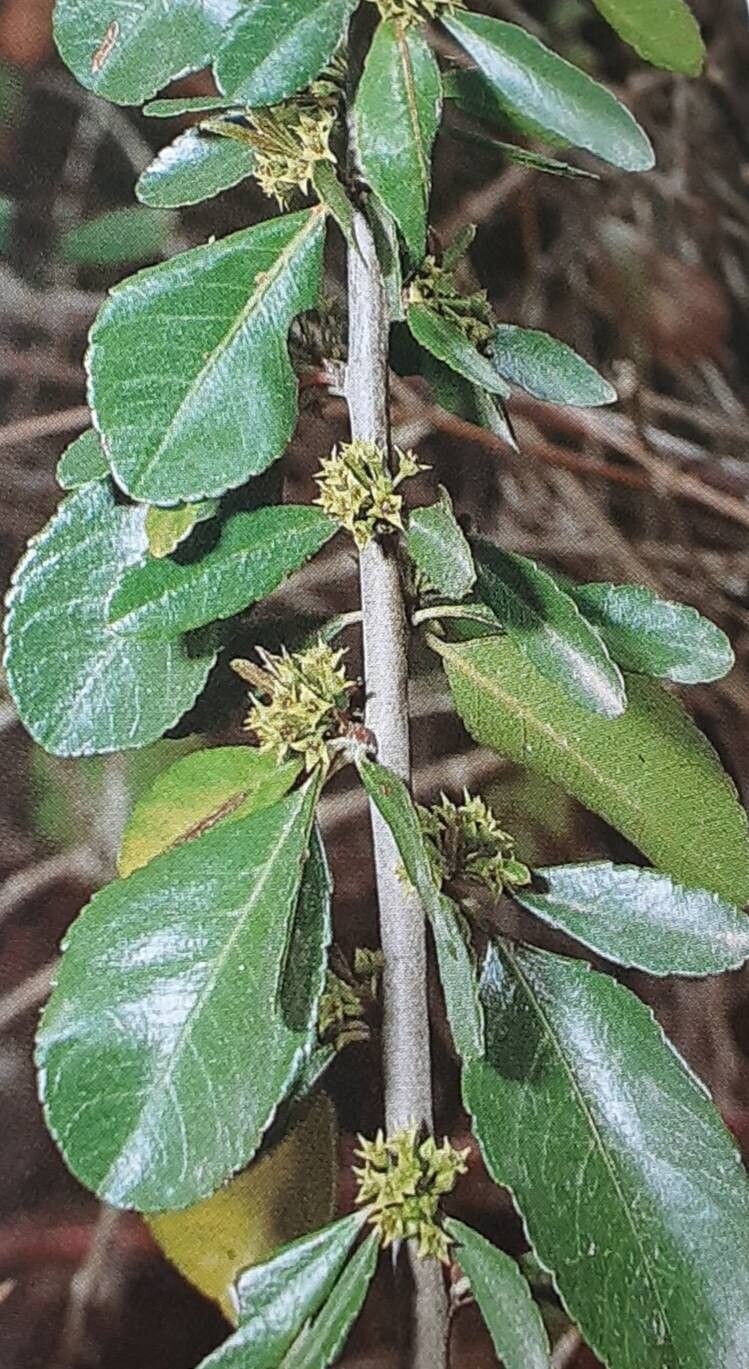
Hey there, fellow garden lovers! I’m so excited to chat with you today about a truly charming shrub: Rhamnus crenulata. You might know it by its common name, the Moroccan Cranberry Bush, though it’s not actually a cranberry! I just adore this plant for its glossy, wavy-edged leaves and the subtle, elegant way it adds structure to a garden. Plus, its small, unobtrusive flowers eventually give way to lovely little berries that attract all sorts of beneficial critters. Propagating it yourself is incredibly satisfying – you get more beauty for your buck and the sheer joy of nurturing life from a tiny cutting. Honestly, for those of you just dipping your toes into propagation, Rhamnus crenulata is wonderfully forgiving. You’ve got this!
The Best Time to Start
The sweet spot for propagating Rhamnus crenulata is definitely during its active growing season. Think late spring through early summer. This is when the plant is really buzzing with energy, making it much more receptive to rooting. You’re looking for pieces of stem that are firm but not woody yet – often called semi-hardwood cuttings. Avoid anything that’s super soft and brand-new, or totally old and woody.
Supplies You’ll Need
Gathering your tools before you start makes the whole process smooth sailing. Here’s what I always have on hand:
- Sharp Pruning Shears or a Craft Knife: Clean cuts are key!
- Rooting Hormone: This isn’t strictly required for Rhamnus crenulata, but it can give your cuttings a real boost and speed things up. I prefer a powder or gel.
- Small Pots or Seedling Trays: Make sure they have good drainage holes.
- Propagation Medium: A light, airy mix is best. I like a blend of equal parts perlite and peat moss, or you can use a good quality seed-starting mix.
- Plastic Bags or a Clear Dome: To create a mini-greenhouse effect and keep humidity high.
- Watering Can or Spray Bottle: For gentle watering.
Propagation Methods: Taking Stem Cuttings
This is my go-to method for Rhamnus crenulata and usually yields the best results.
- Select Your Cuttings: Head out to your plant when it’s looking healthy and vigorous. Snip off some healthy stems that are about 4-6 inches long. Look for stems with several sets of leaves.
- Prepare the Cuttings: Gently remove the lower leaves from your cuttings. You want to expose a few nodes (where the leaves attach to the stem). If a leaf is particularly large, you can even cut it in half horizontally to reduce water loss.
- Dip in Rooting Hormone (Optional but Recommended): Moisten the cut end of the stem slightly, then dip it into your rooting hormone powder or gel, tapping off any excess.
- Potting Up: Fill your small pots or trays with your propagation medium. Make a little hole in the center with your finger or a pencil.
- Insert the Cuttings: Carefully place the cut end of each cutting into the hole, making sure the hormone coating isn’t scraped off. Gently firm the medium around the base of the cutting to ensure good contact. You can usually fit 2-3 cuttings per small pot.
- Water Gently: Give your newly potted cuttings a gentle watering. You want the medium to be moist but not soggy.
- Create a Humid Environment: Place the pots inside a plastic bag, being careful not to let the leaves touch the sides, or cover them with a clear plastic dome. This traps moisture and creates the humid environment cuttings need to root.
The “Secret Sauce” (Pro Tips)
Okay, lean in, because here are a couple of little tricks I’ve picked up over the years that can make a big difference:
- Don’t Let the Leaves Touch the Water (if water propagating): While stem cuttings in soil are my preferred method, if you’re experimenting with water, always ensure no leaves are submerged. They’ll just rot and create problems. Only the stem should be in the water.
- Bottom Heat is Wonderful: If you can, place your pots on a gentle heat mat designed for propagation. This little bit of warmth from below signals to the cutting that it’s time to get growing and will significantly speed up the rooting process. It’s like a cozy spa day for your cuttings!
Aftercare & Troubleshooting
Once your cuttings are happily housed, keep them in a bright spot but out of direct, harsh sunlight. Check the moisture levels regularly; the propagation medium should stay consistently evenly moist. You’ll know your cuttings are rooting when you see new leaf growth starting. This can take anywhere from four to eight weeks, sometimes longer. Be patient!
The most common issue is rot. If you see your cuttings turning mushy or black, it means they’re staying too wet. You can try gently pulling them out to inspect the base. If they’re rotten, unfortunately, they’re usually a goner. Ensure good airflow and don’t overwater. If they just don’t seem to be doing anything after a long while, it might be that they just weren’t viable cuttings. Don’t get discouraged!
A Little Patience Goes a Long Way
So there you have it! Propagating Rhamnus crenulata is a rewarding journey. Observe your cuttings, give them what they need, and don’t be afraid to experiment. You’ll be admiring your own little Moroccan Cranberry Bushes before you know it. Happy gardening!
Resource:
https://identify.plantnet.org/k-world-flora/species/Rhamnus%20crenulata%20Aiton/data