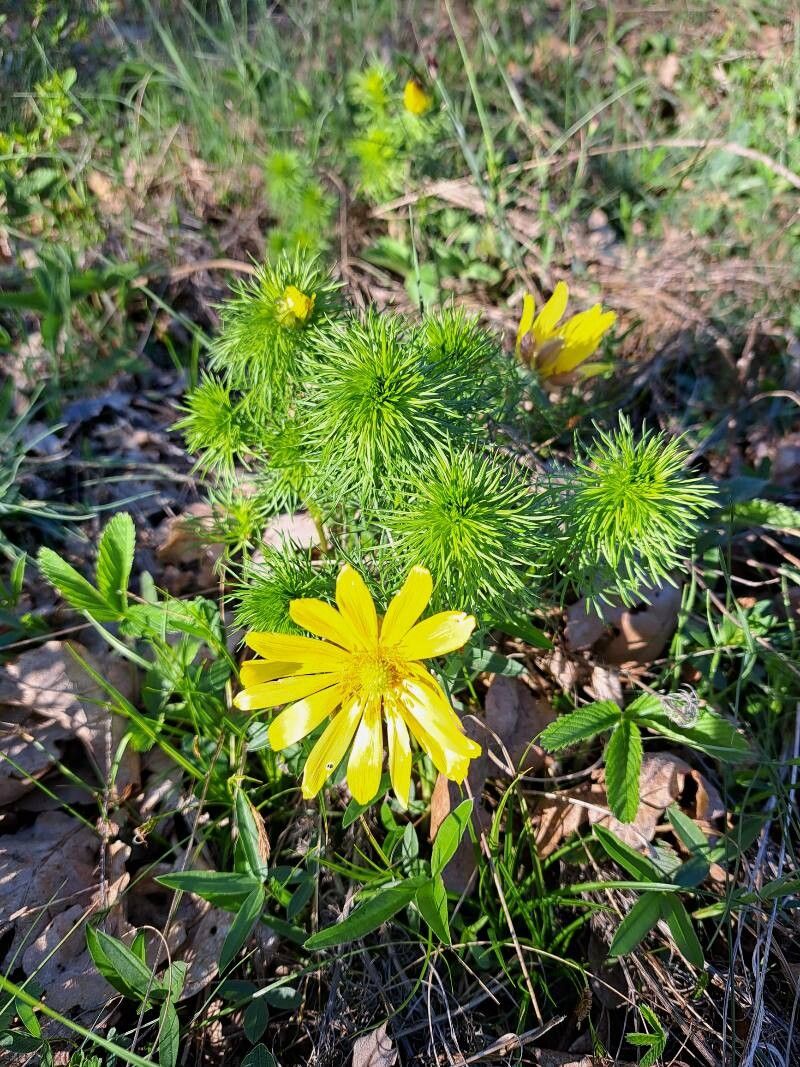
Oh, hello there! Come in, come in, pull up a chair. I’ve got a fresh pot of coffee brewing, just the thing to fuel our chat about this beauty: Adonis vernalis, the Spring Pheasant’s Eye. Isn’t she just breathtaking? Those vibrant, golden yellow blooms that burst forth so early in the spring, like little suns peeking through the last of the winter chill. Propagating them is a wonderful way to share that sunshine and fill your own garden with even more of their cheerful presence.
Now, let’s be honest. Adonis vernalis isn’t exactly a beginner’s “throw it in the ground and forget it” kind of plant. It likes things a bit just so. But with a little care and understanding, it’s absolutely achievable, and oh-so-rewarding when you see those little shoots emerge!
The Best Time to Start
For Adonis vernalis, timing is everything. The absolute best time to try your hand at propagation is in early spring, just as the plant is waking up from dormancy. You’re looking for that moment when growth is starting to be really active, but before the plant is fully committed to flowering. This gives your new propagations a good long growing season to establish themselves. Failing that, late summer can also work, but you’ll want to get them settled before the cold truly sets in.
Supplies You’ll Need
Here’s what you’ll want to have gathered before we get started:
- Sharp, clean pruning shears or a sharp knife: For making clean cuts. We don’t want ragged edges!
- Well-draining potting mix: A good blend for perennial propagation is essential. I like to use a mix of peat moss, perlite, and a bit of compost. You can also find excellent pre-made seed starting or cactus mixes that work well.
- Small pots or a tray with dividers: Ceramics or good quality plastic ones are fine. Ensure they have drainage holes!
- Rooting hormone powder or gel: This is a lifesaver for Adonis vernalis. It really gives cuttings that extra boost.
- A spray bottle filled with clean water: For gently misting.
- Clear plastic bags or a propagation dome: To create a humid environment.
- Optional: Heat mat: This can significantly speed up root development.
Propagation Methods
For Adonis vernalis, the most reliable method I’ve found is division of existing clumps. While it’s possible to grow from seed, it’s often a slower and more finicky process, and the results can be less predictable.
Division:
- Gently excavate: In early spring, before the flowers are too far along, carefully dig up your Adonis vernalis plant. Try to keep as much of the root ball intact as possible. Don’t be rough; these roots can be a bit delicate.
- Inspect and separate: Gently shake off some of the excess soil to expose the root system and crowns. Look for natural divisions. You’re looking for sections of the plant that have their own roots and at least one healthy bud or shoot.
- Make the cut: Using your clean, sharp knife or pruners, carefully sever the clump into smaller sections. Each section should have a good portion of roots attached to it. Again, a clean cut is crucial.
- Trim any damaged roots: If you find any roots that are clearly broken or mushy, go ahead and trim them off with your sterile tool.
- Pot them up: Plant each division into its own pot filled with your well-draining potting mix. Ensure the top of the root ball is just at soil level or slightly below.
- Water gently: Water thoroughly but gently. You don’t want to wash away all the soil.
- Provide a humid environment: Cover the pots with a clear plastic bag or a propagation dome to maintain high humidity.
The “Secret Sauce” (Pro Tips)
- Don’t overwater divisions! This is probably the most common mistake. While they need moisture, they hate sitting in soggy soil. Good drainage is paramount. If you see water pooling, address that immediately.
- Consider bottom heat for divisions: Placing your pots on a gentle heat mat can really encourage root formation. You’re aiming for around 65-70°F (18-21°C). It mimics that lovely spring warmth.
- Patience is a virtue (especially with these fellas): Adonis vernalis can take its sweet time to show signs of new growth. Don’t dig them up to “check” every few days! Give them at least 3-4 weeks to start showing new shoots.
Aftercare & Troubleshooting
Once your divisions are potted up, keep them in a bright, but indirect light location. Continue to mist them if they’re under cover, and water only when the top inch of soil starts to feel dry. As they begin to establish and you see new growth, you can gradually acclimate them to more light.
The biggest troubleshooting concern with Adonis vernalis propagation is rot. If you see your divisions looking limp, mushy, or have a foul smell, it’s likely due to overwatering and poor drainage. Unfortunately, once rot sets in, it’s very hard to save them. Be vigilant about your watering and soil. If a division looks like it’s failing, it’s often best to discard it to prevent any potential issues from spreading.
A Encouraging Closing
Propagating Adonis vernalis is a journey, and like any good garden journey, it requires a little patience and a lot of observation. Don’t be discouraged if your first attempt isn’t a complete triumph; there’s always next spring! Enjoy the process of nurturing these new plants, and soon you’ll be rewarded with more of those glorious golden blooms. Happy gardening!
Resource:
https://identify.plantnet.org/k-world-flora/species/Adonis%20vernalis%20L./data