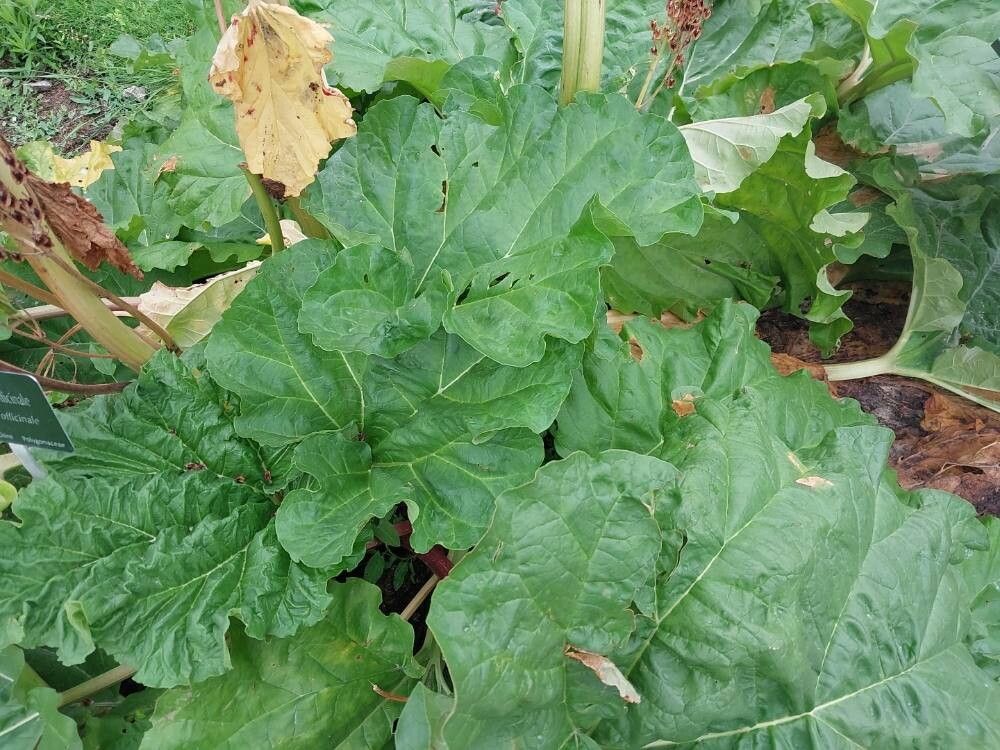
Oh, hello there! Glad you stopped by. Today, we’re diving into something really special: propagating Rheum officinale, that magnificent medicinal rhubarb. I’ve had these beauties gracing my garden for years, and there’s just something so satisfying about coaxing new life from an existing plant. If you’re looking to expand your rhubarb patch, or maybe share some of its goodness with friends, you’ve come to the right place.
Rheum officinale isn’t just a pretty face with its dramatic, architectural leaves; it’s also a plant steeped in tradition for its medicinal properties. Propagating it yourself is incredibly rewarding. Now, I won’t lie to you – it’s not always a walk in the park for absolute beginners. It requires a bit of patience and understanding, but with a few pointers, you’ll be well on your way to success.
The Best Time to Start
For the highest success rate, the absolute best time to propagate Rheum officinale is in early spring. Think of it as the plant waking up from its winter slumber. As the days get longer and the soil starts to warm, the plant’s energy is directed towards new growth, making it more receptive to propagation. You can also have some success with late summer or early autumn division, but spring is definitely the champion.
Supplies You’ll Need
Gathering your tools beforehand makes the whole process much smoother. Here’s what you’ll likely need:
- Sharp, clean pruning shears or a spade: For making clean cuts.
- A well-draining potting mix: I like a blend that’s about 50% compost and 50% perlite or coarse sand. This is crucial for preventing rot.
- Rooting hormone (optional but recommended): Especially for divisions, this can give your new plants a significant boost.
- Small pots or containers: For your new cuttings or divisions. Make sure they have drainage holes!
- A watering can with a fine rose attachment: To water gently.
- Labels and a marker: So you don’t forget what you planted where!
Propagation Methods
Rheum officinale is most commonly propagated through division. This is the simplest and most reliable method for this particular plant.
Division (The Star of the Show)
- Digging Up the Mother Plant: In early spring, before the plant gets too vigorous, carefully dig around the base of your established Rheum officinale. You want to get as much of the root ball as possible without causing undue stress. If you’re doing this in late summer, try to water the plant well a day or two before digging.
- Exposing the Roots: Gently shake off excess soil to get a good look at the root system. You’ll see the thick rhizomes (those fleshy, horizontal stems that grow just below the soil surface).
- Identifying Healthy Sections: Look for sections of the rhizome that have at least one healthy bud or eye and a good mass of roots attached. The buds are usually located where new shoots will emerge.
- Making the Cut: Using your sharp pruning shears or even a spade, carefully divide the rhizome. Make a clean cut, ensuring each section has those essential buds and roots. If you’re struggling to pull it apart, a clean cut is better than tearing.
- Potting Up: Plant each division in its own pot filled with your well-draining potting mix. The top of the rhizome should be just at or slightly below the soil surface. Don’t bury it too deeply.
- Watering: Water the newly potted divisions thoroughly but gently.
The “Secret Sauce” (Pro Tips)
Here are a couple of little tricks I’ve picked up over the years that really make a difference:
- Never let your fresh divisions sit out in the sun or wind for too long. Get them potted up and watered as quickly as you can after dividing. They’re like us after a long day – they appreciate being settled in comfortably!
- For divisions, I like to keep them in a slightly shadier spot than a mature plant for the first few weeks. Think dappled sunlight, not harsh afternoon glare. This helps them conserve energy while they’re establishing their root system.
Aftercare & Troubleshooting
Once your divisions are potted, give them consistent moisture. Don’t let them dry out completely, but equally, avoid waterlogged soil. You should start to see new growth appearing from those buds within a few weeks. When the new shoots are a few inches tall and looking robust, you can gradually introduce them to more sunlight.
What about trouble? The most common sign of failure with rhubarb propagation is rot. If a division becomes mushy and black, it’s usually a sign of too much moisture and poor drainage. That’s why that well-draining soil mix is so vital. If you notice a bit of wilting, don’t panic immediately; check the soil moisture. Sometimes they just need a drink.
A Encouraging Closing
See? It’s really about giving these rhizomes a fresh start in good conditions. Be patient with your new rhubarb. It might take a season or two for them to reach their full potential, but every new plant you nurture is a little victory. Enjoy the process, and soon you’ll have your own supply of this wonderful plant. Happy gardening!
Resource:
https://identify.plantnet.org/k-world-flora/species/Rheum%20officinale%20Baill./data