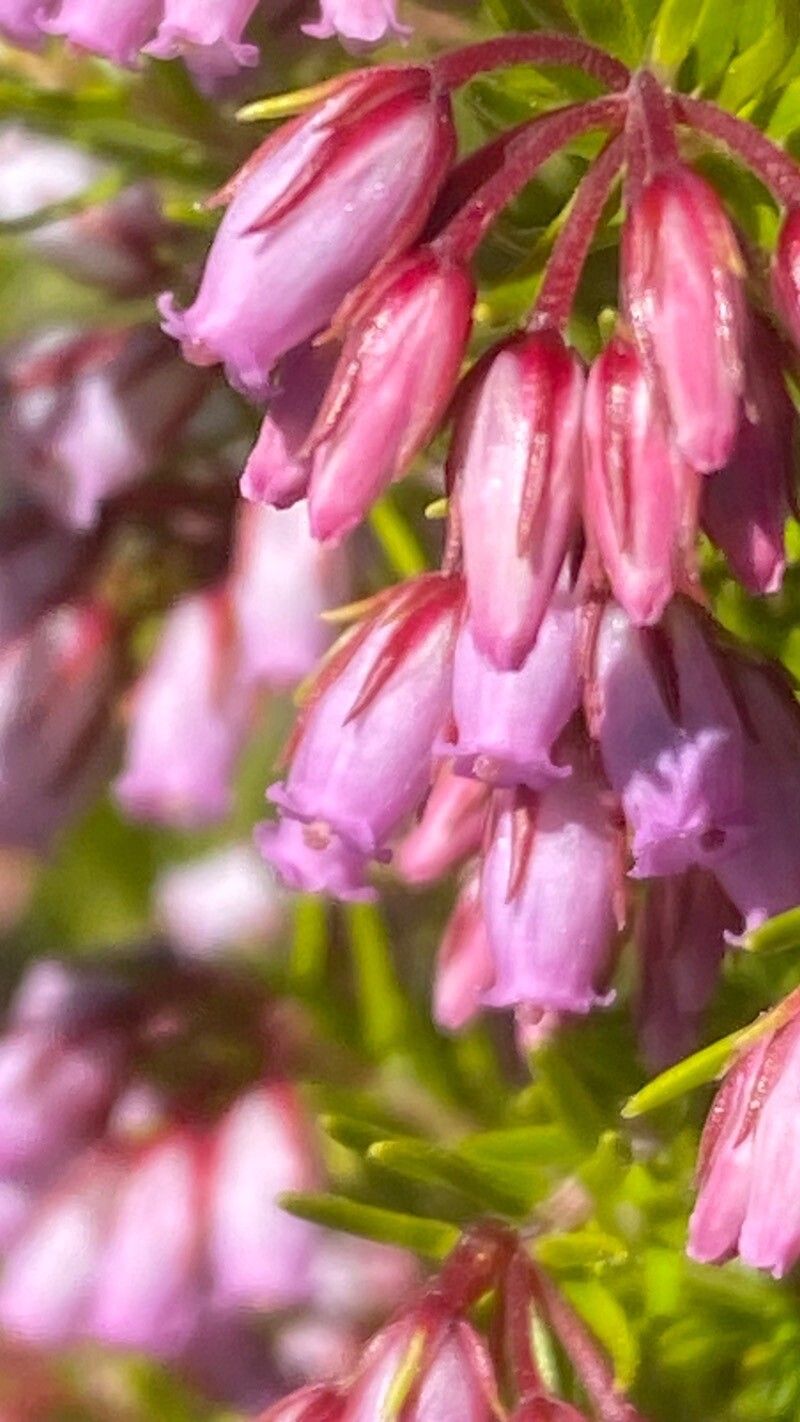
Oh, hello there! Come on in, grab a mug. We’ve got a lovely topic to chat about today: Erica maderensis. Isn’t she a stunner? Those delicate, bell-shaped flowers and that upright habit are just pure elegance. I’ve been growing them for years, and propagating them myself always feels like unlocking a little piece of horticultural magic. It’s a rewarding project, though I’ll be honest, Erica maderensis can be a touch discerning. It’s not the absolute easiest plant for a complete beginner to propagate, but with a little care and attention, you’ll absolutely succeed. Let’s get our hands dirty!
The Best Time to Start
For Erica maderensis, the sweet spot for propagation is usually late spring to early summer. This is when the plant is actively growing after its main flowering period. You want to take cuttings from semi-hardwood stems – they’re not completely soft and green, nor are they old and woody. Think of a pencil that’s just starting to firm up. This stage gives the best balance of flexibility for rooting and enough established tissue to sustain itself.
Supplies You’ll Need
Gathering your supplies beforehand makes the whole process much smoother. Here’s what you’ll want to have ready:
- Sharp pruning shears or a clean, sharp knife: For making precise cuts.
- Rooting hormone powder or gel: This is crucial for encouraging root development. I prefer a powder for this type of plant.
- Well-draining potting mix: A blend of perlite, horticultural grit, and a bit of peat or coir works wonders. You want it to drain like a sieve!
- Small pots or seed trays: Clean ones are essential to prevent disease.
- Clear plastic bags or a propagator lid: To maintain humidity around your cuttings.
- Spray bottle: For misting.
- Labels and a permanent marker: Don’t skip this; you’ll thank me later!
Propagation Methods
The most reliable way to propagate Erica maderensis is through stem cuttings. It’s tried and true, and with these steps, you’ll be well on your way.
- Take Your Cuttings: Select healthy, non-flowering shoots from your established plant. Using your clean pruners or knife, make a clean cut just below a leaf node (where a leaf grows out of the stem). Aim for cuttings that are about 3-4 inches long.
- Prepare the Cuttings: Gently strip off the lower leaves from the bottom inch or so of the cutting. Be careful not to damage the stem. If your cuttings have any flower buds, carefully pinch those off. They divert energy that should be going into root formation.
- Apply Rooting Hormone: Dip the cut end of each prepared cutting into your rooting hormone powder. Tap off any excess. You want a light, even coating.
- Potting Up: Fill your small pots or trays with your moistened, well-draining potting mix. Make a small hole in the center of each pot with a pencil or your finger.
- Insert the Cuttings: Gently insert the cut end of each cutting into the hole, ensuring the hormone-coated part is submerged in the soil. Firm the soil gently around the stem to hold it upright.
- Water Gently: Water the pots lightly to settle the soil.
The “Secret Sauce” (Pro Tips)
Here are a couple of tricks I’ve learned over the years that really boost success rates with these elegant ericas:
- Humidity is Key, but Ventilation is Crucial: After potting, cover your pots with a clear plastic bag or propagator lid. This traps humidity, which is vital for cuttings. However, don’t seal it completely! Open it for about 15-30 minutes each day to allow for air circulation. This prevents fungal diseases from setting in, which is a common downfall.
- Embrace Bottom Heat (If You Can): Erica maderensis absolutely loves a bit of warmth coming from below. If you have a heated propagator mat or can place your pots on a gently warming surface (like near a radiator, but not too hot!), it will significantly speed up root development.
Aftercare & Troubleshooting
Once your cuttings are potted, find them a bright spot, but out of direct, scorching sunlight. Keep the soil consistently moist but not waterlogged. You’ll want to mist the leaves occasionally, too.
Be patient! Rooting can take several weeks to a few months. You’ll know they’re rooting when you feel a slight resistance when gently tugging on a cutting, or if you see new leaf growth.
Troubleshooting: The most common issue you’ll encounter is rot. If a cutting turns black, mushy, or falls over, it’s likely succumbed to rot. This usually happens due to too much moisture and not enough air circulation. If you see signs of this, remove the affected cutting immediately and check your humidity/ventilation routine. Sometimes, if a cutting just seems to be sitting there with no progress, it might not have taken. Don’t despair! Just try again with fresh cuttings.
A Little Patience Goes a Long Way
Propagating Erica maderensis is a journey, not a race. There will be moments you wonder if it’s working, and sometimes things won’t pan out exactly as planned. That’s part of the joy of gardening! Just keep trying, learning from each attempt, and soon enough, you’ll have a beautiful collection of your own darling Erica maderensis to admire. Happy propagating!
Resource:
https://identify.plantnet.org/k-world-flora/species/Erica%20maderensis%20(Benth.)%20Bornm./data