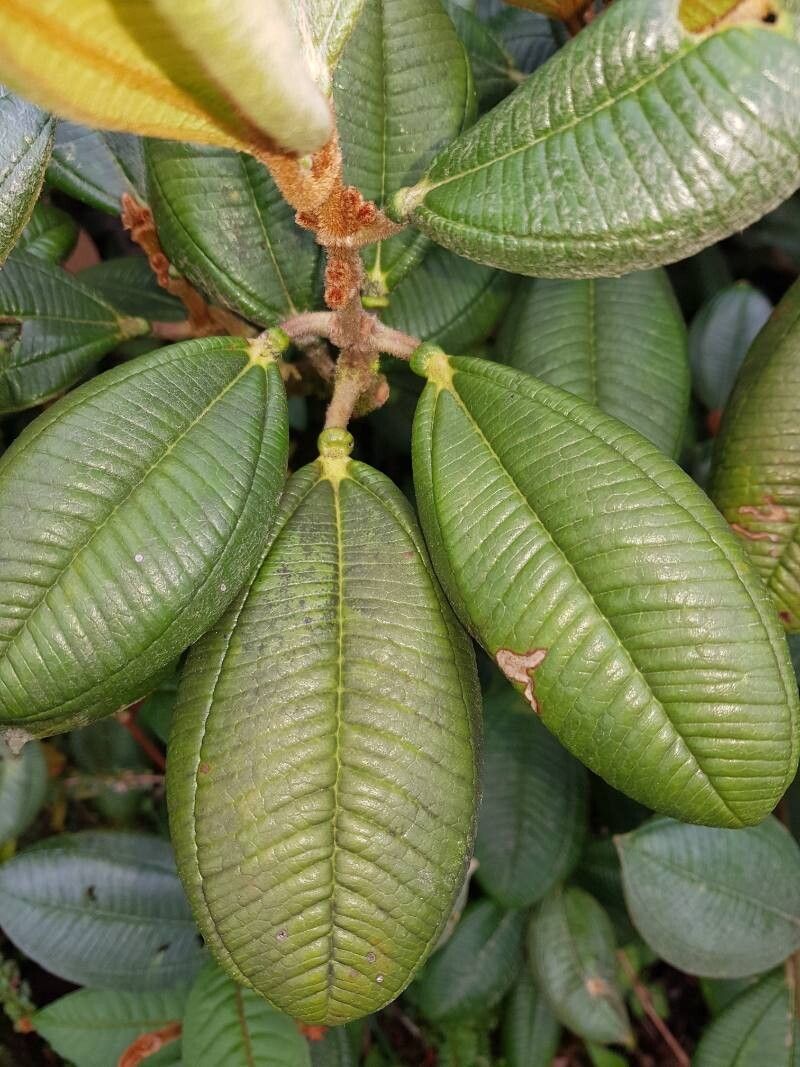
Hello, fellow plant enthusiasts! It’s so nice to have you here in my little corner of the gardening world. Today, we’re diving into the delightful world of Blakea austin-smithii. If you’ve ever seen this beauty, you know why it captures our hearts – those stunning, glossy leaves and that promise of a truly tropical flair in our own spaces. Propagating these gems is such a rewarding experience. It’s like giving the gift of future beauty, and honestly, it’s not as daunting as it might seem. For those just starting out, I’d say Blakea austin-smithii falls into the “moderately rewarding” category. A little patience and attention go a long way!
The Best Time to Start
When I’m looking to increase my collection of Blakea austin-smithii, I always aim for the late spring or early summer. This is when the plant is in its most vigorous growth phase. New shoots are developing, and they seem to have the best energy reserves to form roots. Waiting until after the initial flush of spring growth has somewhat matured, but before the intense heat of mid-summer sets in, is usually my sweet spot for the highest success rate.
Supplies You’ll Need
Here’s what I always have on hand when I’m ready to propagate:
- Sharp Pruning Shears or a Clean Knife: For making clean cuts.
- A Well-Draining Potting Mix: I often use a blend of perlite, peat moss, and a good quality potting soil. A cactus/succulent mix can also work in a pinch.
- Small Pots or Propagation Trays: About 3-4 inches in size are perfect.
- Rooting Hormone (Optional but Recommended): A powder or gel can give your cuttings a helpful boost.
- Clear Plastic Bag or a Propagator Lid: To create a humid environment.
- Water: For initial preparations or if you opt for water propagation.
Propagation Methods
We’ll focus on the most reliable method for Blakea austin-smithii, which is stem cuttings. This is where the magic truly happens!
Stem Cuttings
- Select a Healthy Parent Plant: Look for a vibrant, well-established Blakea austin-smithii.
- Take Your Cuttings: Using your sharp pruning shears or knife, make a cut just below a leaf node. Aim to take pieces that are about 4-6 inches long and have at least two or three leaf nodes. It’s best to take cuttings from semi-hardwood stems – those that are neither brand new and floppy nor old and woody.
- Prepare the Cuttings: Gently remove the lower leaves. You want to expose the nodes where roots will emerge. You can leave one or two leaves at the top to help with photosynthesis. If your leaves are particularly large, you can even cut them in half to reduce water loss.
- Apply Rooting Hormone (If Using): Dip the bottom cut end of the stem into your rooting hormone, tapping off any excess. This step isn’t strictly necessary, but it certainly speeds things up!
- Plant Your Cuttings: Fill your small pots with your prepared, moistened potting mix. Make a small hole with your finger or a pencil and gently insert the cutting. Firm the soil gently around the base.
- Create a Humid Environment: This is crucial! Water the soil thoroughly until it drains from the bottom. Then, cover the pot with a clear plastic bag, securing it around the rim with a rubber band, or place it under a propagator lid. You want to create a tiny greenhouse effect.
- Provide Light and Warmth: Place your pots in a bright spot, but out of direct sunlight. A warm windowsill is usually ideal.
The “Secret Sauce” (Pro Tips)
Here are a couple of tricks I’ve learned over the years that often make a big difference:
- Bottom Heat: If you can, placing your pots on a gentle heat mat designed for propagators can dramatically speed up root formation. Blakea loves a bit of warmth from below.
- Air Circulation: While we want humidity, constant stagnant air can encourage rot. Every few days, lift the plastic bag or open the propagator lid for a few minutes to allow for some fresh air exchange.
Aftercare & Troubleshooting
Once your cuttings are planted, the waiting game begins. Keep the soil consistently moist but not waterlogged. The humidity inside the bag will help with this. You should start to see signs of new growth, like tiny leaves unfurling or little roots poking through the drainage holes, within 4-8 weeks.
The most common issue you might encounter is rot. If you see a cutting turn mushy and black at the base, it’s usually a sign of too much moisture and not enough air circulation. Unfortunately, these usually can’t be saved. Another sign of failure is if the leaves shrivel and dry up without any signs of root development. This could mean the cutting is too dry or getting too much direct sun.
When you see those first signs of healthy root development, it’s time to gradually acclimate your new plant to normal room conditions. Slowly open the plastic bag over a few days, and once it looks happy, remove it altogether. You can then treat it like a mature plant, ensuring it gets adequate light and consistent moisture.
A Little Patience Goes a Long Way
Propagating plants is an act of faith and patience. Not every cutting will take, and that’s perfectly okay. Each attempt is a learning experience. So, gather your supplies, find a healthy specimen, and give it a try! Enjoy the process of nurturing these tiny new lives. Happy propagating!
Resource:
https://identify.plantnet.org/k-world-flora/species/Blakea%20austin-smithii%20Standl./data