Oh, hello there! Come on in, grab a mug. Let’s talk about one of my favorite little groundcovers: Lippia lupulina.
Your New Best Friend, Lippia Lupulina
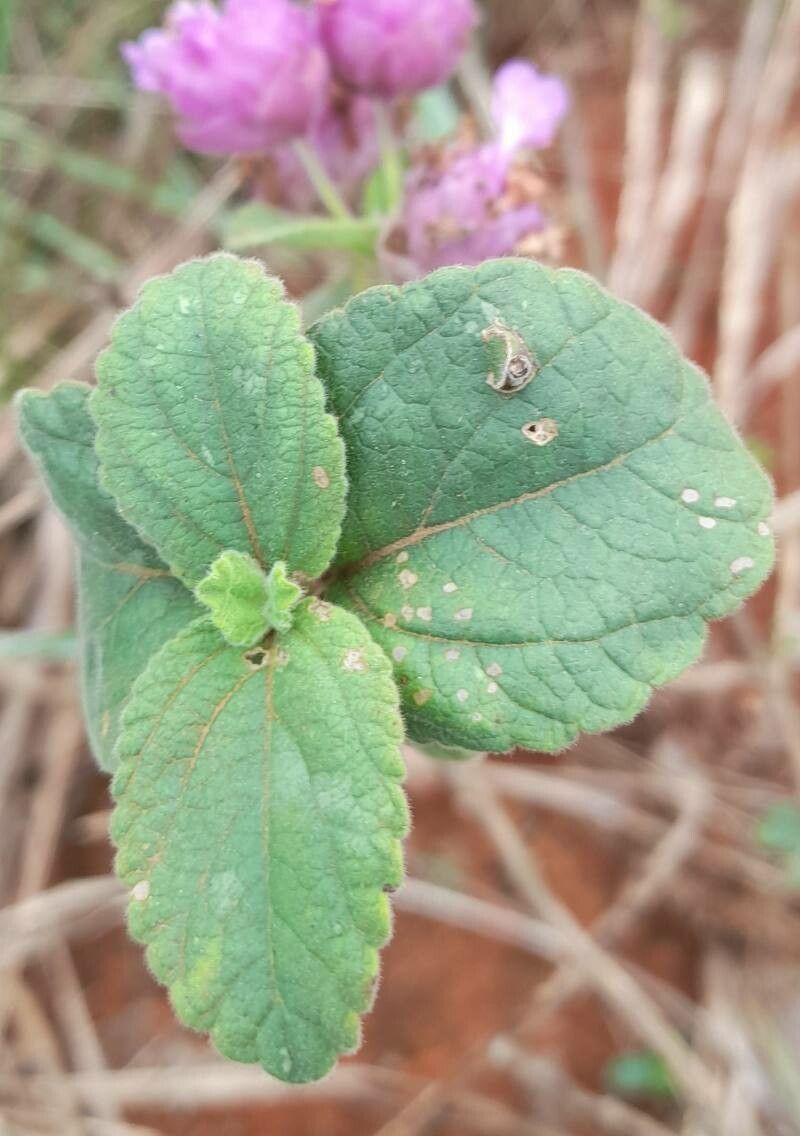
I absolutely adore Lippia lupulina. It’s a fantastic groundcover, isn’t it? Those clusters of delicate white flowers that bloom all summer long are just a magnet for pollinators. Plus, its low-growing habit makes it perfect for tumbling over walls or filling in those tricky sunny spots in your garden. And the best part? It smells divine! Growing more of this beauty for yourself is incredibly rewarding, and I’m thrilled to share how you can do it. For beginners? I’d say it’s quite forgiving, which is always a good starting point.
When to Get Your Hands Dirty
The absolute sweet spot for propagating Lippia lupulina is late spring to early summer. This is when the plant is actively growing, full of vigor, and has plenty of fresh, pliable stems to work with. You’re looking for stems that are new growth, not woody or old. Think bright green and somewhat flexible.
What You’ll Need to Get Started
Here’s what I always keep handy when I’m propagating:
- Sharp Pruning Shears or Scissors: Clean cuts are key!
- Rooting Hormone (Optional but Recommended): A little boost never hurts. Look for one specifically for stem cuttings.
- Well-Draining Potting Mix: A good blend of peat moss, perlite, and a bit of compost works wonders.
- Small Pots or Seed Trays: Whatever you have that can hold your cuttings and allow for drainage.
- Watering Can or Spray Bottle: For gentle watering.
- Plastic Bags or a Clear Dome: To create a mini greenhouse effect.
- A Sunny, Warm Spot: Out of harsh direct sunlight.
Let’s Get Propagating: Stem Cuttings
This is my go-to method for Lippia lupulina. It’s simple and effective!
- Take Your Cuttings: Head out to your plant with your clean shears. Select a healthy stem that’s about 4-6 inches long. Make a clean cut just below a leaf node (where a leaf attaches to the stem). These nodes are where the magic happens, where roots can form.
- Prepare the Cuttings: Gently remove the lower leaves from the cutting, leaving just a couple of leaves at the very top. This prevents them from rotting in the soil. If your cuttings have any flowers or developing buds, pinch those off too.
- Dip in Rooting Hormone (If Using): Lightly dip the cut end of each stem into your rooting hormone powder. Tap off any excess.
- Plant Your Cuttings: Fill your small pots with your well-draining potting mix. Make a small hole in the center with your finger or a pencil. Gently insert the cut end of the Lippia cutting into the hole, then firm the soil gently around it.
- Water Gently: Give your newly planted cuttings a light watering. You want the soil to be moist, but not soggy.
- Create a Humid Environment: Cover each pot with a clear plastic bag, or place them under a clear dome. This traps humidity, which is crucial for preventing the cuttings from drying out. Make sure the leaves aren’t touching the plastic if possible.
- Find the Right Spot: Place your pots in a bright location that receives indirect sunlight. Avoid direct sun, which can scorch the delicate cuttings. Also, keep them in a warm spot.
My “Secret Sauce” for Success
Here are a few little tricks I’ve learned over the years that make a big difference:
- Bottom Heat is Your Friend: If you can, place your pots on a propagation mat set to a low temperature (around 70-75°F / 21-24°C). This gentle warmth from below really encourages root development. It’s like giving them a cozy heated blanket to get those roots going!
- Don’t Overwater! This is probably the most common mistake. Lippia cuttings are prone to rot if the soil stays too wet. Check the soil moisture by poking your finger in about an inch. If it feels damp, hold off on watering. Let that top bit dry out a little between waterings.
- Give Them a Gust of Fresh Air: Every day or two, lift the plastic bag or dome for a few minutes to allow for some air circulation. This helps prevent fungal issues and strengthens the stems.
Aftercare and What to Watch For
Once your cuttings have been nestled in their cozy homes for a few weeks, you’ll start to see signs of life. You might notice new tiny leaf buds forming or a slight resistance when you gently tug on the cutting. This usually means roots are developing!
Once you see good signs of growth, you can gradually introduce them to slightly more light and reduce the humidity by leaving the plastic bag off for longer periods. Continue to water them gently when the top inch of soil feels dry.
What if things go wrong? The most common culprit is rot. If your cuttings turn mushy, black, or just keel over dramatically, it’s usually a sign of too much moisture or insufficient air circulation. Don’t get discouraged! Just toss the failed ones and try again, keeping those humidity and watering tips in mind.
Happy Planting!
Propagating Lippia lupulina is a wonderful way to expand your garden and share the joy of this lovely plant. Be patient, keep an eye on your little green babies, and most importantly, enjoy the process of nurturing new life. Happy gardening!
Resource:
https://identify.plantnet.org/k-world-flora/species/Lippia%20lupulina%20Cham./data