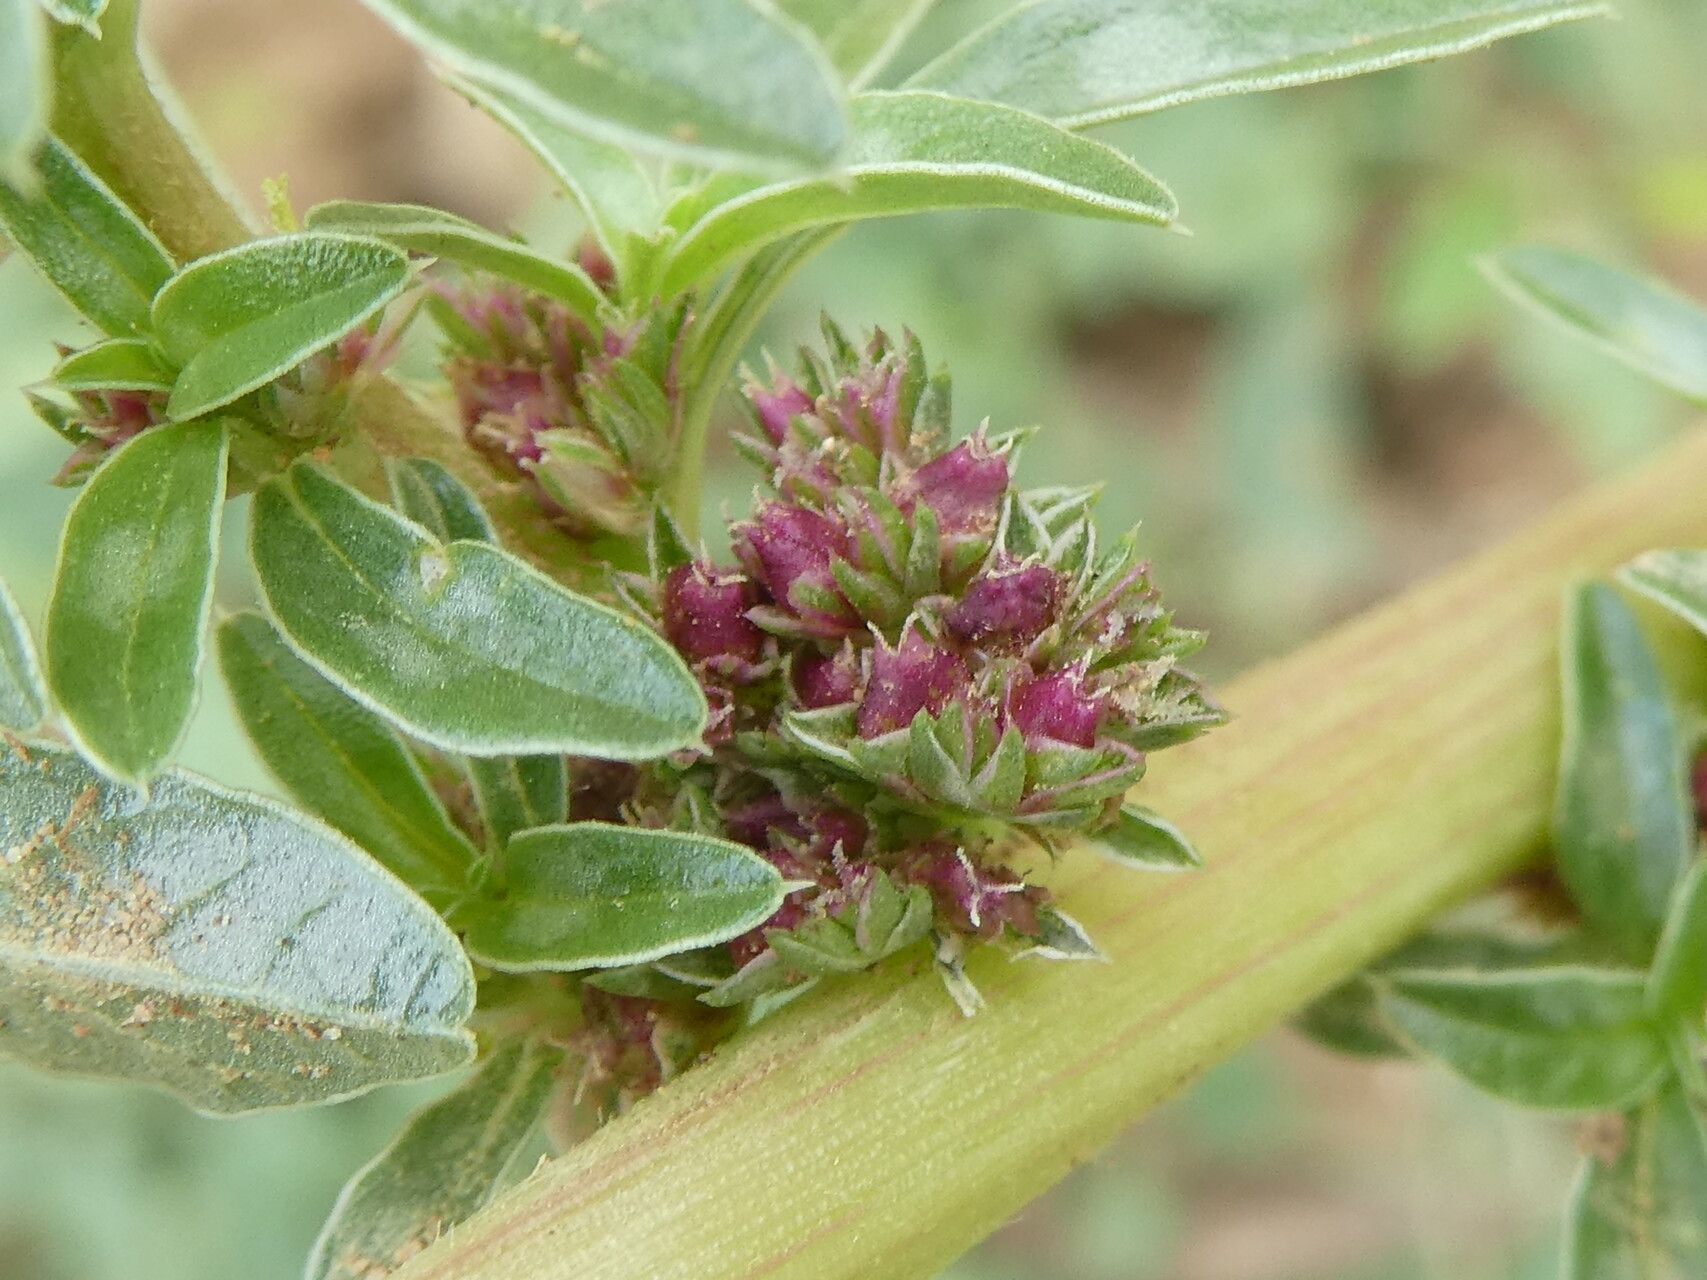
Hello there, fellow plant lovers! I’m so glad you’ve stopped by. Today, we’re diving into the wonderful world of Amaranthus blitoides, a plant that brings a touch of wild beauty and easy charm to any garden. You know, the kind with those lovely, trailing stems and subtle, almost architectural form? It’s a plant that’s surprisingly rewarding to grow from scratch, and I’m thrilled to share how you can do just that.
For those of you just dipping your toes into the propagation pond, I have good news! Amaranthus blitoides is, in my experience, quite easy to propagate. It’s a forgiving plant, which makes it a fantastic choice for beginners looking to expand their collection without too much fuss. Getting new plants from your existing ones is such a gratifying feeling, isn’t it?
The Best Time to Start
When it comes to getting the best results with Amaranthus blitoides, late spring to early summer is your sweet spot. This is when the plant is in its most vigorous growth phase, meaning the stems are full of life and ready to root. You want to be working with healthy, actively growing material, not anything that’s stressed or struggling.
Supplies You’ll Need
Before we get our hands dirty, let’s gather our tools. Here’s what I usually have on hand:
- Sharp, clean pruners or scissors: For making clean cuts.
- A well-draining potting mix: I often use a mix of perlite, peat moss, and a bit of compost. A standard houseplant mix with added perlite works well too.
- Small pots or trays: About 3-4 inches in diameter are perfect.
- Watering can with a fine rose: To water gently.
- Rooting hormone (optional but helpful): A powder or gel can give your cuttings a little boost.
- Plastic bags or a propagator: To create a humid environment.
- A warm location: Or a heat mat if you have one.
Propagation Methods
Amaranthus blitoides is a champion when it comes to stem cuttings. It’s straightforward and highly successful.
Stem Cuttings
- Choose your parent plant: Find a healthy, actively growing Amaranthus blitoides. Look for stems that are a few inches long and not flowering (flowering stems can divert energy from rooting).
- Take the cuttings: Using your clean pruners, take cuttings that are about 4-6 inches long. Make the cut just below a leaf node (where a leaf attaches to the stem).
- Prepare the cuttings: Gently remove the bottom leaves from each cutting, leaving just one or two sets of leaves at the top. This prevents them from rotting in the soil. If you’re using rooting hormone, dip the cut end into it now.
- Plant the cuttings: Fill your small pots with the well-draining potting mix. Insert the cut end of each cutting into the soil, about 1-2 inches deep, ensuring the remaining leaves are above the soil line. Gently firm the soil around the stem.
- Create humidity: Water the soil thoroughly. Then, cover the pot with a clear plastic bag, using stakes if needed to keep it off the leaves, or place the pots inside a propagator. This will create a mini-greenhouse.
- Provide warmth and light: Place the pots in a bright, indirect light location. If you have a heat mat, placing the pots on it can significantly speed up root development.
The “Secret Sauce” (Pro Tips)
Here are a few little tricks I’ve picked up over the years that really make a difference:
- Don’t pack the soil too tightly: Cuttings need air circulation around their stems to prevent rot. A light touch when planting is key.
- Consider bottom heat: As I mentioned, a gentle source of warmth from below is a game-changer for rooting. It mimics ideal conditions and encourages those roots to form much faster.
- Use mature, but not woody, stems: You want stems that have a bit of firmness but are still flexible. Old, woody stems are less likely to root than younger, greener ones.
Aftercare & Troubleshooting
Once your cuttings are in their humid environment, keep an eye on them. The soil should remain consistently moist but not waterlogged. You can gently lift the plastic bag daily to allow for some air exchange.
You’ll know your cuttings have rooted when you see new growth appearing or gently tug on a cutting to feel resistance. This typically takes 2-4 weeks, depending on the conditions.
The most common issue you might encounter is rot. If you see your cuttings turning mushy or black, it’s usually a sign of too much moisture and poor air circulation. Don’t be discouraged if a few don’t make it; it’s part of the learning process! If rot does occur, remove the affected cuttings immediately and improve ventilation for the remaining ones.
Once roots have formed, it’s time to gradually acclimate them. Open the plastic bag a little more each day for a week before removing it completely. Continue to water them when the top inch of soil feels dry. You can then transplant them into slightly larger pots to grow on.
A Encouraging Closing
Propagating Amaranthus blitoides is a journey of patience and observation. Enjoy the process of nurturing these new plants from tiny cuttings. Soon, you’ll have a whole garden full of this delightful charmer! Happy gardening!
Resource:
https://identify.plantnet.org/k-world-flora/species/Amaranthus%20blitoides%20S.Watson/data