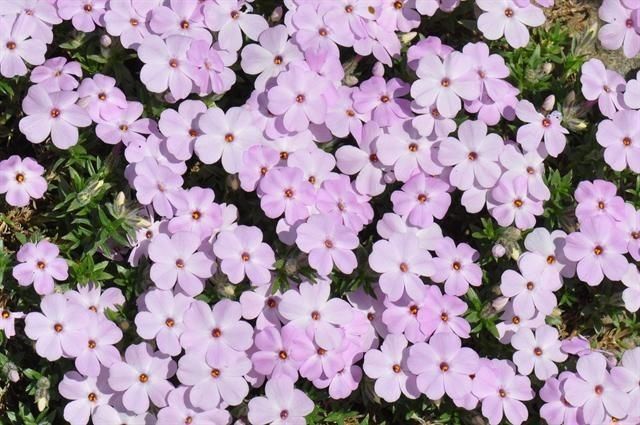
Oh, hello there! Come on in, grab a mug. I’m so glad you’re curious about propagating Phlox kelseyi, also known as Kelsey’s phlox. It’s such a delightful perennial, isn’t it? Those lovely clusters of amethyst purples or soft pinks just liven up any garden bed, and getting more of them is a truly rewarding endeavor. I’ve found that while it’s not the absolute easiest plant for a brand-new gardener to tackle, with a little patience and these tips, you’ll be well on your way to success. Think of it as a fun new challenge on your gardening journey!
The Best Time to Start
For most things, timing is everything, and Phlox kelseyi is no exception. The sweet spot for propagation is late spring to early summer, right after the plant has finished its main flush of blooming. You want to catch it while it’s actively growing, but before the heat of midsummer really stresses it out. You’re looking for stems that are firm and have stopped flowering, but aren’t yet woody.
Supplies You’ll Need
Gathering your supplies beforehand makes the whole process so much smoother. Here’s what I usually have on hand:
- Clean, sharp pruning shears or a sharp knife: Essential for making clean cuts.
- Rooting hormone: While not strictly mandatory for every plant, it gives your cuttings a significant boost. Look for a powdered or gel form.
- A well-draining potting mix: I like a blend of peat moss, perlite, and a bit of compost. You can also buy commercial seed-starting or potting mixes and amend them.
- Small pots or trays: Clean pots are crucial to prevent disease. Small nursery pots or even repurposed containers with drainage holes work wonderfully.
- Watering can or spray bottle: For gentle watering.
- Plastic bags or a propagator: To create a humid environment for your cuttings.
- (Optional) Bottom heat source: Like a seedling heat mat, this can speed up root development.
Propagation Methods
I’ve had the most success with Phlox kelseyi using stem cuttings. It’s a straightforward method once you get the hang of it.
Here’s how I do it:
- Take your cuttings: Using your clean shears or knife, take 3-4 inch cuttings from healthy, non-flowering stems. Make the cut just below a leaf node (where a leaf attaches to the stem). These nodes are where the magic happens for root formation.
- Prepare the cuttings: Strip off the lower leaves, leaving just a few at the top. This prevents them from rotting once planted. If your cuttings are very long, you can even cut them in half horizontally, right at the node, to create two potential plants from one stem.
- Apply rooting hormone: Dip the cut end of each stem into your rooting hormone, tapping off any excess. This stuff really helps encourage those roots to form.
- Plant your cuttings: Fill your small pots with your prepared potting mix. Make a hole in the center with your finger or a pencil, and gently insert the cut end of the phlox cutting. Firm the soil around it. You can usually get 2-3 cuttings per pot, leaving a little space between them.
- Water gently: Water the soil thoroughly but gently. You want it moist, not waterlogged.
- Create humidity: Cover the pots with a plastic bag, securing it with a rubber band. You can also place them in a propagator. This keeps the humidity high, which is what cuttings need to thrive. Make sure to poke a few small holes in the bag for a little air circulation.
- Provide indirect light: Place your pots in a bright spot that receives indirect sunlight. Direct sun will scorch those tender cuttings.
The “Secret Sauce” (Pro Tips)
Over the years, I’ve learned a few tricks that make all the difference. Here are a couple of my favorites for phlox:
- Don’t let the bottom leaves touch the soil. I know I mentioned stripping them, but it’s worth reiterating. If those leaves sit in damp soil, they’ll quickly turn mushy and invite rot. Nip them off cleanly!
- Bottom heat makes a world of difference. If you have a seedling heat mat, place your pots on it. It provides consistent, gentle warmth to the base of the cuttings, which significantly speeds up root development. It’s like giving them their own little warm spa treatment!
Aftercare & Troubleshooting
Once your cuttings are planted, the waiting game begins! You’ll want to keep the soil consistently moist but not soggy. If you’re using the plastic bag method, you’ll notice condensation. That’s a good sign! If it disappears, spritz a little water.
You’ll know your cuttings are rooting when you see new growth appearing from the top or feel a little resistance when you gently tug on the stem. This usually takes about 4-6 weeks, sometimes longer depending on conditions.
Now, for troubleshooting. The most common issue you’ll face is rot. If you see stems turning black and mushy, they’re a goner. This usually means too much moisture and not enough air circulation. If you catch it early, you might be able to salvage the other cuttings by carefully removing the rotten one and ensuring better airflow.
Once the roots are well established (you’ll see them peeking out the drainage holes or feel good resistance), you can transplant them into individual pots. Continue to water them regularly and gradually introduce them to more direct sunlight.
A Encouraging Closing
Propagating Phlox kelseyi is such a joyful way to expand your garden and share these beautiful plants with friends. Don’t be discouraged if your first attempt isn’t perfect. Gardening is all about learning and adapting. Be patient, enjoy the process of nurturing these tiny new lives, and you’ll soon have a whole troop of Kelsey’s phlox to admire. Happy gardening!
Resource:
https://identify.plantnet.org/k-world-flora/species/Phlox%20kelseyi%20Britton/data