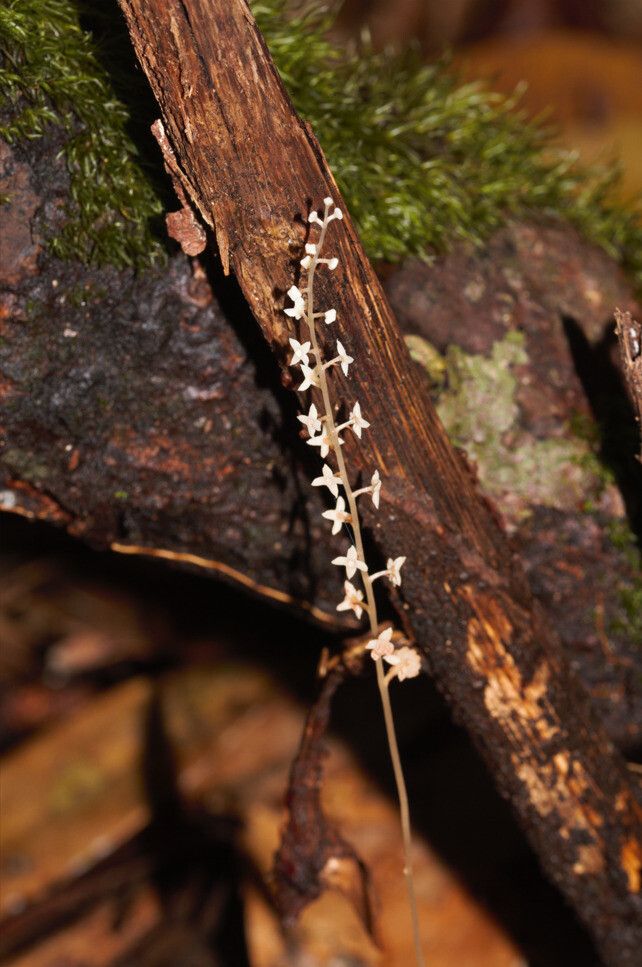
Hey there, fellow plant lovers! It’s so nice to have you join me today. I’m thrilled to talk about one of my absolute favorites: Soridium spruceanum. If you’ve ever seen its gorgeous, often vibrant foliage and delicate blooms, you know exactly why it’s such a garden showstopper. And the best part? You can easily bring that beauty into your own home or garden by propagating it! It’s a truly rewarding experience watching a tiny cutting transform into a thriving new plant. Now, if you’re a beginner, don’t let the fancy name scare you. Soridium spruceanum is actually quite forgiving, making it a fantastic plant to practice your propagation skills on.
The Best Time to Start
When it comes to getting the most bang for your propagation buck, timing is everything. For Soridium spruceanum, I’ve found that the late spring to early summer is absolutely prime time. This is when the plant is actively growing and full of energy. New growth, the soft, tender shoots, will root much more reliably than older, woody stems. Think of it like this: the plant is bursting with life, and it’s eager to share that with new little ones.
Supplies You’ll Need
Before we dive into the fun stuff, let’s gather our tools. Having everything ready makes the process so much smoother.
- Sharp Pruning Shears or a Clean Knife: For making clean cuts.
- Well-Draining Potting Mix: I usually use a blend of perlite, peat moss, and a bit of compost. A good seed-starting mix works beautifully too.
- Small Pots or Propagation Trays: With drainage holes, of course!
- Rooting Hormone (Optional but Recommended): This really gives your cuttings a boost.
- Plastic Bags or a Propagator: To create a humid environment.
- Water: For water propagation or keeping the soil moist.
- Labeling Stakes: To keep track of what you’ve planted.
Propagation Methods
There are a couple of ways to get new Soridium spruceanum plants, and both are pretty straightforward.
1. Stem Cuttings: My Go-To Method
This is my absolute favorite because it’s so efficient. You’re essentially taking a piece of the parent plant and encouraging it to grow roots.
- Select Your Cuttings: Look for healthy, non-flowering stems. You want cuttings that are about 4-6 inches long, with at least two sets of leaves.
- Make the Cut: Using your clean shears or knife, make a clean, angled cut just below a leaf node. This is where the magic happens, where new roots are most likely to form.
- Prepare the Cutting: Gently remove the lower leaves from the cutting, leaving just the top two or three. This prevents them from rotting in the soil.
- Dip in Rooting Hormone (Optional): If you’re using rooting hormone, dip the cut end of the stem into the powder or gel. Tap off any excess.
- Plant Your Cuttings: Fill your pots with your prepared potting mix. Make a small hole with your finger or a pencil and gently insert the cutting, ensuring the nodes where you removed the leaves are buried. Firm the soil around it.
2. Water Propagation: A View of Progress
This method is wonderful because you can actually see the roots forming!
- Prepare Your Cuttings: Follow the same steps as for stem cuttings to select and prepare your stem pieces.
- Place in Water: Place the cuttings in a jar or vase filled with clean, room-temperature water. Make sure the leaf nodes are submerged, but keep the remaining leaves out of the water.
- Change the Water Regularly: Change the water every few days to keep it fresh and prevent bacteria growth. You’ll start to see little white roots emerging from the nodes within a few weeks.
- Potting Up: Once the roots are about an inch long, it’s time to gently transplant them into pots with your well-draining potting mix.
The “Secret Sauce” (Pro Tips)
Over the years, I’ve picked up a few tricks that seem to make all the difference.
- The Humid Hug: After planting your cuttings in soil, cover the pot loosely with a clear plastic bag or place it in a propagator. This creates a mini-greenhouse effect, keeping the humidity high. Just ensure the leaves don’t touch the plastic, as this can encourage rot.
- Warmth is Key: Soridium spruceanum cuttings love a bit of gentle bottom heat. Placing your pots on a heat mat designed for seedlings can significantly speed up the rooting process. It mimics the warmth of the soil in a tropical environment.
- Don’t Rush the Potting Up: For water propagation, I always wait until the roots are a good inch or so long before moving them to soil. They’re much stronger and more resilient at that stage.
Aftercare & Troubleshooting
Once you see signs of new growth – little leaves unfurling or the cutting resisting a gentle tug – you know roots have formed!
- Gradual Acclimation: If you’ve used a plastic bag, slowly start to «harden off» your new plants. Remove the bag for a few hours each day, gradually increasing the time until they’re used to normal room humidity.
- Watering: Keep the soil consistently moist but not soggy. Overwatering is the most common culprit for failure.
- Signs of Trouble: The biggest enemy here is rot. If your cuttings turn black and mushy, it’s usually a sign of too much moisture or poor air circulation. If this happens, discard the affected cutting and perhaps review your watering and humidity levels for the next batch. Yellowing leaves can sometimes be a sign of shock, but often they’ll recover once established.
A Friendly Encouragement
Propagating plants is a journey, and like any good journey, it requires a little patience. Don’t get discouraged if your first few attempts aren’t perfect. Every gardener has had those moments! Celebrate the successes, learn from the challenges, and most importantly, enjoy the process of nurturing new life. Happy propagating!
Resource:
https://identify.plantnet.org/k-world-flora/species/Soridium%20spruceanum%20Miers/data