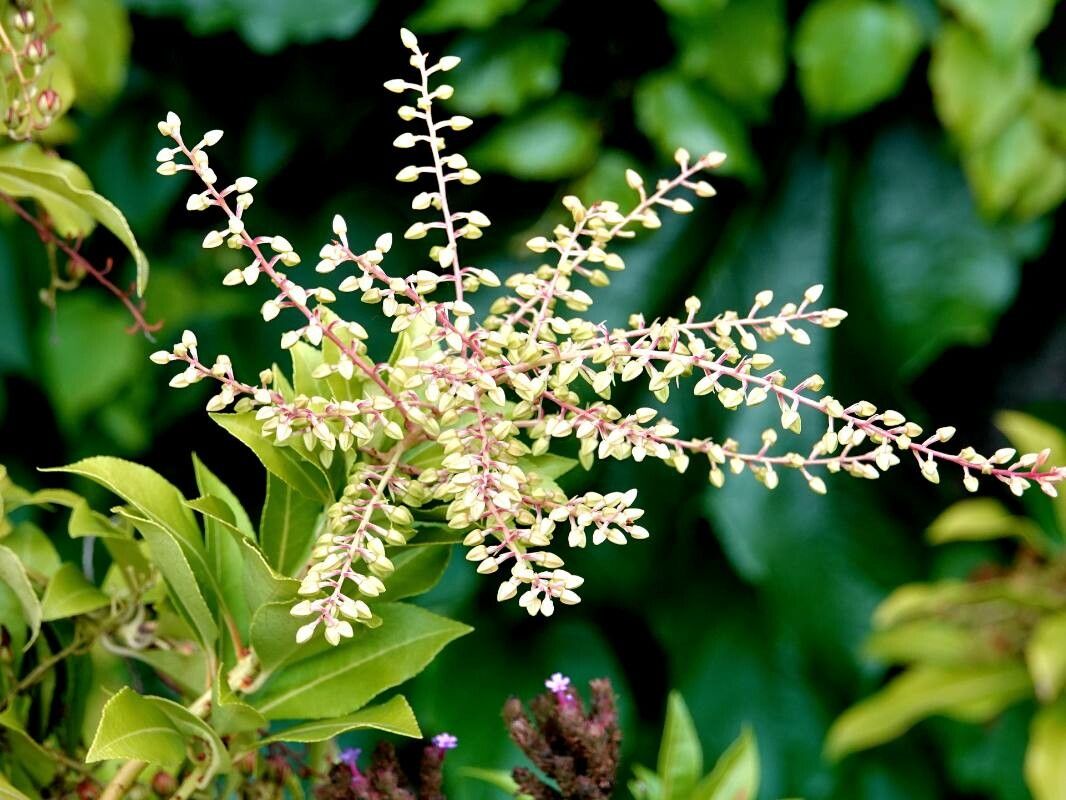
Oh, hello there! Come on in, grab a mug of something warm. Today, we’re going to talk about my dear friend, Clethra barbinervis, the Japanese pepperbush. If you’ve ever been lucky enough to encounter this beauty in bloom, you know what a treat it is. Its fragrant, bottlebrush-like clusters of white flowers in late summer are simply divine, and the textured bark adds interest even when it’s not flowering. And the best part? Getting more of them is absolutely doable! It’s a plant that really rewards your efforts. For new gardeners, I wouldn’t call it “difficult,” but it does have a definite preference, so a little understanding goes a long way.
The Best Time to Start
The sweet spot for propagating Clethra barbinervis is early to mid-summer. This is when the plant is actively growing but you can still find some nice, semi-hardwood stems. Think of it as wood that’s started to firm up but hasn’t gone completely woody. This stage is perfect for cuttings because they have enough energy stored to root, but they’re not so old and tough that they’ll struggle.
Supplies You’ll Need
- A clean, sharp pair of pruning shears or a knife. Sterilize them with rubbing alcohol before you begin – we don’t want to introduce any nasties.
- A well-draining potting mix. I like a blend of 50% peat moss or coco coir and 50% perlite or coarse sand. This ensures good aeration and prevents soggy roots, which is key.
- Rooting hormone. This is optional but highly recommended, especially for woody plants. Get a powder or gel form.
- Small pots or a propagation tray. Clean pots are a must!
- Plastic bags or a propagation dome. This creates that humid microclimate our cuttings need.
- A spray bottle filled with clean water.
- Labels and a marker. You’ll thank me later when you have a tray full and can’t remember what’s what!
Propagation Methods
I usually find stem cuttings to be the most successful and straightforward method for Clethra barbinervis. Here’s how we do it:
- Take Your Cuttings: In early to mid-summer, select healthy, current-season growth. Look for stems that are pliable but starting to feel a bit firm to the touch – that semi-hardwood stage we talked about. Use your clean shears to take cuttings that are about 4-6 inches long. Make your cut just below a leaf node (where a leaf attaches to the stem).
- Prepare the Cuttings: Gently remove the lower leaves, leaving just a few at the top. This helps the cutting conserve energy. If any leaves are very large, you can even cut them in half horizontally to reduce water loss through transpiration.
- Apply Rooting Hormone: Dip the cut end of each prepared cutting into your rooting hormone, tapping off any excess.
- Pot Them Up: Fill your clean pots or tray with your well-draining potting mix. Make a small hole in the center of the mix with your finger or a pencil. Insert the cutting into the hole, ensuring the hormone-coated part is nestled in the soil. Gently firm the soil around the base of the cutting.
- Create Humidity: Water the potting mix thoroughly until water drains from the bottom. Then, cover the pots with a plastic bag, making sure the leaves don’t touch the inside of the bag. A propagation dome works beautifully here too. Place them in a bright location, but out of direct sunlight.
The “Secret Sauce” (Pro Tips)
Okay, here are a couple of things I’ve learned over the years that can really boost your success rate:
- I never let the leaves of my cuttings touch the water if I’m doing a tray propagation. It’s a fast track to rot. Keeping them suspended just above the surface, or ensuring good airflow around them in a pot, is much better.
- For woody cuttings like these, a little warmth from below can make a huge difference. A plant heat mat, set on a low setting, can encourage root development significantly. Imagine a cozy warm footbed for your little plant babies! It really speeds things up.
Aftercare & Troubleshooting
Once your cuttings are potted and covered, the key is to maintain consistent moisture and humidity. Mist them with your spray bottle every day or two to keep them turgid. Check the soil moisture regularly – it should feel slightly damp, not waterlogged.
You’ll know your cuttings are rooting when you see new leaves emerging and feel a gentle resistance when you give them a tiny tug. This can take anywhere from 6 weeks to several months, so patience is your best friend here!
The most common sign of failure is rot. If your cuttings turn black and mushy, or develop fuzzy white mold, it’s usually a sign of too much moisture and not enough airflow. Unfortunately, there’s not much you can do once rot sets in, so it’s best to discard them and start again, perhaps with slightly less water or better drainage.
A Little Encouragement to Close
Growing new plants from cuttings is such a wonderfully rewarding experience. It’s like magic, watching a simple stem transform into a new life. Don’t be discouraged if your first few attempts aren’t perfect. Every gardener has their learning curve. Just keep at it, observe your plants, and most importantly, enjoy the process. Happy propagating!
Resource:
https://identify.plantnet.org/k-world-flora/species/Clethra%20barbinervis%20Siebold%20&%20Zucc./data