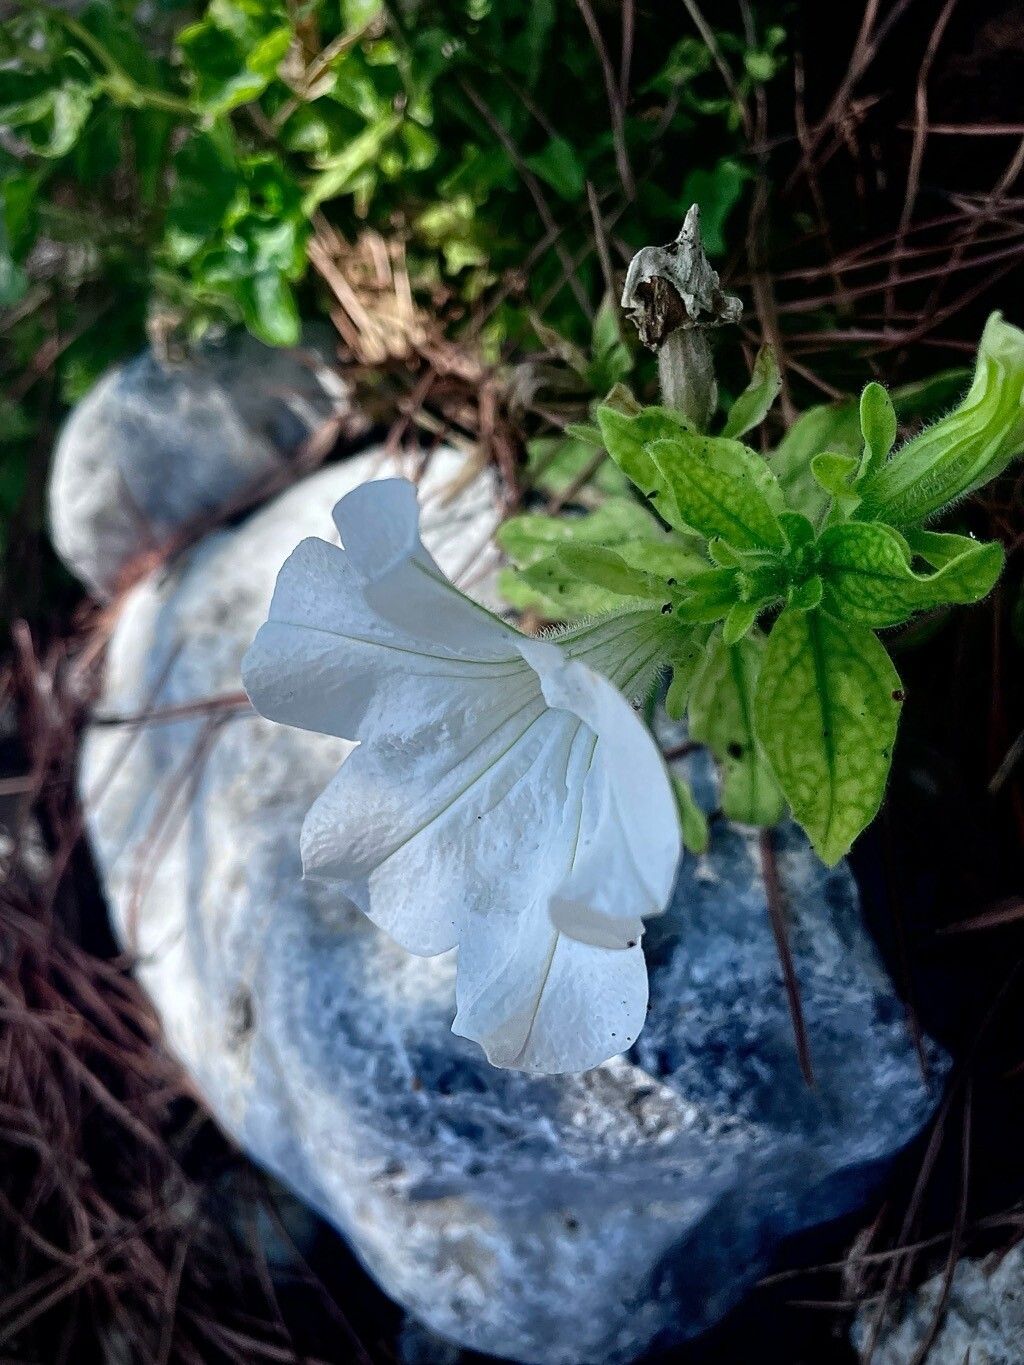
Oh, Petunia axillaris! If you’re drawn to those lovely, often fragrant, trumpet-shaped blooms that spill and climb with such charming abandon, then propagating these beauties is a truly wonderful endeavor. I’ve spent years with these plants, coaxing new life from them, and I can tell you, it’s immensely satisfying to watch a tiny cutting transform into a flourishing specimen. For those just starting out in the gardening world, I’d say propagating Petunia axillaris is moderately easy. It requires a little attention, but the rewards are absolutely worth it.
The Best Time to Start
Hands down, the absolute best time to get your Petunia axillaris propagation underway is in late spring or early summer. You’re looking for healthy, vigorous growth on your parent plant. Think of it as her peak season – she’s got plenty of energy to share, and her stems are active and ready to root. Waiting until after the initial flush of spring blooms makes sure your plant is strong and has plenty of good material to offer.
Supplies You’ll Need
Here’s a little checklist to get you prepped. Don’t worry, it’s nothing too fancy!
- Sharp, clean pruning shears or a sharp knife: Essential for taking clean cuts.
- Small pots or seed trays: About 3-4 inches in size are perfect.
- Well-draining potting mix: I like a blend of peat moss, perlite, and a little bit of coarse sand. You can also find pre-made seed starting mixes.
- Rooting hormone powder (optional but recommended): This really gives your cuttings a boost. Look for one with an I.B.A. (indole-3-butyric acid) formulation.
- Plastic bags or a clear humidity dome: To create a mini-greenhouse effect.
- Watering can with a fine rose or a spray bottle: For gentle watering.
Propagation Methods
Let’s get our hands dirty! For Petunia axillaris, stem cuttings are my absolute go-to method. It’s reliable and gives you the best chance of success.
Taking and Planting Stem Cuttings:
- Select Healthy Stems: On a strong, established Petunia axillaris plant, look for stems that are at least 4-6 inches long and have not yet flowered this season. The key is to choose semi-hardwood cuttings, meaning they are firm but still a little flexible – not brand new, soft growth, and definitely not old, woody material.
- Make the Cut: Using your sharp, clean pruning shears or knife, make a cut just below a leaf node (where a leaf attaches to the stem). This is where the magic happens for rooting.
- Prepare the Cuttings: Gently remove the lower leaves on the cutting, leaving just two or three sets of leaves at the top. This prevents them from rotting in the soil. If the cutting has any tiny flower buds, pinch those off too.
- Apply Rooting Hormone (Optional): Dip the cut end of the stem into your rooting hormone powder, tap off any excess. This step really helps to stimulate root development.
- Potting Up: Fill your small pots with your moistened potting mix. Make a small hole in the center of the soil with your finger or a pencil.
- Insert the Cuttings: Gently insert the cut end of each prepared cutting into the hole. Firm the soil gently around the base of the stem to ensure good contact. You can typically fit 2-3 cuttings per pot, spaced a couple of inches apart.
- Water Gently: Water the soil thoroughly but gently, using your watering can with a fine rose or a spray bottle. You want the soil to be moist, not waterlogged.
- Create a Humid Environment: Place the potted cuttings into a clear plastic bag or cover them with a humidity dome. This traps moisture, which is crucial for cuttings to root. Make sure the leaves don’t touch the sides of the bag.
The “Secret Sauce” (Pro Tips)
Here are a few little tricks I’ve learned over the years that make a big difference:
- Bottom Heat is Your Friend: If you have a heat mat, place your pots on it. A consistent, gentle warmth from below (around 70-75°F or 21-24°C) vastly speeds up root formation. This is especially helpful if your propagation area is a bit cooler.
- Don’t Drown Them: While they need moisture, overwatering is the quickest way to invite root rot. The goal is consistently moist, not soggy. If you see condensation building up heavily inside the plastic bag, open it for a few hours to let some air circulate.
- Watch the Leaves: After a week or so, you might see the leaves perk up or, conversely, start to wilt. If they stay firm and upright, that’s a good sign! If they look droopy and sad even after misting, it’s often a sign that the cutting isn’t taking.
Aftercare & Troubleshooting
Once your cuttings have started to develop roots – and you’ll know this because you’ll see new leaf growth emerging and gentle tugging on the stem will reveal resistance from established roots – it’s time for a little adjustment.
Gradually acclimate your new plants to normal room humidity by slowly opening the plastic bag or humidity dome over several days. Once they seem happy with this, you can remove the covering completely. Continue to water them when the top inch of soil feels dry. As they grow, you can transplant them into slightly larger pots according to their needs.
The most common sign of failure is wilting and browning, which often points to rot. This is usually due to overwatering or poor air circulation. Sometimes, a cutting just doesn’t have what it takes to root, and that’s okay too! Don’t get discouraged; just try again with new material.
A Encouraging Closing
Propagating Petunia axillaris might seem a bit delicate at first, but with a little patience and these tips, you’ll be well on your way to a whole garden full of these delightful blooms. Enjoy the journey of nurturing these little ones. There’s a special kind of joy in watching something grow from a tiny piece of a plant you already love! Happy gardening!
Resource: