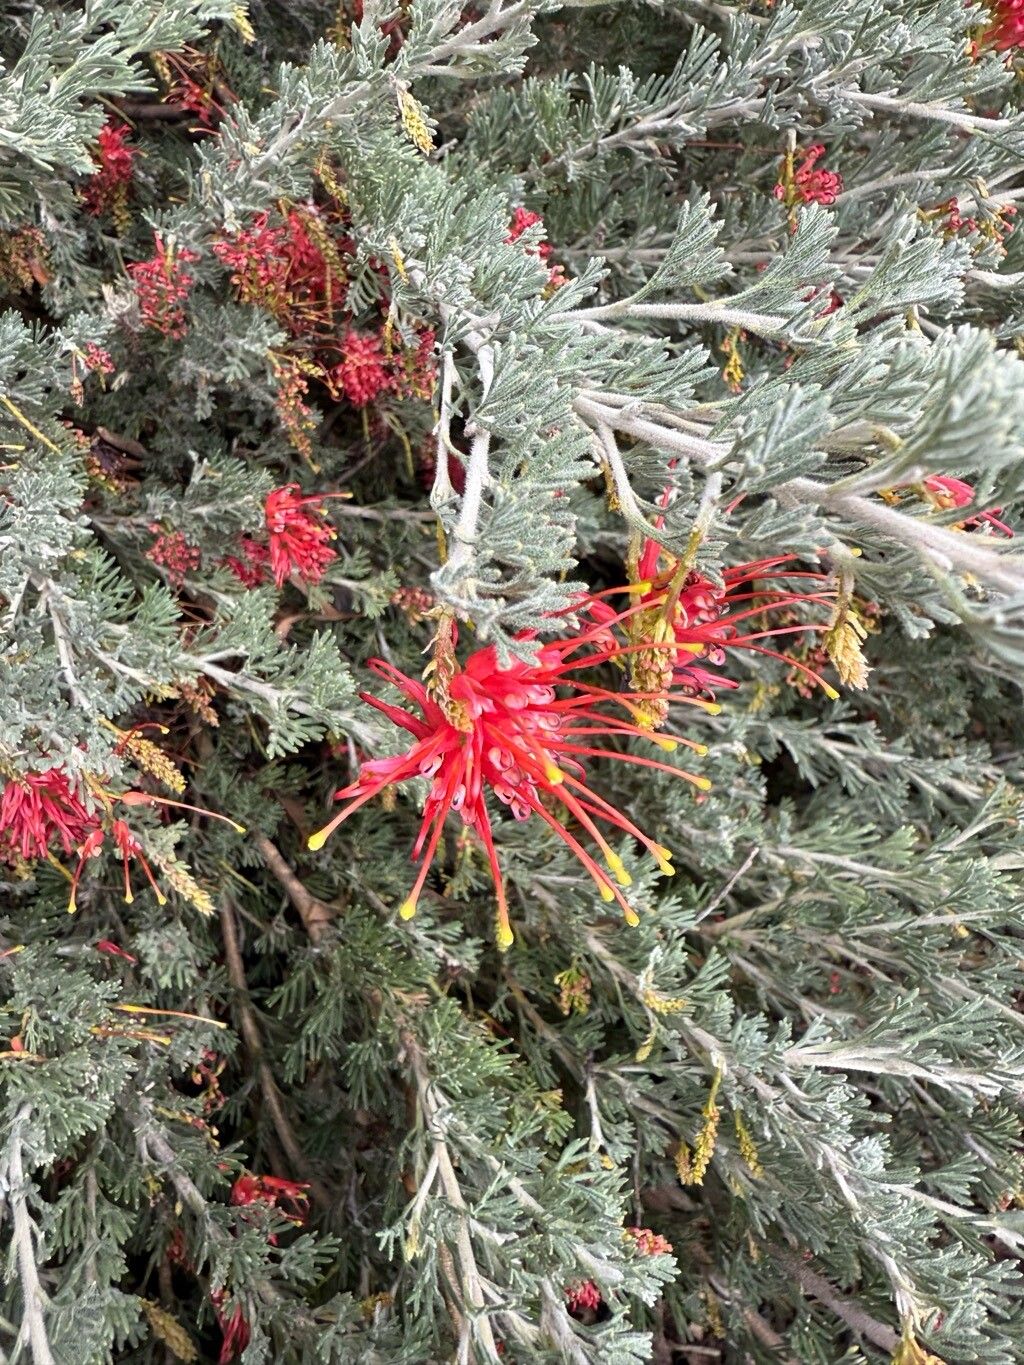
Hello fellow plant lovers! Today, we’re diving into the wonderful world of Grevillea lavandulacea, often called the Lavender Grevillea for its charming, lavender-pink flowers and sometimes fragrant, rosemary-like foliage. It’s a beautiful native Australian shrub that attracts all sorts of beneficial wildlife to your garden. Trust me, there’s a special kind of satisfaction that comes from nurturing a new plant from a tiny cutting or division. It’s like giving the most wonderful gift to your future self (and potentially your gardening friends!).
Now, about its ease for beginners – I’d say Grevillea lavandulacea is moderately easy to propagate. It’s not one of those plants that roots if you simply look at it funny, but with a little care and the right approach, you’ll likely have success. Don’t let that deter you; it’s a truly rewarding experience!
The Best Time to Start
For the highest success rate with most Grevilleas, including G. lavandulacea, I find that late spring through to mid-summer is your golden window. This is when the plant is actively growing, or in its “softwood” or “semi-hardwood” stage. Think of it as the plant having plenty of energy to put into growing new roots. You can sometimes get away with taking cuttings in autumn, but the results are usually less reliable.
Supplies You’ll Need
Gathering your tools beforehand makes the whole process smoother. Here’s what I recommend:
- Sharp Pruning Shears or a Craft Knife: For clean cuts, which are crucial.
- Potting Mix: A well-draining mix is paramount. I often use a blend of peat moss or coco coir, perlite, and coarse sand. Some growers prefer a specific native potting mix, which is also excellent.
- Small Pots or Seedling Trays: With drainage holes, of course!
- Rooting Hormone: This is usually a powder or gel, which helps significantly in encouraging root development.
- Plastic Bags or a Propagator: To create a humid environment for your cuttings.
- A dibber or pencil: For making planting holes.
- Watering Can or Spray Bottle: For gentle watering.
Propagation Methods
Let’s get our hands dirty! There are a couple of reliable ways to multiply your Grevillea lavandulacea.
1. Stem Cuttings (My Favorite!)
This is my go-to method for Grevilleas.
- Select Your Cuttings: Find healthy, non-flowering shoots from a mature plant. Look for stems that are flexible but not brand new and floppy. You want them to be about 10-15 cm long.
- Make the Cut: Using your sharp shears or knife, make a clean cut just below a leaf node (where a leaf attaches to the stem). This is where the plant is most likely to form roots.
- Prepare the Cutting: Gently remove the lower leaves from the cutting. Leave just a few leaves at the top to photosynthesize. If the remaining leaves are very large, I’ll sometimes snip them in half to reduce water loss.
- Apply Rooting Hormone: Dip the cut end of the stem into your chosen rooting hormone, tapping off any excess.
- Plant Your Cuttings: Make a hole in your prepared potting mix with a dibber or pencil. Carefully insert the hormone-coated end of the cutting into the hole, firming the soil gently around it. Don’t plant too deep; just enough to anchor it.
- Water Gently: Water the mix thoroughly but softly, ensuring the soil is moist but not waterlogged.
- Create Humidity: Place the pot inside a clear plastic bag or propagator, making sure the bag doesn’t touch the leaves too much. Seal it loosely or ensure ventilation holes are open in your propagator.
2. Division (For Established Plants)
If you have a larger, established Grevillea, division is a great way to get new plants and rejuvenate the parent.
- Timing is Key: The best time for division is usually in late winter or early spring before new growth really takes off.
- Gently Excavate: Carefully dig up the entire plant, trying to disturb the root ball as little as possible.
- Inspect and Separate: Inspect the root system. You’re looking for natural breaks in the plant where you can gently tease apart sections with strong roots and at least a few shoots. You can use your hands or a clean spade if needed.
- Replant Immediately: Pot up the divisions into their own containers with fresh, well-draining potting mix, or plant them directly into the garden if the weather is suitable. Water them in well.
The “Secret Sauce” (Pro Tips)
Alright, lean in, because here are a few things I’ve learned over the years that make a big difference:
- Bottom Heat is Your Friend: If you have the facility, placing your pots on a heat mat designed for propagators can dramatically speed up root formation. Grevilleas love a bit of warmth down below!
- Don’t Drown Your Cuttings: This is a big one. While they need moisture, soggy conditions are the quickest way to rot your precious cuttings. Ensure excellent drainage, and if using the plastic bag method, ventilate the bag slightly every few days to prevent excess moisture buildup.
- Air Circulation is Crucial: Beyond just ventilating the bag, when your cuttings have roots and are developing, they still appreciate good air circulation. This helps prevent fungal diseases. If they are in a propagator, open it up a little more each day before eventually removing the lid entirely.
Aftercare & Troubleshooting
Once your cuttings have hopefully developed roots (you can gently tug to feel resistance, or you might even see roots emerging from drainage holes), it’s time for a little extra care.
- Acclimatize Gradually: Slowly reduce the humidity around your new plants. If they were in a bag, open it up more and more each day.
- Move to Brighter Light: Gradually move them into a spot with bright, indirect light, avoiding harsh, direct sun for a while.
- Watering Schedule: Keep the soil consistently moist but not soggy. As they grow stronger, you can start to water them less frequently, allowing the top layer of soil to dry out slightly between waterings.
- Signs of Trouble: The most common issue you’ll face is rot. This usually manifests as a blackening and wilting of the stem, often starting from the cut end. If you see this, unfortunately, the cutting is likely lost. It’s a signal that conditions were too wet or humid without enough air circulation. If a cutting looks good but just isn’t growing, it might simply not have rooted yet. Be patient!
There you have it! Don’t get discouraged if your first few attempts aren’t perfect. Every gardener has experienced cuttings that didn’t make it. Gardening is a journey of learning and observation. Keep trying, pay attention to your plants, and enjoy the process of bringing new life into your garden. Happy propagating!
Resource:
https://identify.plantnet.org/k-world-flora/species/Grevillea%20lavandulacea%20Schltdl./data