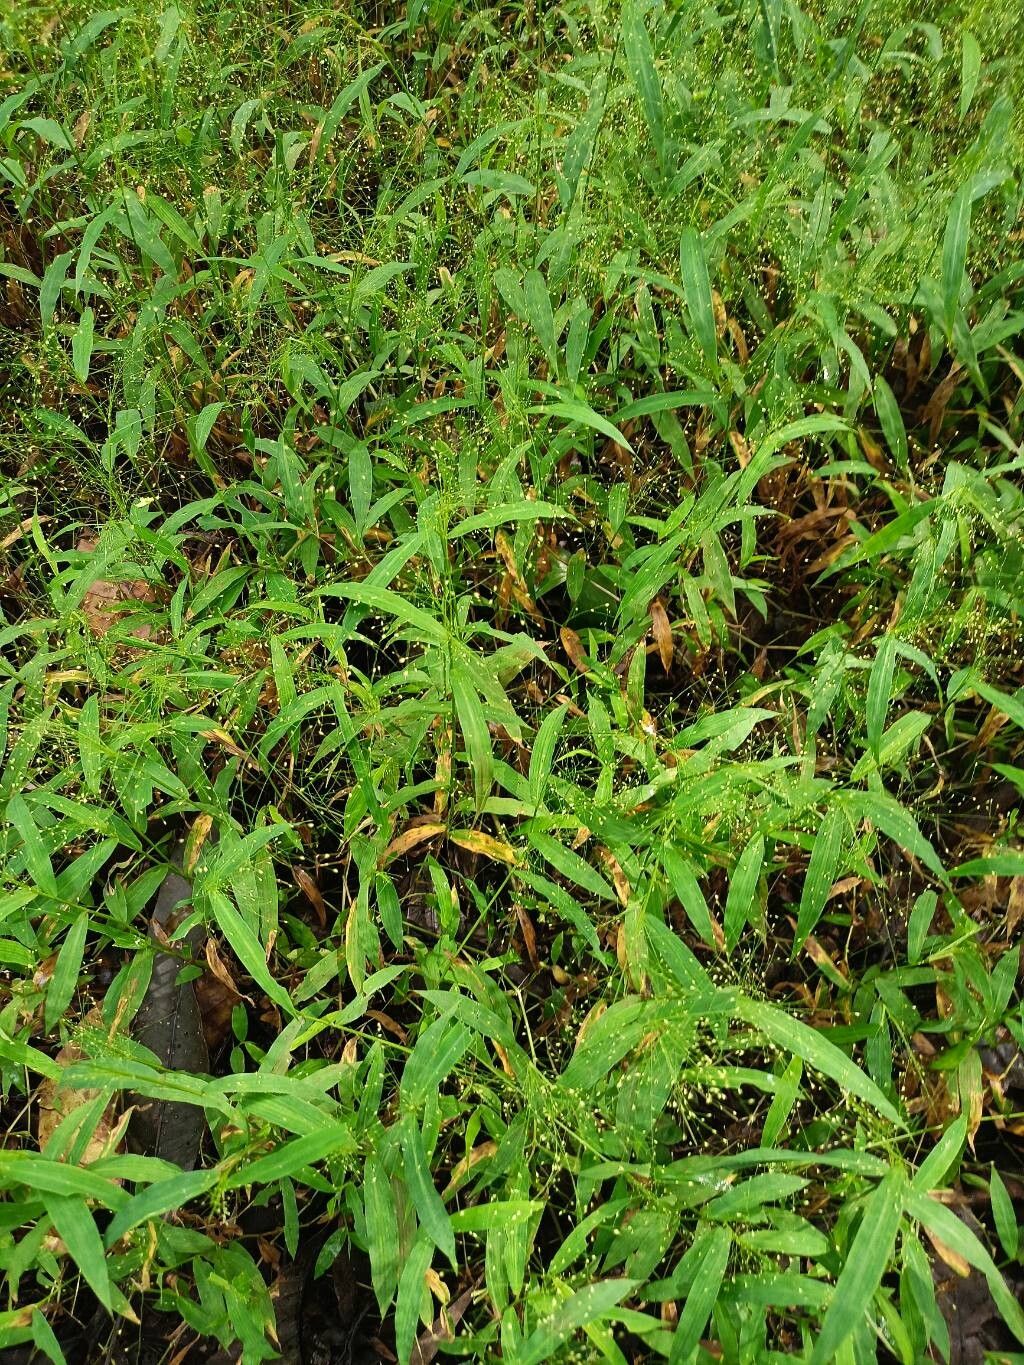
Hello fellow plant lovers! Today, we’re diving into the wonderful world of Cyrtococcum patens, also known affectionately as Miniature Foxtail Grass. If you’re looking for a delightful, graceful grass that adds a soft, airy texture to your shady spots, this is it. Its delicate plumes are simply charming, and there’s something incredibly satisfying about creating more of this beauty from just a little bit of what you already have. For beginners, I’d say propagating Cyrtococcum patens falls into the moderately easy category. With a little care and attention, you’ll be rewarded with plenty of new plants.
The Best Time to Start
Spring is truly your best bet for propagating Cyrtococcum patens. As the plant begins its active growing season, it has that extra energy to put into developing new roots. Aim for when the weather is reliably warm, but before the intense heat of summer sets in. Early spring allows your cuttings or divisions to establish themselves in comfortable temperatures, giving them a head start before facing any potential stress.
Supplies You’ll Need
Here’s a little toolkit to gather before you get started:
- Sharp Pruning Shears or a Clean Knife: For making clean cuts.
- Well-Draining Potting Mix: A good blend of perlite, peat moss, and horticultural sand works wonders. You can also use a commercial seed-starting mix.
- Small Pots or Seedling Trays: Clean and with drainage holes.
- Rooting Hormone (Optional but Recommended): A stimulating powder or gel to encourage root development.
- Watering Can or Spray Bottle: For gentle watering.
- Clear Plastic Bags or a Humidity Dome: To maintain a humid environment for cuttings.
- Labels and a Marker: To keep track of your efforts!
Propagation Methods
There are a few ways to bring more Cyrtococcum patens into your garden, but two of my favorites for this graceful grass are stem cuttings and division.
Stem Cuttings
This is a fantastic way to get a good number of new plants from a healthy specimen.
- Select Your Cuttings: Look for healthy, non-flowering stems. Aim for pieces that are about 4-6 inches long.
- Make the Cut: Using your clean shears or knife, make a clean cut just below a leaf node (the point where a leaf attaches to the stem). This is where roots are most likely to form. Remove any leaves that are close to the bottom of the cutting, leaving just a few at the top.
- Apply Rooting Hormone (If Using): Dip the cut end into your rooting hormone, gently tapping off any excess.
- Plant the Cuttings: Fill your small pots or seedling trays with your well-draining potting mix. Make a small hole with your finger or a pencil, and gently insert the cut end of the stem. Firm the soil gently around the stem.
- Water and Cover: Water the soil lightly. Then, cover the pots with a clear plastic bag or a humidity dome. This creates a mini-greenhouse effect, keeping the humidity high, which is crucial for cuttings.
Division
If your Cyrtococcum patens has grown into a nice clump, division is a wonderfully straightforward method.
- Carefully Excavate: Gently dig up the entire plant from its pot or the ground. You want to disturb the roots as little as possible.
- Examine the Root Ball: Gently shake off excess soil so you can clearly see the root system.
- Separate the Divisions: Look for natural divisions within the clump. You can often gently pull apart sections with your hands, or if it’s a bit tougher, use your clean knife or trowel to slice through the root ball. Each division should have multiple stems and a decent amount of healthy roots.
- Replant Immediately: Pot up each division into its own container filled with your potting mix, or replant them directly into your garden beds. Water them in well.
The “Secret Sauce” (Pro Tips)
Here are a few little tricks I’ve picked up over the years that can really boost your success rate:
- Bottom Heat for Cuttings: If you’re propagating stem cuttings, placing your pots on a heat mat can make a world of difference. Warm soil encourages roots to develop much faster. Just remember to keep an eye on moisture levels if you’re using bottom heat, as it can dry out the soil more quickly.
- Don’t Overcrowd Cuttings: When you’re planting cuttings in a tray, give them a little space. They need airflow to prevent fungal issues, and if the leaves of one cutting are constantly touching another, it can create problems.
- Start with Healthy Stock: This sounds obvious, but it’s so important. Use only the healthiest, most vigorous stems or divisions you can find. A weak start often leads to a weak plant, no matter how good your propagation technique is.
Aftercare & Troubleshooting
Once your cuttings have started to root (you’ll see new growth or feel resistance when you gently tug on a stem indicating roots), or your divisions are planted, it’s time for a bit of TLC.
- Gradual Acclimation: If you’ve used a plastic bag or dome on your cuttings, slowly begin to acclimate them to normal humidity over a week or two. This means opening the bag for longer periods each day.
- Consistent Moisture: Keep the soil consistently moist but not soggy. Overwatering is the quickest way to invite rot. Let the surface of the soil dry slightly between waterings.
- Bright, Indirect Light: Place your new plants in a spot with bright, indirect light. Avoid harsh, direct sun, which can scorch tender new growth.
- Watch for Rot: The biggest sign of trouble is soft, mushy stems. If you see this, it’s usually a sign of overwatering or poor drainage. Unfortunately, severely rotted cuttings are usually a loss, so preventing it is key. Yellowing leaves can also sometimes indicate too much or too little water, or not enough light.
A Little Patience, A Lot of Joy
Propagating plants is a journey of patience and observation. Don’t get discouraged if every single cutting doesn’t make it. Nature has its own pace, and sometimes things just don’t take. Celebrate the successes, learn from the challenges, and most importantly, enjoy the wonderfully rewarding process of growing more beautiful Cyrtococcum patens to share and admire. Happy gardening!
Resource:
https://identify.plantnet.org/k-world-flora/species/Cyrtococcum%20patens%20(L.)%20A.Camus/data