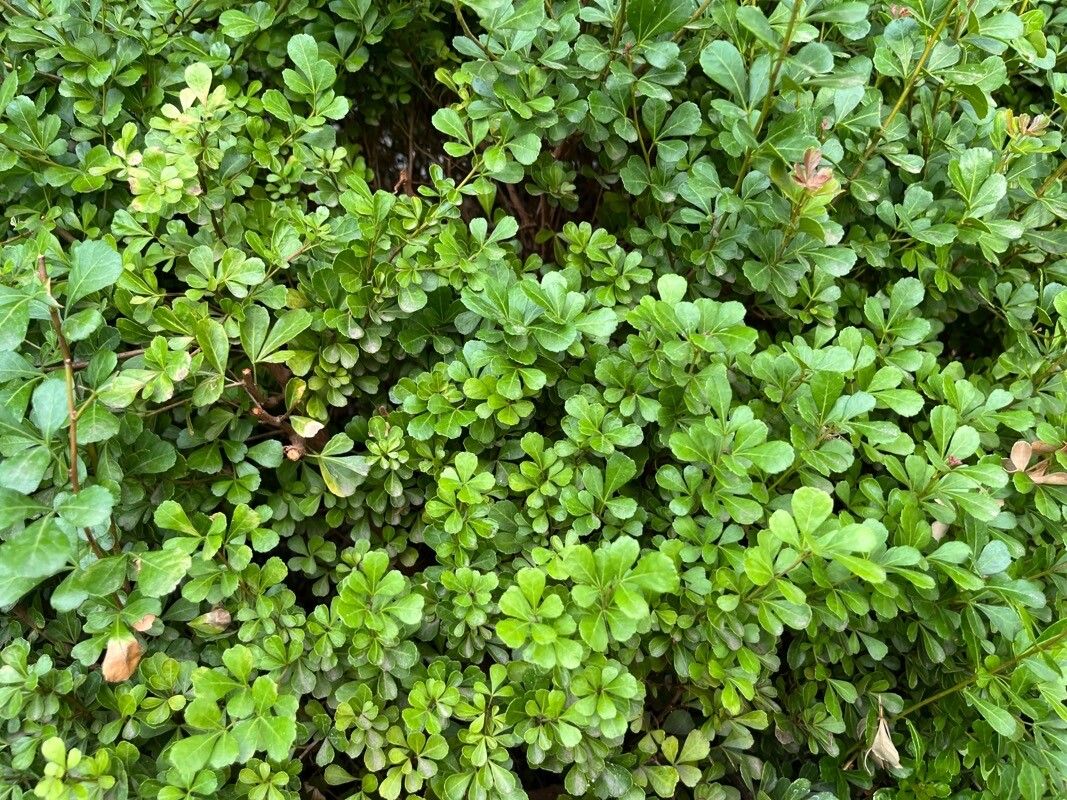
Oh, hello there! Come on in, pull up a chair. I’m so glad you’re curious about propagating Searsia crenata. This plant, also known as the “Karee” or “Natal eta-eta,” is just a delight to have in the garden. It’s got this lovely, dense foliage that makes for a fantastic hedge or a really attractive standalone shrub. And the tiny, sometimes fragrant flowers followed by pretty little berries? Chef’s kiss! What I love most, though, is how incredibly rewarding it is to nurture a new plant from a little piece of the original. It’s a bit like magic, isn’t it? For beginners, I’d say Searsia crenata is moderately easy to propagate, which is wonderful news. You’re likely to have good success with a little know-how.
The Best Time to Start
For the highest success rate, I always aim for late spring to early summer. This is when the plant is actively growing and has plenty of energy to put into developing new roots. You’re looking for what we call “semi-hardwood” cuttings. What does that mean? The stem will be firm but still has a little bit of flexibility. If you try from brand new, bright green growth, it might be too soft. And if you wait until the wood is really hard and woody, it can take much longer to root, if at all. So, time it just right, and you’ll be golden.
Supplies You’ll Need
Before we get our hands dirty, let’s gather our tools. I like to be prepared!
- Sharp Pruning Shears or a Craft Knife: Clean cuts are crucial for preventing disease and encouraging rooting.
- Rooting Hormone: This is a lifesaver, especially for trickier plants. Look for one with an IBA (indole-3-butyric acid) component.
- Small Pots or Seedling Trays: Clean pots are a must. About 3-4 inches in diameter is perfect.
- Well-Draining Potting Mix: I usually make my own by mixing equal parts perlite and peat moss or coco coir. You can also buy a good quality seedling mix.
- Dibbler or Pencil: To make a planting hole in the soil.
- Clear Plastic Bags or a Propagator Lid: To create a humid environment for your cuttings.
- Watering Can or Spray Bottle: For gentle watering.
Propagation Methods
Let’s get down to business! The most reliable method for Searsia crenata is stem cuttings.
- Take Cuttings: On a bright but not scorching hot morning, select healthy stems from your mature plant. Use your sharp pruning shears to take cuttings that are about 4-6 inches long. Make the cut just below a leaf node (where a leaf meets the stem).
- Prepare the Cuttings: Gently remove the lower leaves from the bottom 2-3 inches of the stem. You can leave the top few leaves intact. If the remaining leaves are very large, I sometimes snip them in half horizontally to reduce water loss through transpiration.
- Apply Rooting Hormone: Dip the cut end of the stem into your rooting hormone powder or gel. Swirl it gently to ensure a good coating. Tap off any excess.
- Plant the Cuttings: Fill your clean pots with the well-draining potting mix. Use your dibbler or pencil to make a hole in the center. Gently insert the coated end of the cutting into the hole, ensuring the leaf nodes are buried. Firm the soil gently around the stem.
- Water Gently: Water the pot thoroughly but gently, so you don’t dislodge the cuttings.
- Create Humidity: Now for the magic! Place a clear plastic bag over the pot, creating a mini-greenhouse. You can use wooden skewers or chopsticks to keep the bag from touching the leaves. Alternatively, use a propagator lid.
- Provide Light and Warmth: Place the pots in a bright spot out of direct sunlight. They love warmth, so a sunny windowsill or a spot where they can receive gentle bottom heat is ideal.
The “Secret Sauce” (Pro Tips)
Here are a few little tricks I’ve learned over the years that can really boost your success:
- Think Fresh Wood, Not Old: As I mentioned, aim for that semi-hardwood stage. If you’re in doubt, err on the side of slightly younger growth. It’s much more forgiving.
- Don’t Drown Your Cuttings: While humidity is key, you don’t want soggy soil. The potting mix should feel moist but not waterlogged. I often give my cuttings a light misting every few days if the soil starts to dry out, but I never let them sit in standing water.
- Bottom Heat is Your Friend: If you can, using a heat mat designed for seedlings can make a huge difference. It encourages root development from below, which is just what these little guys need to get going.
Aftercare & Troubleshooting
Once your cuttings have been planted and are nestled in their humid little homes, patience is your best friend. Check on them periodically. You’re looking for signs of new growth, which usually means roots are forming. This can take anywhere from 4 to 8 weeks, sometimes longer.
When you see new leaves or even tiny shoots emerging, it’s a good sign! You can very gently tug on a cutting; if it offers resistance, it’s usually rooted. At this point, you can gradually acclimate your new plant to less humid conditions by opening the plastic bag a little each day over a week or so. Once they are well-established, you can transplant them into their own individual pots.
The most common sign of failure is rotting. If your cuttings turn black and mushy, or if they wilt dramatically and don’t perk up, it’s usually a sign of too much moisture or not enough air circulation. If you see mold, remove the affected cutting immediately and ensure good airflow.
A Encouraging Closing
So there you have it! Propagating Searsia crenata is a truly satisfying endeavor. Be patient with yourself and with the plants. Every cutting is a new adventure, and even if not every single one takes, you’ll learn so much. The joy of watching those tiny roots emerge and a new plant begin its life is absolutely worth it. Happy propagating, and enjoy your gardening journey!
Resource:
https://identify.plantnet.org/k-world-flora/species/Searsia%20crenata%20(Thunb.)%20Moffett/data