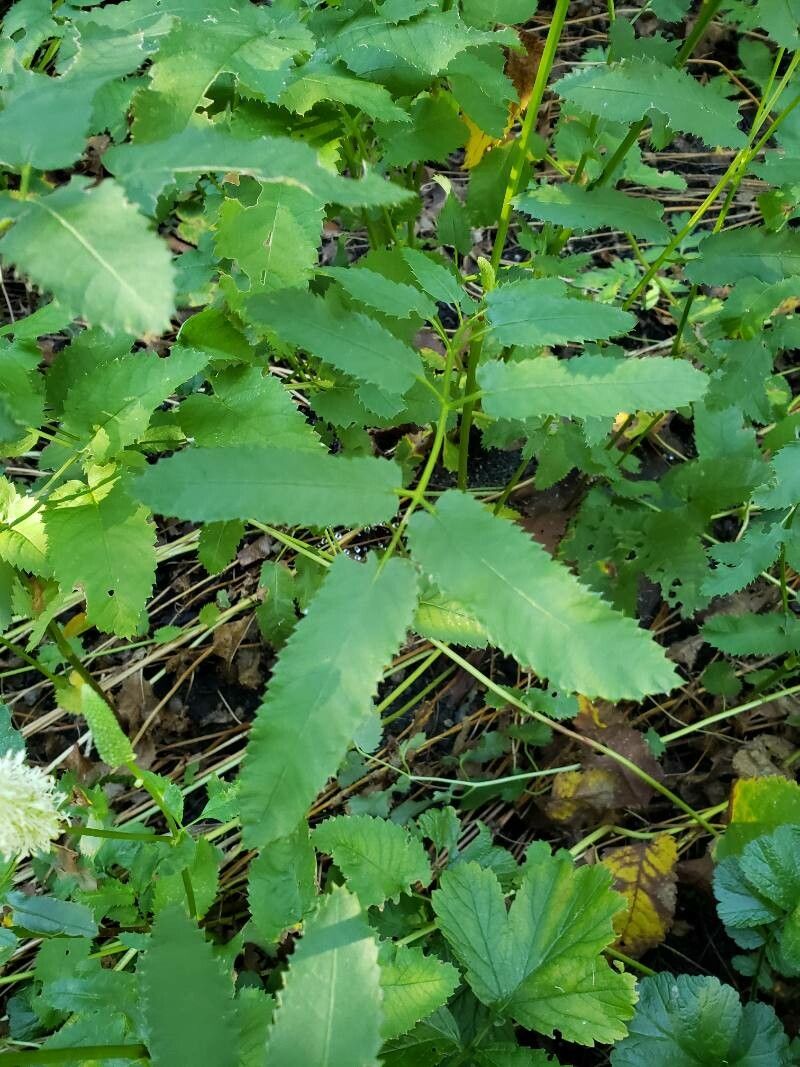
Oh, hello there, fellow garden enthusiast! Pull up a chair, let’s chat about a plant I truly adore: Sanguisorba canadensis, or Canadian Burnet. If you haven’t met this beauty yet, imagine elegant, bottlebrush-like blooms in soft whites and sometimes a blush of pink, all held aloft on graceful stems. It’s a real showstopper, a pollinator magnet, and surprisingly low-maintenance once established.
Why propagate it? Well, for starters, it’s a fantastic way to share the garden magic with friends (or just fill up more of your own space!). And the best part? Sanguisorba canadensis is wonderfully rewarding to propagate. While some plants can be finicky, I find it to be quite forgiving, even for those just dipping their toes into the world of plant propagation.
The Best Time to Start
For the highest success rate with Sanguisorba canadensis, I always recommend working with semi-ripe cuttings in the early to mid-summer. This is when the plant has put on a good flush of growth, and the stems are no longer floppy and new but haven’t yet hardened off completely. Think of it as that perfect in-between stage – flexible enough to root, but sturdy enough to handle the process. Harvesting cuttings on a cool, overcast morning is also a little trick that helps them stay hydrated before you get them into their rooting medium.
Supplies You’ll Need
Before we dive in, let’s make sure we have our tools ready. It’s always better to be prepared!
- Sharp Pruning Shears or a Clean Knife: For taking those clean, precise cuts.
- Small Pots or Propagation Tray: Clean pots are crucial to prevent disease.
- Well-Draining Potting Mix: I like a mix of equal parts peat moss or coir and perlite or coarse sand. This helps prevent waterlogging.
- Rooting Hormone (Optional but Recommended): A powder or gel can significantly boost your success rate.
- Plastic Bag or Clear Cloche: To create a humid environment for your cuttings.
- Watering Can with a Fine Rose: For gentle watering.
- Labels: To keep track of what you’ve planted!
- Small Stakes or Bamboo Skewers: To support the plastic bag if needed.
Propagation Methods: A Closer Look
Here are the methods I find most effective for Sanguisorba canadensis.
Stem Cuttings: My Go-To Method
This is generally the most straightforward and successful approach for this lovely plant.
- Select Your Cuttings: Look for healthy, non-flowering stems. You want pieces about 4-6 inches long.
- Make the Cut: Use your sharp shears to make a clean cut just below a leaf node (where a leaf attaches to the stem). This is where the magic of rooting often happens.
- Prepare the Cuttings: Gently remove the lower leaves, leaving just two or three at the top. If the remaining leaves are very large, I sometimes snip them in half to reduce water loss.
- Dip in Rooting Hormone: If you’re using rooting hormone, dip the cut end of each stem into the powder or gel. Tap off any excess.
- Pot Them Up: Fill your small pots or tray with your prepared potting mix. Make a small hole in the center of the mix with a pencil or your finger.
- Insert the Cuttings: Gently place each cutting into the hole, ensuring the leaf nodes are buried in the soil. Firm the soil around the base of the cutting.
- Water Gently: Water thoroughly but gently, making sure the soil is moist but not soggy.
- Create Humidity: Cover the pots with a plastic bag (you can secure it with a rubber band or use skewers to prop it up) or place them in a propagation tray with a clear lid. This creates that essential humid microclimate.
- Place in Bright, Indirect Light: Find a spot that receives bright, indirect light. Avoid direct sun, which can scorch the delicate cuttings.
Division: When the Plant is Mature
If you have an established clump of Sanguisorba canadensis, division is a fantastic way to create more plants and also rejuvenate the parent.
- Dig Up the Clump: In early spring, just as new growth is emerging, carefully dig up the entire plant.
- Inspect and Separate: Gently shake off excess soil to reveal the root system. You’ll see where the plant naturally wants to divide. You can use your hands, or for tougher clumps, a clean spade or trowel to help you separate the divisions. Each division should have healthy roots and some top growth.
- Replant Immediately: It’s best to replant the new divisions right away. Prepare new planting holes in your garden or in pots with good soil.
- Water and Mulch: Water the new plantings well and give them a good layer of mulch to help retain moisture.
The “Secret Sauce” (Pro Tips)
Here are a couple of little things I’ve learned over the years that can make a big difference.
- Don’t Let the Leaves Touch the Water: If you’re using the water propagation method (which I sometimes do for Sanguisorba, but cuttings are more reliable), make sure absolutely no leaves are submerged in the water. Rot sets in so quickly when leaves are in contact with water. Only the stem should be in the water.
- Bottom Heat is Your Friend: For stem cuttings, a gentle warmth from below can dramatically speed up root development. Pop your propagation tray onto a heat mat designed for seedlings. It offers a consistent, mild temperature that encourages those roots to sprout. Just make sure it’s not too hot!
Aftercare & Troubleshooting
Once you start seeing signs of life – new leaf growth is a great indicator – you know your cuttings are working their magic!
- Acclimatize Slowly: Once roots have formed (you can gently tug on a cutting – if there’s resistance, you have roots!), it’s time to gradually acclimatize your new plants to normal conditions. Start by opening the plastic bag for a few hours each day, then remove it completely.
- Potting Up: Once they’re unfurling new leaves and you can feel good root development, carefully transplant them into larger pots with your regular potting mix.
- Watering is Key: Keep the soil consistently moist but not waterlogged as they establish. Too much water at this stage is the quickest way to invite trouble.
- Signs of Trouble: The most common culprit is rot. If your cuttings turn black and mushy, it’s usually a sign they were too wet and lacked air circulation, or possibly introduced bacteria. Damping off is another issue where the stem weakens at the soil line. Ensure good ventilation and avoid overwatering. If you see a cutting looking yellow and wilting, it might be too dry, but also check for rot at the base.
So there you have it! A little dive into the wonderful world of propagating Sanguisorba canadensis. It’s a journey of patience, observation, and a little bit of green-thumb intuition. Don’t be discouraged if not every cutting makes it – that’s just part of the learning process. Celebrate the successes, learn from the challenges, and most importantly, enjoy the unfolding of new life. Happy propagating!
Resource:
https://identify.plantnet.org/k-world-flora/species/Sanguisorba%20canadensis%20L./data