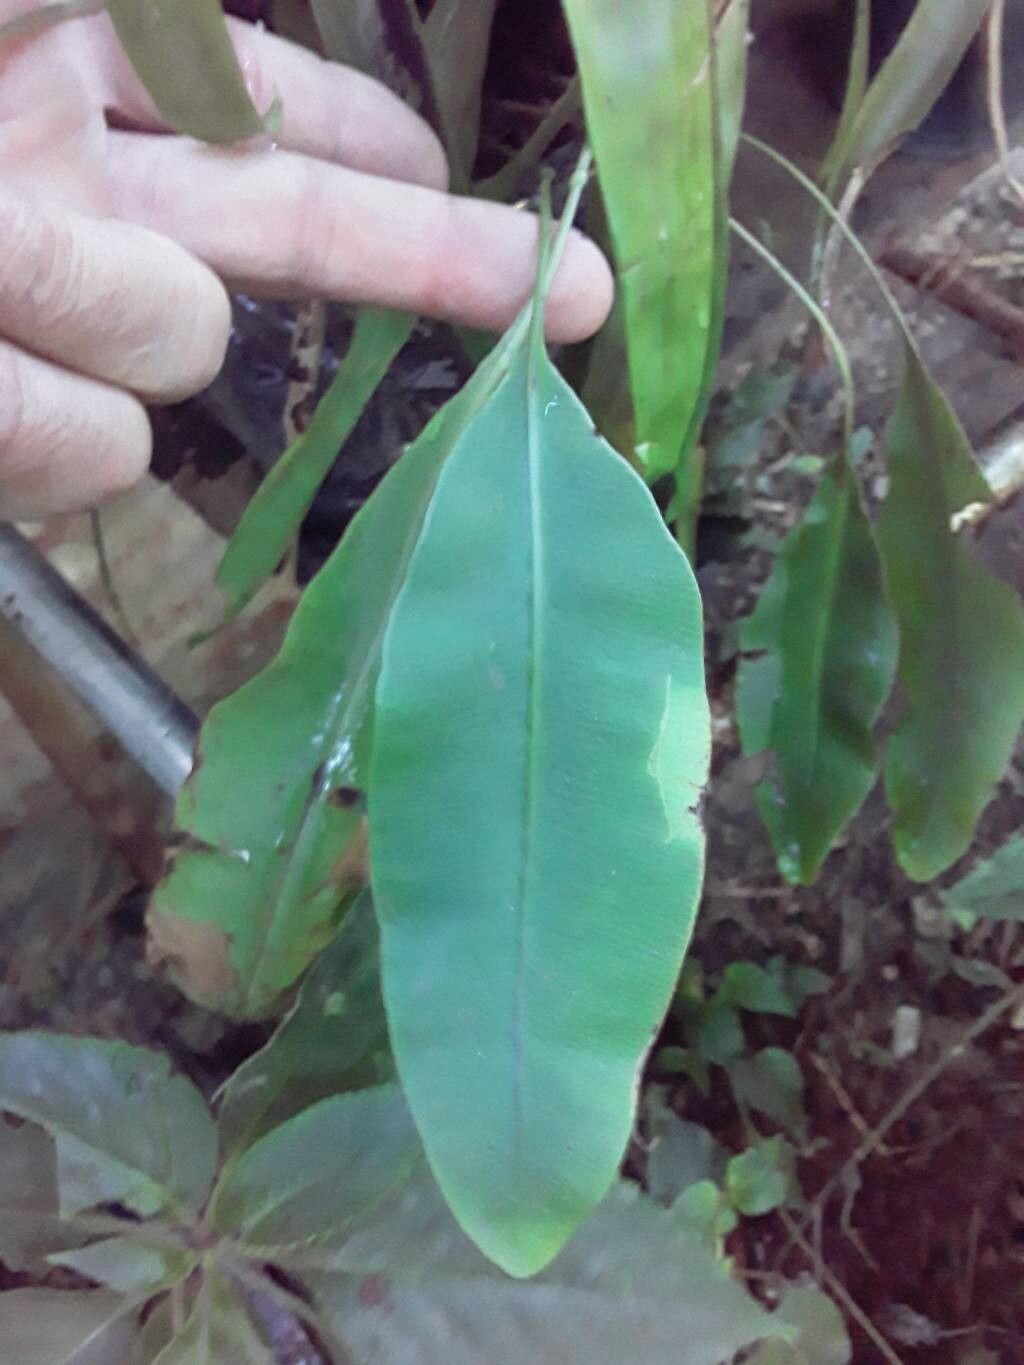
Hello, fellow plant enthusiasts! I’m so excited to chat with you today about a truly unique gem in the fern world: Elaphoglossum obovatum. If you’re a fan of lush, architectural foliage and a touch of the exotic in your home, this fern is likely to steal your heart. Its leathery, paddle-shaped leaves are just stunning, and honestly, the satisfaction of nurturing a new plant from a tiny cutting or division is a joy that never gets old.
Now, about propagating Elaphoglossum obovatum. Is it a beginner-friendly plant to multiply? I’d say it’s moderately easy. It’s not quite as foolproof as some common houseplants, but with a little attention to detail and a sprinkle of patience, you’ll definitely be rewarded with success. Think of it as a rewarding challenge, the kind that makes you feel like a true plant whisperer.
The Best Time to Start
For the highest chance of success, I find that propagating Elaphoglossum obovatum in the late spring or early summer is ideal. This is when the plant is in its most vigorous growth phase. The days are getting longer and warmer, providing the gentle energy that new cuttings or divisions need to establish themselves. Aim for when you see new fronds unfurling; that’s a good sign your plant is ready to share some of its magic.
Supplies You’ll Need
Gathering your tools before you begin makes the whole process smoother. Here’s what I like to have on hand:
- Sharp, clean pruning shears or a sharp knife: For taking clean cuts.
- Well-draining potting mix: I use a blend of equal parts peat moss, perlite, and orchid bark. It provides aeration and moisture retention without getting waterlogged.
- Small pots or propagation trays: Clean ones are crucial to prevent disease.
- Rooting hormone (optional, but recommended): A powder or gel can give your cuttings a nice boost.
- Plastic bags or a propagation dome: To create a humid environment.
- Spray bottle: For misting.
- Chopsticks or a pencil: For creating planting holes.
Propagation Methods
Elaphoglossum obovatum can be propagated in a couple of ways. My go-to methods are division and leaf (or more accurately, frond) cuttings, as they tend to be the most reliable for this specific fern.
Division
This is probably the most straightforward method for experienced growers. If your plant has become quite full and is starting to send out new growth from the base, you can divide it.
- Gently remove the plant from its pot. Inspect the root ball and look for natural separation points in the rhizomes or crowns.
- Carefully tease the root ball apart with your fingers or use a clean knife to cut through thicker rhizomes. Each division should have its own set of healthy roots and at least one or two fronds.
- Pot each division into its own container using your well-draining potting mix.
- Water thoroughly and place in a humid spot with bright, indirect light.
Frond Cuttings
This method takes a bit more patience and a keen eye for suitable material.
- Select a healthy, mature frond that is not too old and not too young. It should be firm and vibrant.
- Using your clean shears, make a clean cut just above the crown of the plant, ensuring you get a small piece of the rhizome attached to the base of the frond if possible. If you can’t get a bit of rhizome, don’t despair, but it will take longer.
- Dip the cut end into rooting hormone, if you’re using it.
- Insert the cut end into your prepared potting mix, about an inch deep. You can use a chopstick to make a pre-made hole to avoid rubbing off the rooting hormone.
- Gently firm the soil around the cutting.
- Water lightly.
- Cover the pot with a plastic bag or a propagation dome to maintain high humidity. You might want to use a stick or two to prop up the bag so it doesn’t touch the frond.
- Place in bright, indirect light.
The “Secret Sauce” (Pro Tips)
Here are a few things I’ve learned over the years that can really make a difference:
- Don’t let the leaves touch the water (if you attempt water propagation): While some ferns do well in water, Elaphoglossum obovatum can be prone to rot if its fronds sit in stagnant water for too long. If you do try water, ensure only the cut stem is submerged. I personally prefer the soil method for this fern.
- Bottom heat is your friend: Particularly for frond cuttings, providing gentle bottom heat (from a seedling heat mat, for instance) can significantly speed up root development. It mimics the warmth of spring soil and gives those nascent roots a real boost.
- Humidity, humidity, humidity!: This fern hails from humid environments, so replicating that is key. The plastic bag or dome is vital for frond cuttings.
Aftercare & Troubleshooting
Once roots have started to form (you’ll see new growth or feel resistance when gently tugging the cutting), it’s time to adjust care.
- Gradually acclimate your new plant to normal room humidity by slowly opening the plastic bag or propagation dome over a week or two.
- Continue to water when the top inch of soil feels dry. Avoid soggy conditions.
- Keep it in bright, indirect light.
- If your cuttings turn yellow and mushy or develop black spots, this is likely rot. Often, this is due to overwatering or poor air circulation. Unfortunately, rotten cuttings are usually a lost cause, but don’t be discouraged! Learn from it and try again. Sometimes, a fresh start with slightly drier conditions is all that’s needed.
A Little Encouragement
Propagating plants is a journey, and sometimes the path has a few bumps. Be patient with your Elaphoglossum obovatum cuttings, celebrate the small victories, and don’t get too disheartened by any setbacks. The joy of watching a new fern unfurl its delicate fronds, knowing you helped bring it into existence, is truly special. Happy propagating!
Resource:
https://identify.plantnet.org/k-world-flora/species/Elaphoglossum%20obovatum%20Mickel/data