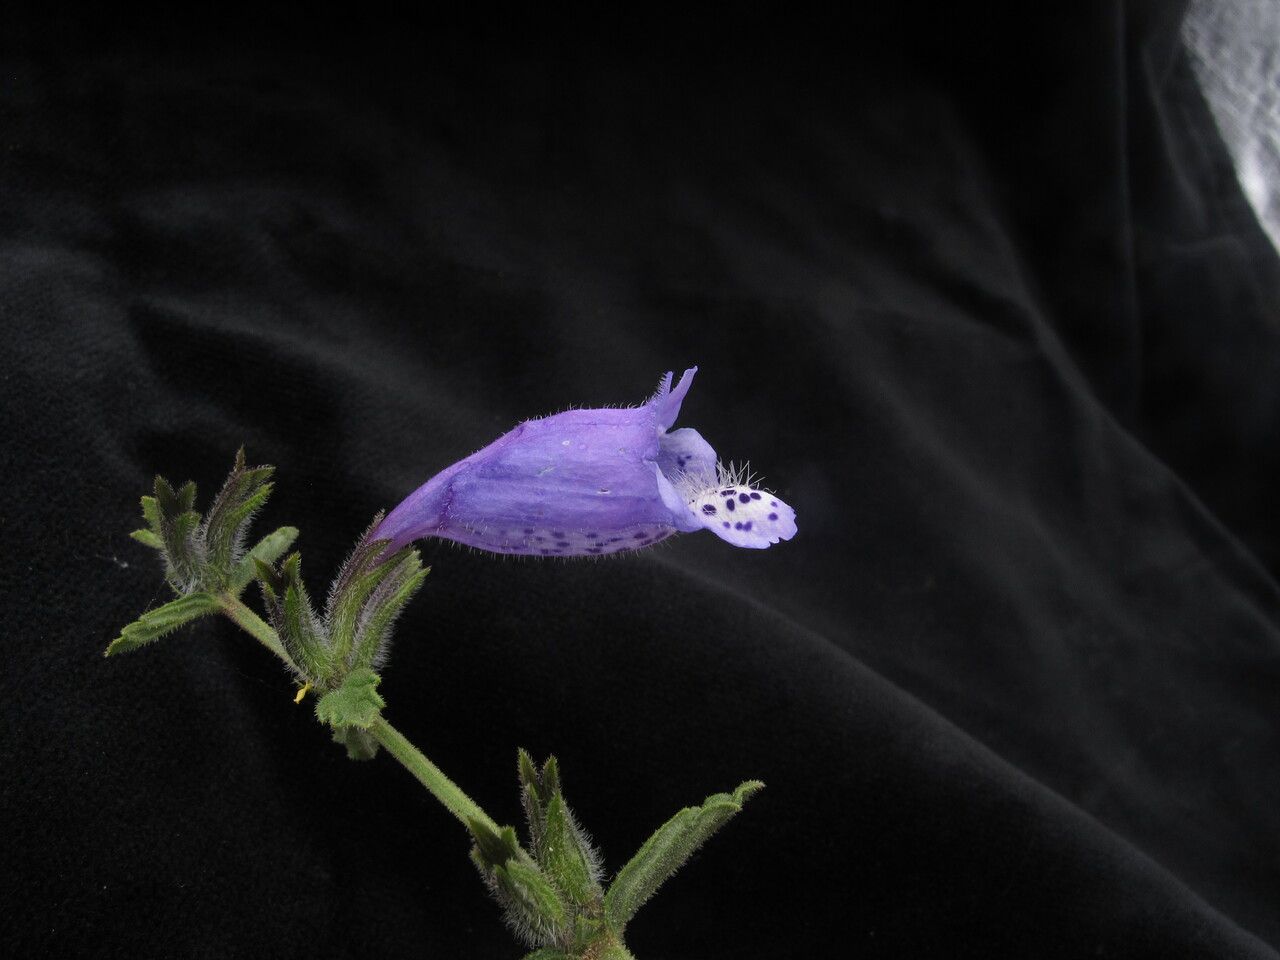
Hello fellow plant enthusiasts! It’s so good to have you here. Today, we’re going to chat about one of my absolute favorites: Nepeta staintonii. If you haven’t met her yet, imagine mounds of delicate, silvery foliage topped with a profusion of soft, lavender-blue flowers that the bees simply adore. She’s a joy in any garden, especially when the temperatures start to warm up. And the best part? She’s surprisingly easy to propagate! This is a fantastic plant to try your hand at if you’re new to the propagation game. You’ll be rewarded with more of those lovely blooms and a garden full of happy pollinators.
The Best Time to Start
For Nepeta staintonii, my go-to time is late spring to early summer. This is when the plant is actively growing and has plenty of fresh, unflowered shoots available. The stems are pliable and full of life, which gives them the best chance to root. You can also have success with cuttings taken in early fall, but I find the spring ones tend to establish more quickly.
Supplies You’ll Need
You don’t need a lot of fancy equipment to get started. Here’s what I usually have on hand:
- Sharp pruning shears or a clean knife: For making clean cuts.
- Small pots or seedling trays: With drainage holes, of course!
- A good rooting medium: I like a mix of equal parts peat moss or coco coir and perlite. You can also use a commercial seed-starting mix.
- Rooting hormone (optional, but recommended): A powder or gel will help speed things up.
- Plastic bags or a clear plastic dome: To create a humid environment.
- Watering can with a fine rose or spray bottle: For gentle watering.
- Small labels and a pen: To keep track of your projects!
Propagation Methods
There are a couple of ways to multiply your Nepeta staintonii, and I find stem cuttings to be the most reliable.
Stem Cuttings
- Take Your Cuttings: Select healthy, non-flowering shoots. You’re looking for stems that are still a bit soft and green, not woody. Aim for cuttings about 4-6 inches long. Make your cut just below a leaf node (where a leaf attaches to the stem).
- Prepare the Cuttings: Gently remove the lower leaves. You want to leave just a couple of leaves at the very top. This prevents the leaves from rotting in the soil or water. If your cuttings are quite large, you can even take the top set of leaves and cut them in half horizontally. This reduces water loss.
- Apply Rooting Hormone (Optional): Dip the cut end of each stem into your rooting hormone. Just a light coating is all you need. Gently tap off any excess.
- Plant Your Cuttings: Moisten your rooting medium. Make small holes in the soil with a pencil or your finger. Insert the cut end of each cutting into the hole, ensuring at least one leaf node is below the soil surface. Don’t overcrowd the pots; give them a little space. Gently firm the soil around the stem.
- Create Humidity: Water the cuttings gently. Then, cover the pots with a clear plastic bag or dome. This traps moisture and creates a mini-greenhouse effect. Prop the bag up with a few twigs so it doesn’t touch the leaves.
- Find a Cozy Spot: Place your pots in a bright location out of direct sunlight. A warm spot is ideal.
Water Propagation (A fun, quick check!)
While stem cuttings in soil are my preferred method for long-term success, you can get some Nepeta staintonii cuttings to root in water.
- Prepare Cuttings: Same as step 1 & 2 above for stem cuttings.
- Place in Water: Put the cuttings in a glass or jar filled with clean water. Make sure no leaves are submerged. If a leaf dips into the water, it will rot and can spoil the whole batch. Change the water every few days.
- Watch and Wait: You’ll start to see tiny white roots emerge from the nodes. Once these roots are about an inch long, you can carefully transplant them into soil as described in the step below.
The “Secret Sauce” (Pro Tips)
- Bottom Heat is Your Friend: While not strictly necessary, placing your pots on a gentle heating mat designed for plant propagation can really speed up root formation. It mimics the warmth of spring soil and gives your cuttings an extra boost.
- Don’t Be Afraid to Pinch: Once your cuttings have started to grow and you see new leaves forming at the top, even from the ones rooted in water, I like to pinch off the very tip. This encourages the plant to branch out, giving you a bushier, more robust new plant.
- Sterilize Everything: This is crucial for preventing fungal diseases. Make sure your pruning shears are clean, and if you’re reusing pots, give them a good scrub with soap and water or a dilute bleach solution. A healthy start prevents unhappy endings.
Aftercare & Troubleshooting
Once your cuttings have developed a healthy root system (you can gently tug on a cutting; if there’s resistance, it has rooted!), it’s time to give them a bit more independence.
- Gradual Acclimation: If you’ve been using a plastic bag or dome, gradually remove it over a few days. This allows the new plant to adjust to the ambient humidity.
- Potting Up: Transplant your rooted cuttings into slightly larger pots using a good quality potting mix. They’ll be ready to go into the garden once they’ve established themselves in their new pots and the weather is suitable.
- Watch for Rot: The most common issue you might encounter is rot. This usually happens if the soil is too wet and lacks drainage, or if the humidity is too high for too long. If you see stems turning mushy or black at the base, unfortunately, that cutting is likely lost. Remove it immediately to prevent it from spreading. Overwatering is the usual culprit, so check your soil moisture.
A Heartfelt Closing
Propagating plants is such a rewarding journey. It’s about patience, observation, and a little bit of faith. Don’t be discouraged if not every single cutting succeeds – it’s all part of the learning process! Celebrate the ones that do, and enjoy the satisfaction of knowing you’ve helped these beautiful Nepeta staintonii spread their magic. Happy growing!
Resource:
https://identify.plantnet.org/k-world-flora/species/Nepeta%20staintonii%20Hedge/data