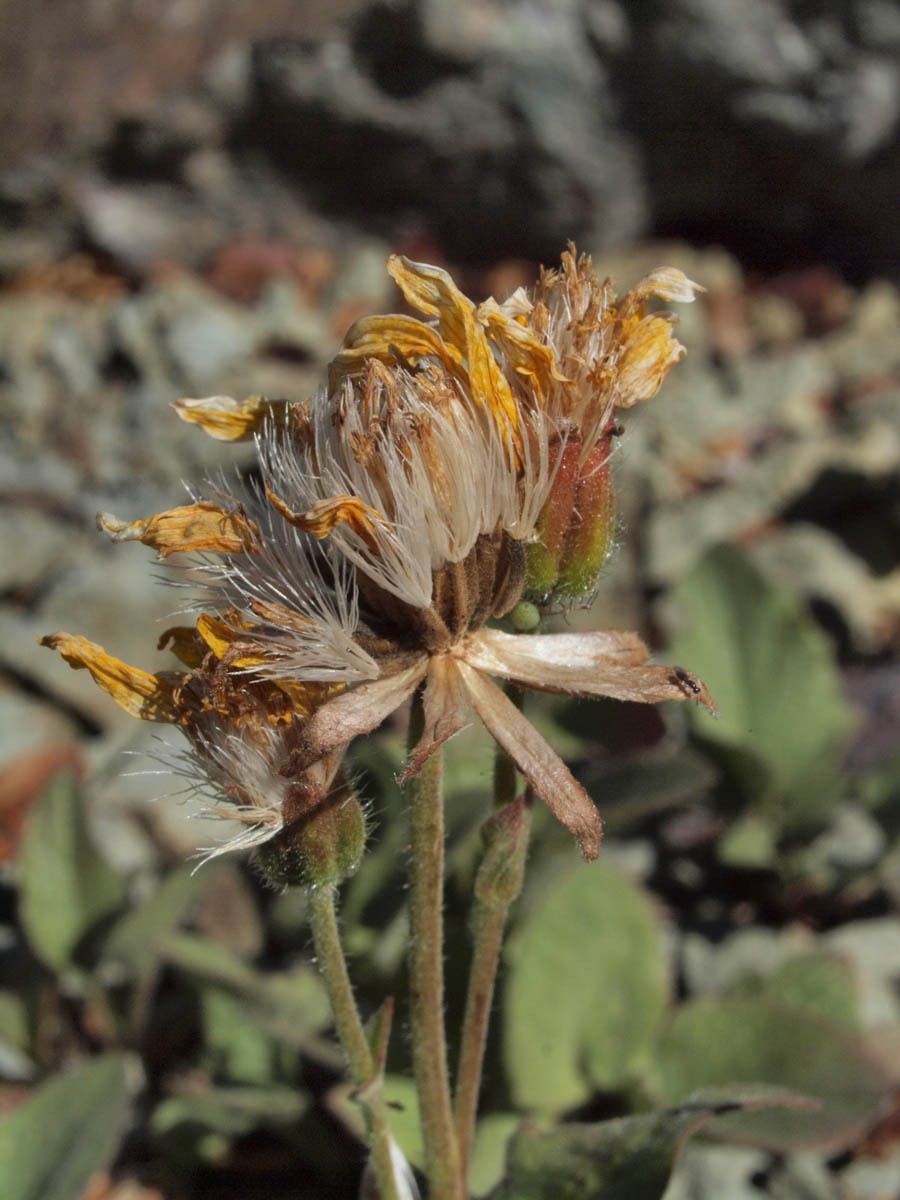
Oh, Arnica! If you’ve ever admired those sunny, daisy-like flowers gracing sunny meadows, you know their charm. For centuries, Arnica has been prized for its medicinal properties, but it’s also a beautiful addition to a pollinator-friendly garden. Propagating Arnica gracilis, its more delicate cousin, can feel like a special achievement. Honestly, for beginners, it might lean towards the “challenging” side of the spectrum, but entirely doable with a bit of patience and the right approach. It’s incredibly satisfying to nurture a new plant from a tiny piece of an existing one.
The Best Time to Start
When it comes to Arnica, spring is your go-to season. Think about when the plant is just waking up and putting on a burst of new growth. This is when cuttings are most vigorous and have the best chance of rooting. Waiting until after the plant has finished flowering and started to go a bit dormant can also work, but you’ll find spring growth is often more robust.
Supplies You’ll Need
Gathering your tools beforehand makes the whole process much smoother. Here’s what I usually have on hand:
- Sharp, clean pruning shears or a knife: For taking your cuttings. Sterilize them with rubbing alcohol!
- Rooting hormone (optional but recommended): A powder or gel can seriously boost your success rate.
- Well-draining potting mix: A good blend for me is typically 50% perlite and 50% peat moss or coco coir. Arnica hates soggy feet.
- Small pots or seed trays: With drainage holes, of course.
- Plastic bags or a propagation dome: To create a humid environment.
- A spray bottle: For misting.
- A warm, bright location: But avoid direct, scorching sun.
Propagation Methods
While Arnica can be a bit finicky, division is often the most reliable method for home gardeners. Stem cuttings can be tricky due to their tendency to rot.
Division
This is best done in early spring.
- Gently excavate: Carefully dig up your established Arnica plant. Try not to disturb the roots too much.
- Locate division points: Look for natural breaks in the root system or where new shoots are emerging from the base.
- Separate with care: Using a clean trowel, sharp knife, or even your fingers, gently pull or cut apart the divisions. Ensure each new piece has at least one good root and a few healthy shoots.
- Replant immediately: Pot up your divisions in the well-draining soil mix. Water them in thoroughly.
Stem Cuttings (for the Adventurous!)
If you want to try stem cuttings, take them in late spring or early summer when the stems are firm but not yet woody.
- Take your cuttings: Select healthy, non-flowering stems. Cut sections about 3-4 inches long, just below a leaf node. Remove any lower leaves.
- Apply rooting hormone: Dip the cut end into your rooting hormone powder or gel. Tap off any excess.
- Plant the cuttings: Make a hole in your prepared potting mix with a pencil or your finger. Insert the cutting so that at least one leaf node is below the soil surface.
- Water and cover: Water gently. Cover the pot with a plastic bag or propagation dome to maintain high humidity. Prop the bag up so it doesn’t touch the leaves.
The “Secret Sauce” (Pro Tips)
Here are a couple of things I’ve learned over the years that can make a difference:
- Avoid overcrowding: When dividing, give each new piece plenty of space in its pot. Cramming them together invites disease and competition.
- Bottom heat can be a friend: For stem cuttings, placing your pots on a gentle seedling heat mat can significantly speed up root development. It mimics the warmth of spring soil.
- Air circulation is key: While you want humidity for cuttings, a little bit of airflow is crucial to prevent fungal issues. If using a plastic bag, open it for a few minutes each day to let fresh air in.
Aftercare & Troubleshooting
Once your divisions or cuttings show signs of new growth (tiny leaves unfurling!), you’re on your way!
- Gradually acclimate: If you’ve used a cover for cuttings, slowly start to vent it over a week or two to get them used to normal humidity.
- Water sparingly: Keep the soil consistently moist but never waterlogged. Let the top inch of soil dry out slightly between waterings.
- Watch for rot: The most common problem is root rot, which shows up as mushy, blackening stems or leaves collapsing. If you see this, it means the soil is too wet. You might be able to save a cutting by taking a fresh, healthy piece and starting over, ensuring better drainage.
- Patience with roots: For cuttings, it can take several weeks to months for significant root development. Gently tug on a cutting after a few weeks; if you feel resistance, roots are forming!
A Encouraging Closing
Don’t get discouraged if your first attempt isn’t perfect. Gardening is a journey, and propagation is an art. Celebrate the small victories – the tiny unfurling leaf, the hesitant new shoot. Be patient with your Arnica, give it the right conditions, and enjoy the rewarding experience of bringing more of these sunshiny beauties into your garden. Happy planting!
Resource:
https://identify.plantnet.org/k-world-flora/species/Arnica%20gracilis%20Rydb./data