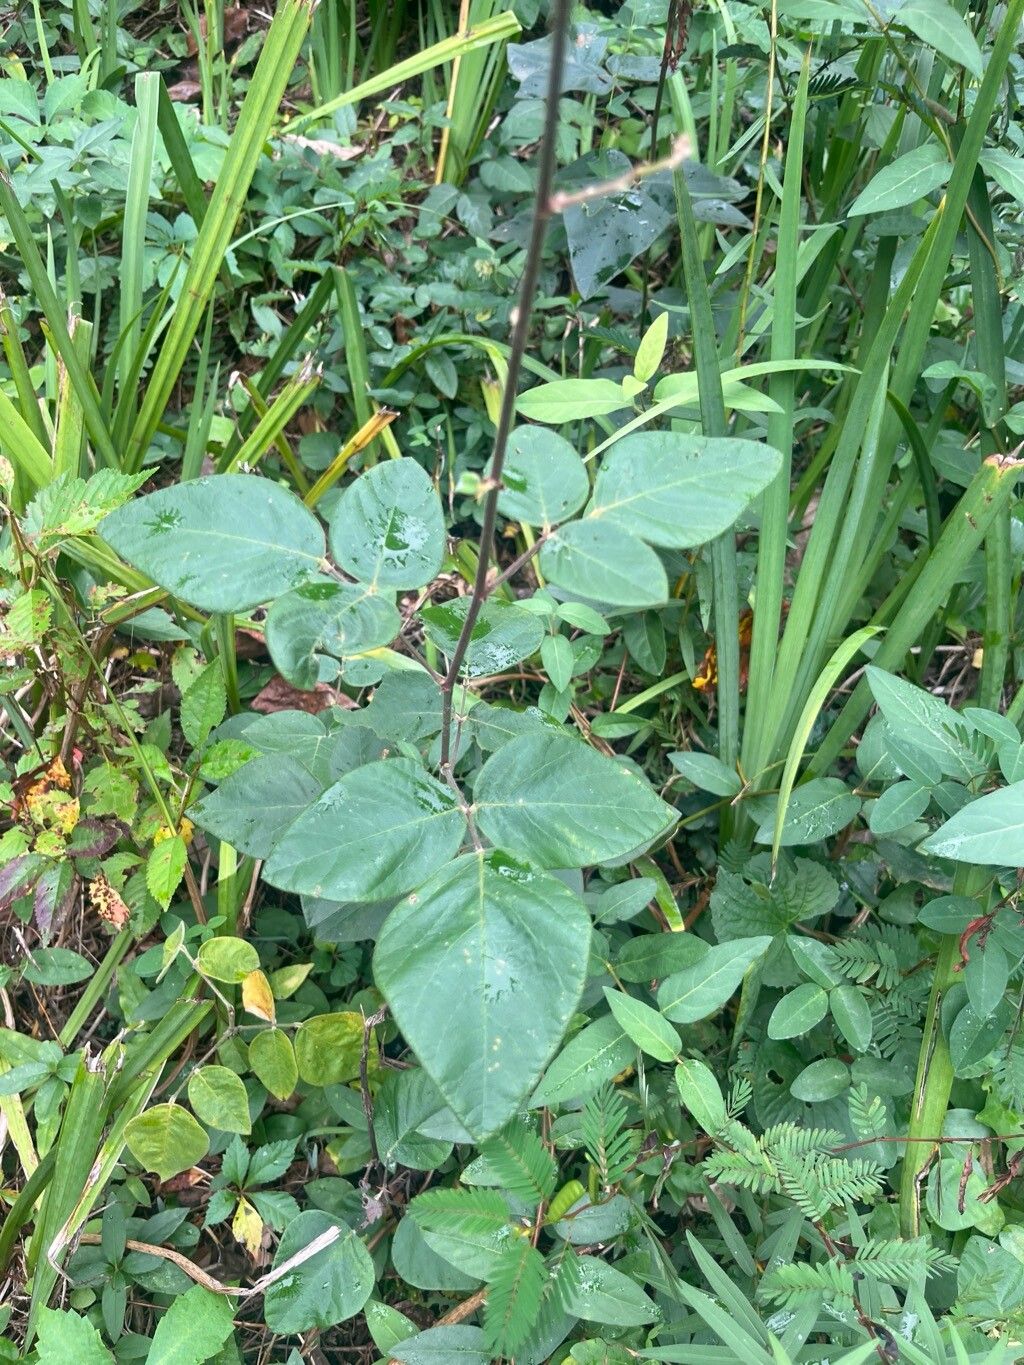
Oh, hello there! Grab your mug, pull up a chair. Today, we’re going to talk about a plant that, in my book, deserves a lot more attention: Desmodium canescens, or as many of us affectionately call it, American Tick Trefoil.
Why You’ll Love Propagating American Tick Trefoil
Honestly, this plant is a little gem. Its delicate, pea-like flowers in shades of lavender and pink are just lovely, attracting all sorts of beneficial pollinators to your garden. Plus, it has this wonderfully graceful, bushy habit that adds so much texture. And the best part? Propagating it is not nearly as daunting as you might think. I’d say it’s a very achievable project, even for newer gardeners. There’s something so rewarding about taking a little piece of a plant you adore and nurturing it into its own independent life. It’s like giving a gift that keeps on giving.
The Best Time to Start
For the highest success rate with Desmodium canescens, aim to propagate in late spring to early summer. This is when the plant is actively growing, and its stems have a good amount of energy to put into developing roots. You want to work with new, tender growth – sometimes called “softwood cuttings.” These are much more pliable and able to root than old, woody stems.
Supplies You’ll Need
Here’s a little checklist to get you started. Don’t worry, it’s not too much:
- Sharp Pruning Shears or a Clean Knife: For making clean cuts.
- Potting Mix: I like a good, well-draining mix. A blend of equal parts peat moss or coco coir and perlite or vermiculite works wonders. You can also find specific seed starting mixes that are nice and light.
- Small Pots or Seed Trays: Clean ones, please!
- Rooting Hormone (Optional but helpful): A powder or gel helps encourage root development.
- Clear Plastic Bag or Dome: To create a humid environment.
- Watering Can or Spray Bottle: For gentle watering.
- Marker and Plant Labels: So you don’t forget what you’ve planted!
Propagation Methods: Let’s Get Our Hands Dirty!
I usually have the best luck with stem cuttings for Desmodium canescens. It’s straightforward and gives you great results.
Stem Cuttings:
- Select Your Cuttings: From a healthy, actively growing plant, choose stems that are about 4-6 inches long. Look for stems that are still somewhat bendy but not brand new, leafy shoots that might wilt too easily. Make your cut just below a leaf node (where a leaf attaches to the stem). This is where roots are most likely to form.
- Prepare the Cuttings: Gently remove the lower leaves from the cutting, leaving just a few at the top. If the leaves are very large, you can even cut them in half to reduce water loss through transpiration.
- Apply Rooting Hormone (If using): Dip the cut end of the stem into your rooting hormone, tapping off any excess. This is like giving your cutting a little boost.
- Plant Your Cuttings: Fill your clean pots or trays with your prepared potting mix. Make a small hole in the center with your finger or a pencil. Gently insert the cut end of the stem into the hole, making sure a few leaf nodes are buried beneath the surface. Firm the soil gently around the stem.
- Water Gently: Water the soil thoroughly but avoid over-saturating it. You want it moist, not soggy. A spray bottle is great for this initial watering.
- Create Humidity: Place the pots inside a clear plastic bag or cover them with a clear dome. Make sure the leaves don’t touch the plastic, as this can encourage rot. You can prop up the bag with a few small stakes if needed.
The “Secret Sauce” (Pro Tips)
Now, for a few little tricks I’ve picked up over the years:
- Bottom Heat is Your Friend: If you have it, placing your cuttings on a heat mat can significantly speed up root development. It mimics the warmth of spring soil perfectly.
- Don’t Be Afraid of a Little “Scar”: When preparing your cuttings, you can sometimes make a tiny vertical slit (about 1/4 inch) on one side of the bottom node. This exposes more of the vascular tissue, which can encourage better root formation. Just be gentle!
- Air Circulation is Key: While you want humidity, open the plastic bag or dome for a few minutes each day to allow for some air exchange. This helps prevent fungal diseases.
Aftercare & Troubleshooting
Once your cuttings are potted, place them in a bright spot that doesn’t get direct, harsh sunlight. Too much sun can scorch those tender new leaves. Keep the soil consistently moist but not waterlogged.
You’ll know your cuttings have rooted when you see new leaf growth or feel a gentle resistance when you very carefully tug on a stem. This can take anywhere from 3-6 weeks, sometimes longer.
The most common issue you’ll run into is rot. If you see stems turning black and mushy, it’s usually a sign of too much moisture and not enough air circulation. Don’t be discouraged! Just try to adjust your watering and ensure good airflow. Sometimes, a cutting just doesn’t take, and that’s okay. Gardening is all about learning and trying again.
Happy Propagating!
So there you have it! Propagating Desmodium canescens is a rewarding journey. Be patient with your little cuttings, give them a good start, and I’m confident you’ll soon be admiring your own thriving new plants. Enjoy the process, and may your garden be ever greener!
Resource:
https://identify.plantnet.org/k-world-flora/species/Desmodium%20canescens%20(L.)%20DC./data