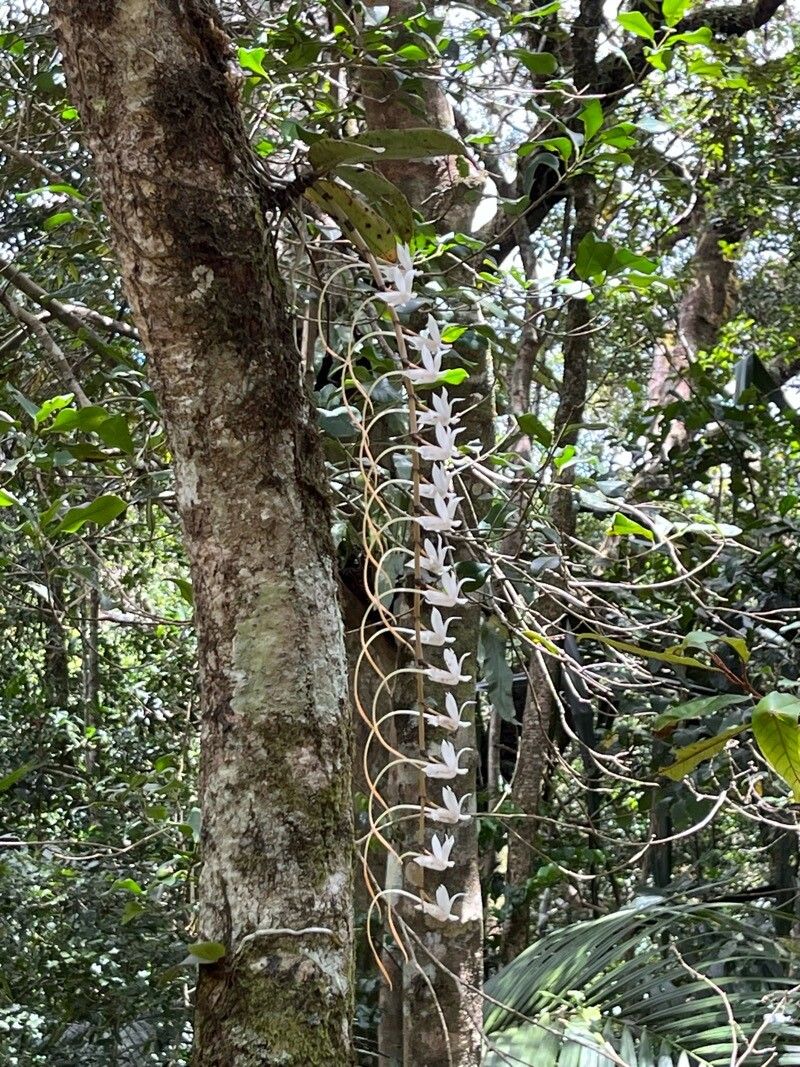
Hello fellow plant lovers! Today, we’re diving into the fascinating world of Aerangis fastuosa, a tiny orchid with a big personality. Its delicate white blooms, appearing like little stars, are a true delight, and there’s something incredibly satisfying about coaxing new life from an existing plant. Now, I’ll be honest, Aerangis fastuosa isn’t the absolute easiest orchid for a complete beginner to propagate, but with a little patience and the right approach, it’s absolutely achievable and deeply rewarding. Think of it as a gentle challenge that really pays off!
The Best Time to Start
For best results, I always recommend propagating your Aerangis fastuosa in the spring or early summer. This is when the plant is naturally entering its most vigorous growth phase. You’ll see new leaves emerging and the plant will have plenty of energy to dedicate to establishing new roots. Avoid propagating when the plant is stressed, perhaps from extreme heat or cold, or if it’s just finished flowering. A healthy, happy plant is your best bet for successful propagation.
Supplies You’ll Need
Gathering your tools beforehand makes the whole process much smoother. Here’s what you’ll want to have on hand:
- Sharp, sterilized pruning shears or a clean knife. Think your trusty Felcos or a sharp paring knife that’s been wiped down with rubbing alcohol.
- A suitable potting mix. For Aerangis, a fast-draining orchid mix is essential. I often use a blend of fine bark, charcoal, and perlite. You can also find pre-made orchid mixes at most garden centers.
- New pots or containers. Small, breathable pots are ideal. Even yogurt cups with drainage holes work in a pinch!
- Optional: Rooting hormone. While not strictly necessary for division, it can give cuttings a helpful boost.
- Optional: Sphagnum moss. Sometimes helpful for keeping cuttings moist.
- A spray bottle. For misting.
Propagation Methods
Aerangis fastuosa is best propagated by division. This is where you carefully separate a mature plant into smaller sections, each with its own roots and at least a few leaves.
How to Divide Your Aerangis Fastuosa:
- Gently remove the plant from its current pot. Ease it out carefully. If it’s tightly root-bound, you might need to gently squeeze the pot or even run a knife around the edge.
- Inspect the root ball. Look for natural divisions. You’re essentially looking for where new growths are emerging from the base of the mother plant, and if those growths already have their own set of roots.
- Using your sterilized shears or knife, carefully cut through the rhizome (the stem-like structure connecting the growths). Make sure each division has at least two to three healthy leaves and a good cluster of roots. If a division has very few roots, don’t despair, but it will take longer to establish.
- Remove any old, dead leaves or spent flower spikes. This helps the plant focus its energy.
- Pot up each division into its own small pot. Use your fresh, well-draining orchid mix. Plant them so the base of the leaves is just at the surface of the mix. You don’t want to bury the crown.
- Initially, water very sparingly. You’re aiming for slightly moist, not soggy. The roots are still getting established, and too much moisture can lead to rot.
The “Secret Sauce” (Pro Tips)
Here are a few things I’ve learned over the years that really help:
- Don’t over-pot. Smaller pots encourage faster root development. Cramming a small division into a huge pot can lead to the potting medium staying too wet for too long, which is Aerangis‘ nemesis.
- Consider bottom heat. If you have a propagation mat or can place the pots on a warm windowsill, a gentle warmth from below can significantly speed up root formation. Just be sure it’s not too hot – think lukewarm bathwater temp!
- Humidity is your friend, but drainage is king. New divisions need consistent humidity to encourage root growth, but they are extremely susceptible to rot if their roots sit in water. I often place the pots in a clear plastic bag for the first few weeks, propped up so the leaves don’t touch the sides of the bag, to create a humid environment without suffocating the plant.
Aftercare & Troubleshooting
Once your divisions are potted, keep them in good, bright, indirect light. Avoid direct sun, which can scorch their tender new leaves.
Watering at this stage is crucial: Let the potting mix almost dry out completely between waterings. When you do water, water thoroughly, allowing excess to drain away freely.
What if things go wrong? The most common issue is root rot. You’ll see leaves turning yellow and mushy, or the base of the plant becoming soft and dark. If you notice this, immediately remove the affected division, trim away any rotted parts, and repot it in fresh, dry medium. You might even try letting it air dry for a day or two before repotting.
If your division looks healthy but isn’t showing signs of new roots after several weeks, don’t panic. Some orchids take their time. Just keep providing consistent care.
A Little Patience Goes a Long Way
Propagating plants, especially something as delicate as an orchid, is a journey. There will be times when things just click, and other times when you’ll scratch your head. Embrace the process, observe your plants, and learn from each experience. Before you know it, you’ll have a beautiful collection of Aerangis fastuosa to admire. Happy growing!
Resource:
https://identify.plantnet.org/k-world-flora/species/Aerangis%20fastuosa%20(Rchb.f.)%20Schltr./data