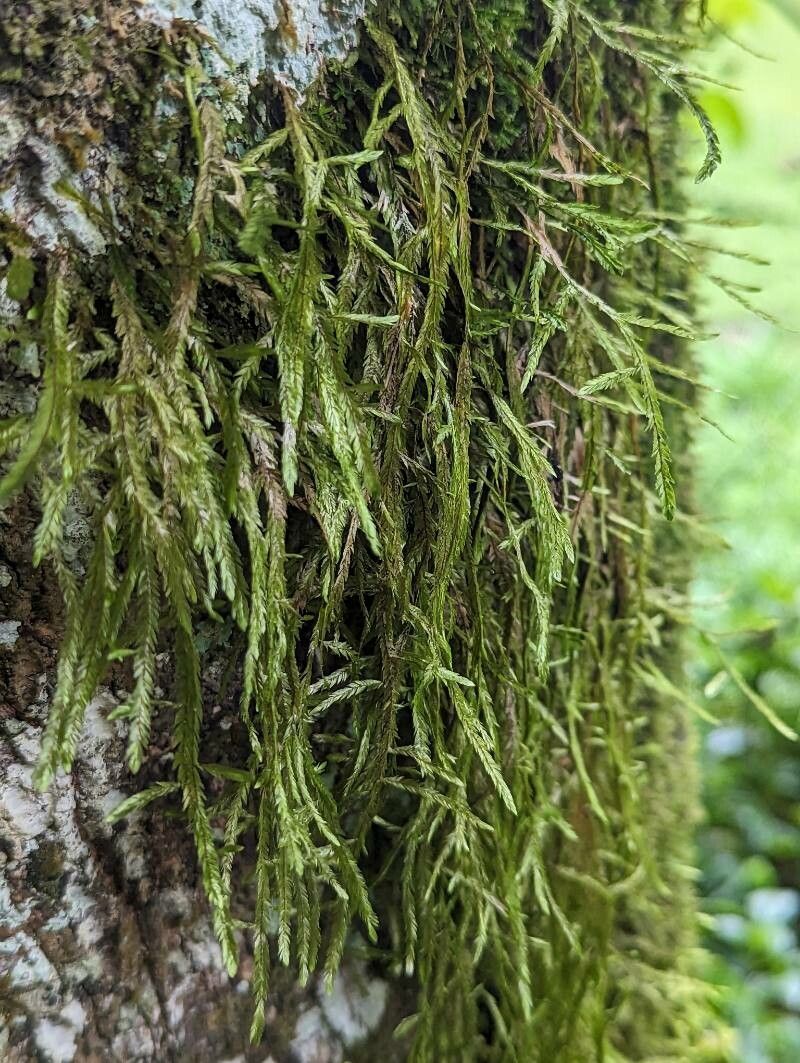
Hello, fellow plant lovers! If you’ve ever admired those lush, cascading mounds of Huperzia acerosa, or ground pine, you’re not alone. It’s a truly beautiful plant, with its delicate, fern-like foliage creating this wonderful, natural carpet or trailing effect. And the best part? You can learn to multiply these beauties yourself! Propagating Huperzia acerosa might sound a little intimidating at first – it’s not quite as straightforward as sticking a begonia cutting in water. But trust me, with a little patience and the right approach, it’s incredibly rewarding to watch these little ones take root and grow.
The Best Time to Start
For the highest success rate, I find that late spring or early summer is your sweet spot. This is when the plant is actively growing and has the energy reserves needed to push out new roots. You’re looking for healthy, vigorous stems that aren’t flowering or producing their spore-bearing cones. Think of it as picking the best, brightest moments of their growing season to get started.
Supplies You’ll Need
Here’s what you’ll want to have on hand before you begin:
- Sharp, clean pruning shears or a sharp knife: Essential for making clean cuts to prevent disease and improve rooting.
- A well-draining potting mix: I like a blend of equal parts peat moss, perlite, and coarse sand. You can also find specific houseplant or orchid mixes that work beautifully.
- Rooting hormone powder or gel (optional, but recommended): This gives your cuttings a little boost to encourage root development.
- Small pots or trays: Clean ones are a must! Seedling trays or small (3-4 inch) pots are perfect.
- A spray bottle: For misting your cuttings.
- Plastic bags or a propagation dome: To create a humid environment.
- A heat mat (optional, but helpful): Provides gentle bottom warmth that really speeds up rooting.
Propagation Methods
Huperzia acerosa is typically propagated through stem cuttings or less commonly, division.
Stem Cuttings: This is my go-to method.
- Select your cuttings: Look for healthy, non-woody stems that are at least 3-4 inches long. Gently twist or cut them from the main plant.
- Prepare the cuttings: Remove the lower half of the leaves. This prevents them from rotting in the soil and exposes the nodes where roots will form.
- Apply rooting hormone (if using): Dip the cut end of each stem into the rooting hormone, tapping off any excess.
- Planting: Fill your pots or trays with your prepared potting mix. Using a pencil or your finger, make a small hole in the soil. Insert the cut end of the stem into the hole, ensuring the nodes are buried. Gently firm the soil around the stem.
- Water gently: Water thoroughly but avoid soggy soil. You want it to be consistently moist, not waterlogged.
- Create humidity: Cover the pots with plastic bags, securing them loosely with a rubber band, or place them under a propagation dome.
- Placement: Position your pots in a bright location that receives indirect light. Avoid direct sun, which can scorch the delicate cuttings.
The “Secret Sauce” (Pro Tips)
Here are a couple of things I’ve learned over the years that have made all the difference:
- Don’t let the leaves touch the soil directly. This is especially important for cuttings where you’ve left leaves on the lower part. They’ll just rot and can spread that rot to your cutting before it even has a chance to root. Trim them off carefully!
- Bottom heat is your best friend. If you have the space and the setup, placing your pots on a heated propagation mat makes a huge difference in how quickly and reliably roots form. It mimics those warm spring soils that plants love.
Aftercare & Troubleshooting
Once your cuttings are planted, keep the soil consistently moist but not wet. Mist the leaves regularly, especially if you aren’t using a humidity dome. Peek under those leaves every now and then. You’re looking for signs of new growth – a tiny new leaf or stem emerging. This usually takes anywhere from 4 to 8 weeks, sometimes longer.
If your cuttings start to turn yellow and mushy, that’s a sign of rot. This usually means the soil is too wet, there’s not enough air circulation, or the temperature is too cool. Don’t be too discouraged; it happens! You can try to salvage any healthy-looking parts by making fresh cuttings and adjusting your watering and humidity. Sometimes, you might see the cutting shrivel up – this can happen if it’s too dry or not getting enough light. Just keep an eye on them!
A Encouraging Closing
Propagating plants is a journey, and each new seedling or cutting is a little victory. Be patient with your Huperzia acerosa cuttings. They’re little miracles in the making. Enjoy the process of nurturing them, and soon you’ll have more of these delightful ground pines to share or to fill your own home with their unique charm. Happy gardening!
Resource:
https://identify.plantnet.org/k-world-flora/species/Huperzia%20acerosa%20(Sw.)%20Holub/data