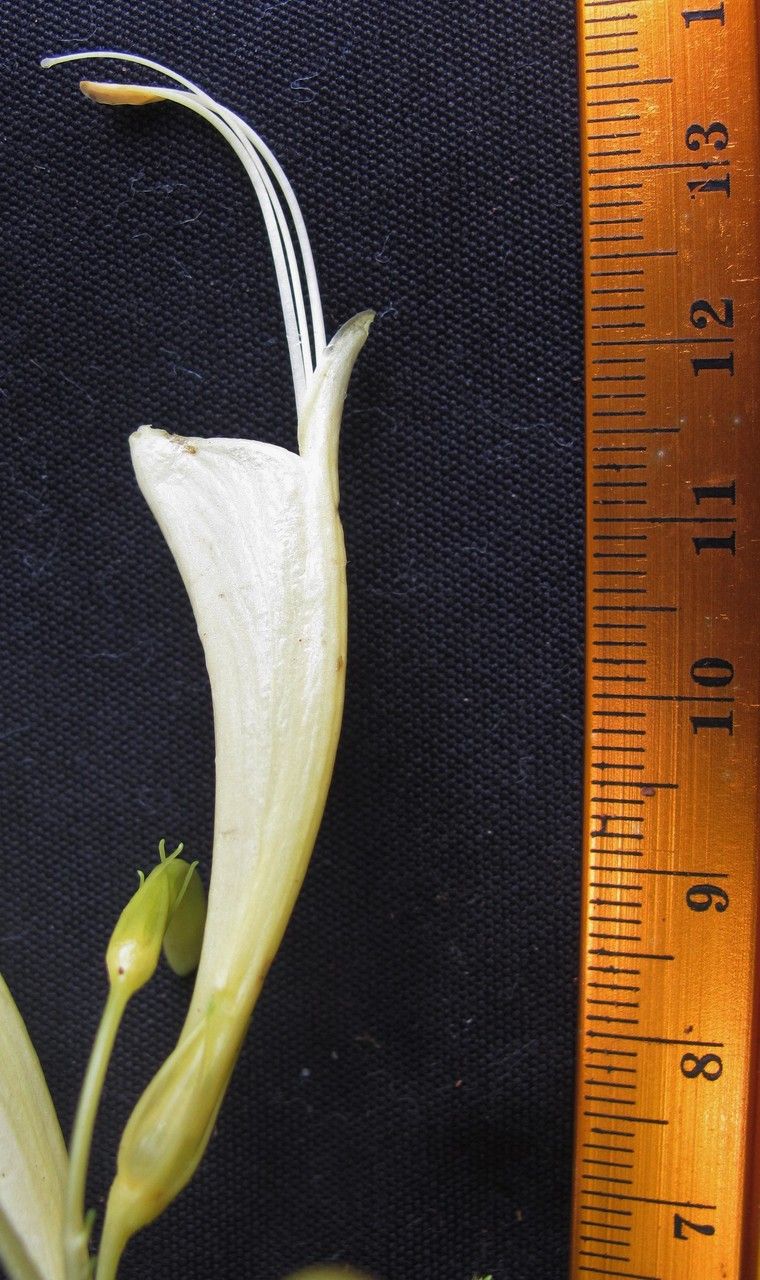
Hello, fellow plant enthusiasts! Today, we’re diving into the delightful world of Stenostephanus citrinus, also known as the lemon-yellow Stephanotis. This plant, with its intoxicatingly sweet, citrusy fragrance and dainty, glossy foliage, has such a way of brightening any corner of your home. For me, the real magic happens when I can share a piece of its beauty. Propagating this gem is a wonderfully rewarding experience, one that might seem a little daunting at first, but trust me, it’s absolutely achievable! It’s moderately easy, making it fun for seasoned gardeners and an excellent learning opportunity for those newer to the green arts.
The Best Time to Start
Spring is your best friend when it comes to propagating Stenostephanus citrinus. As the plant bursts back to life after a quieter winter, it has plenty of energy to put into growing new roots. Look for actively growing shoots that are firm but not yet woody. This usually happens from late spring through early summer.
Supplies You’ll Need
Gathering your supplies beforehand makes the whole process smoother. Here’s what I always have on hand:
- Sharp Pruning Shears or a Clean Knife: For making clean cuts. Don’t want to crush those delicate stems!
- Rooting Hormone: A good quality rooting powder or gel will significantly boost your success rate.
- Potting Mix: A light, well-draining mix is crucial. I like to use a combination of equal parts peat moss, perlite, and a bit of orchid bark. This keeps things airy and prevents waterlogging.
- Small Pots or Seedling Trays: Clean pots are a must. Four-inch pots are usually a good size for cuttings.
- Plastic Bag or Humidity Dome: To create that humid environment young cuttings crave.
- Water: For moistening your soil and, of course, for the plants!
- Labels and a Marker: So you don’t forget what you’ve propagated and when!
Propagation Methods
The most reliable way to get new Stenostephanus citrinus plants is through stem cuttings.
- Select Your Cuttings: Find a healthy, actively growing stem. You’re looking for stems that are semi-hardwood – they should snap cleanly rather than bend. Aim for cuttings that are about 4-6 inches long.
- Make the Cut: Using your clean pruning shears or knife, make a cut just below a leaf node. A leaf node is that little bump where a leaf grows from the stem. This is where the magic root-forming cells live!
- Prepare the Cutting: Gently remove the lower leaves from the cutting, leaving just a few at the top. This prevents them from rotting when buried in the soil. If the remaining leaves are very large, you can cut them in half horizontally. This reduces water loss.
- Apply Rooting Hormone: Dip the cut end of the stem into your rooting hormone, tapping off any excess. This stuff really helps encourage root development.
- Plant Your Cuttings: Make a small hole in your prepared potting mix with your finger or a pencil. Gently insert the cutting into the hole, making sure the leaf nodes are covered by the soil. Firm the soil gently around the stem.
- Water and Cover: Water thoroughly to settle the soil. Then, cover the pot with a plastic bag or a humidity dome. This creates a mini-greenhouse effect, keeping humidity high. You can secure the bag with a rubber band around the pot.
The “Secret Sauce” (Pro Tips)
Here are a few tricks I’ve picked up over the years that really seem to help my Stenostephanus cuttings thrive:
- Bottom Heat is Your Friend: Placing your pots on a gentle seedling heat mat can make a world of difference. It encourages roots to form much faster from below, giving those cuttings a real boost of energy. Just don’t crank it up too high; a cozy warmth is perfect.
- Air Circulation is Key (Once Rooted): While the humidity is vital for initiating rooting, once you see signs of growth, you want to start a gradual acclimatization process. Briefly open the plastic bag each day for a few minutes to let fresh air in. This helps prevent fungal issues and gets your new plant used to drier air.
- Don’t Rush the New Growth: Patience is a virtue in gardening, and it’s especially true here. Don’t pull on your cuttings to check for roots too early! Wait until you see visible new leaf growth at the tip of the stem or feel some gentle resistance when you very lightly tug. This is your sign that new roots have formed.
Aftercare & Troubleshooting
Once your cuttings have successfully rooted (hooray!), it’s time to transition them to a slightly less humid environment. Remove the plastic bag completely. Continue to water when the top inch of soil feels dry. Keep them in bright, indirect light.
The most common issue you might encounter is rot. If your cutting turns mushy, black, or just looks generally unhealthy and doesn’t show any signs of rooting after several weeks, it’s likely rotted. This usually happens from too much moisture and not enough air circulation. If you see a bit of yellowing on the lower leaves, that’s often normal as the plant redirects energy to root growth. But anything black or mushy? That’s a sign to sadly discard it and try again.
A Encouraging Closing
See? Not so scary, is it? Propagating Stenostephanus citrinus is a journey of growth and discovery. Be patient with your little ones, provide them with the right conditions, and celebrate every tiny sign of progress. Soon, you’ll have a whole new batch of these fragrant beauties to enjoy, share, and perhaps even gift to fellow garden lovers. Happy propagating!
Resource: