Ah, Tabernaemontana attenuata! What a beauty. Those glossy leaves and those exquisite, fragrant white flowers make it a truly special addition to any garden or collection. If you’ve ever admired this tropical gem and thought, “I wish I had more!” then you’re in for a treat. Propagating it is a fantastic way to multiply your joy, and while it might seem a bit daunting at first glance, I promise it’s quite achievable. It’s not the absolute easiest plant to start from scratch for a complete beginner, but with a little care and attention, you’ll be well on your way.
The Best Time to Start
Think late spring to early summer. This is when your Tabernaemontana is likely in full swing with its growth cycle. The plant is actively producing new, healthy stems, which are perfect for taking cuttings. You’ll find the cuttings are more vigorous and will root more readily when the weather is warm and the days are getting longer. Avoid taking cuttings during its dormant period or when it’s stressed.
Supplies You’ll Need
Gathering your tools beforehand makes the whole process much smoother. Here’s what I usually have on hand:
- Sharp, clean pruning shears or a knife: A clean cut is crucial to prevent disease.
- Rooting hormone (optional but recommended): This gives your cuttings a helpful boost. Look for one specifically formulated for softwood cuttings.
- Well-draining potting mix: A good blend for me is equal parts perlite and coco coir, or a commercial mix designed for succulents and cacti. You want something airy.
- Small pots or seed trays: Clean, with drainage holes, of course!
- Plastic bags or a propagation dome: To create a humid environment for the cuttings.
- Water: For your cuttings and for misting.
- Gloves: To keep your hands clean, though the sap isn’t usually too problematic.
Propagation Methods
I find stem cuttings to be the most reliable method for Tabernaemontana attenuata. It’s a tried-and-true technique that gives you the best chance of success.
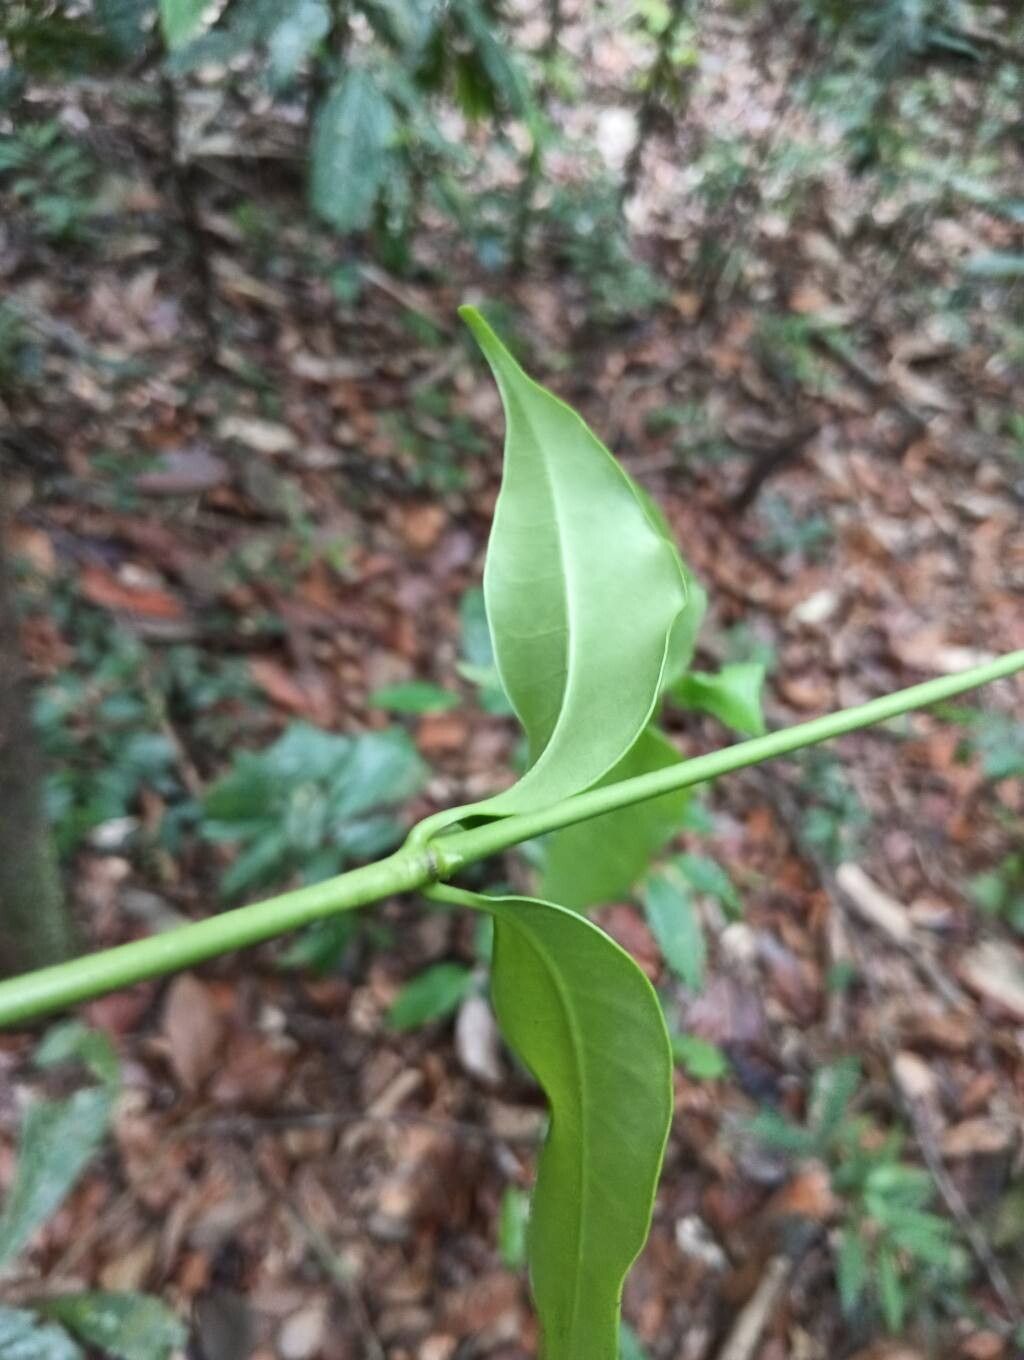
- Select Your Cuttings: Choose healthy, non-flowering stems that are about 4-6 inches long. Look for stems that are somewhat mature but still flexible – not too woody, and not the brand-new, soft growth. Gently twist or cut a piece from the parent plant.
- Prepare the Cutting: Remove the lower leaves from your cutting, leaving just a few at the top. This is important because any leaves that are buried in the soil will likely rot. If your leaves are very large, you can even cut them in half horizontally to reduce water loss through transpiration.
- Apply Rooting Hormone: Dip the cut end of the stem into your rooting hormone powder or gel. Tap off any excess.
- Plant Your Cuttings: Fill your small pots with your well-draining potting mix. Make a small hole in the center of the mix with your finger or a pencil. Insert the stem cutting into the hole, making sure it’s snug. Gently firm the soil around the base of the cutting.
- Create a Humid Environment: Water the soil lightly. Then, cover the pot with a clear plastic bag, securing it with a rubber band, or place it under a propagation dome. This traps the moisture and keeps the humidity high, which cuttings love.
The “Secret Sauce” (Pro Tips)
Here are a couple of things I’ve learned over the years that really make a difference:
- The Sap Situation: Tabernaemontana can exude a milky sap when cut. If you find it excessive, just let the cutting sit for a few minutes until the sap dries and seals the end. Some gardeners even rinse it off briefly with cool water, but letting it air dry is usually sufficient to prevent rot.
- Bottom Heat is Your Friend: If you have a seedling heat mat, placing your pots on it can significantly speed up root development. That gentle warmth mimics ideal soil temperatures and encourages those roots to emerge much faster.
Aftercare & Troubleshooting
Once your cuttings are planted, find a spot with bright, indirect light. You don’t want direct sun scorching those tender new leaves. Keep the soil consistently moist but not waterlogged. Mist the leaves occasionally if the humidity in the room is a bit low, and check the soil moisture by feeling it with your finger.
The big moment is when you see signs of new growth or feel a gentle resistance when you lightly tug on the cutting. This usually takes anywhere from 4 to 8 weeks, sometimes longer.
The most common problem you’ll encounter is rot. If you see your cutting turning mushy, black, or smelling funky, it’s usually a sign of too much moisture and not enough aeration. In this case, unfortunately, it’s best to discard the rotted cutting and start over, making sure your soil is even more well-draining and you’re not overwatering.
A Little Encouragement
Propagating plants is a journey, and sometimes it’s a bit of a learning curve. Don’t get discouraged if your first few attempts don’t yield success. Be patient with your Tabernaemontana cuttings, observe them closely, and celebrate each small sign of progress. The reward of nurturing a new plant from just a small piece of the original is incredibly satisfying. Happy gardening!
Resource: