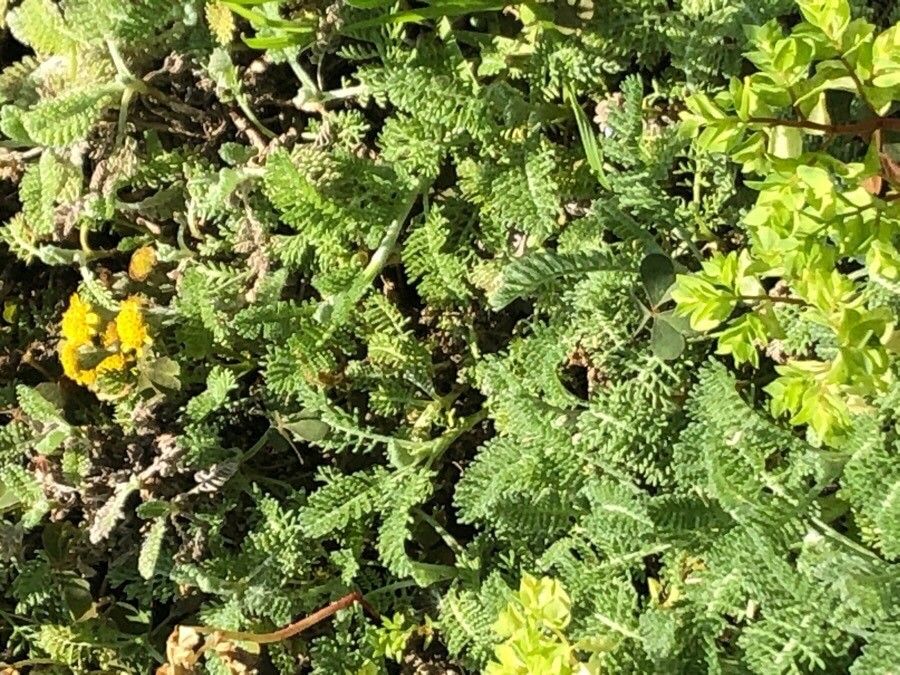
Oh, Tanacetum vahlii! If you’ve ever marveled at its cheerful, daisy-like blooms and fragrant, feathery foliage, you’re not alone. This little charmer, often called Valerian or wild chamomile in some regions, brings such a lovely touch to the garden. And the best part? Sharing its beauty is incredibly rewarding because propagating it is surprisingly accessible. Even if you’re just dipping your toes into the world of plant propagation, you’ll find this a delightful project to tackle.
The Best Time to Start
For the highest success rate with Tanacetum vahlii, I always reach for my tools in late spring or early summer. This is when the plant is actively growing, bursting with vigor, and has plenty of fresh, healthy stems to work with. Waiting until the plant has put on some growth after the last frost ensures you’re starting with robust material, which gives your new babies the best chance to thrive.
Supplies You’ll Need
Here’s what I like to have on hand before I begin:
- Sharp Pruning Shears or a Clean Knife: For making clean cuts.
- Rooting Hormone (Optional but Recommended): A little boost can really help.
- Well-Draining Potting Mix: I often use a blend of equal parts peat moss or coco coir and perlite. Or, a good quality seedling mix works wonderfully.
- Small Pots or Seed Trays: Clean, drainage holes are a must.
- Watering Can with a Fine Rose: For gentle watering.
- Plastic Bags or a Clear Dome: To create a humid environment.
- Labels and a Marker: Don’t forget to label your creations!
Propagation Methods
Tanacetum vahlii is quite obliging, and I’ve found two methods work particularly well:
Stem Cuttings
This is my go-to for Tanacetum vahlii.
- Take Cuttings: In late spring or early summer, select healthy, non-flowering stems. Use your clean shears to cut pieces that are about 4-6 inches long. Try to make the cut just below a leaf node – that little bump where leaves emerge.
- Prepare the Cuttings: Gently remove any leaves from the lower half of the cutting. This is important because those leaves would otherwise sit in the soil or water and rot.
- Dip in Rooting Hormone (Optional): If you’re using rooting hormone, dip the cut end into the powder or gel up to the first leaf node. Tap off any excess.
- Plant the Cuttings: Fill your small pots or trays with your prepared potting mix. Make a small hole with your finger or a pencil, and insert the cutting, firming the soil gently around it. You can usually fit 3-4 cuttings in a small 4-inch pot, leaving some space between them.
- Water Gently: Water the soil thoroughly but gently, ensuring it’s moist but not waterlogged.
- Create Humidity: Cover the pots with a clear plastic bag, ensuring the leaves don’t touch the plastic, or use a propagator lid. This traps humidity, which is crucial for cuttings to root.
- Place in Bright, Indirect Light: Find a warm spot that receives plenty of bright, indirect light. Avoid direct sunlight, which can scorch the fragile cuttings.
Division
This method is perfect for when your established Tanacetum vahlii plant is getting a bit crowded.
- Prepare the Plant: Water your existing plant well a day or two before you plan to divide it. This helps it recover from the shock.
- Gently Excavate: Carefully dig up the entire plant.
- Separate the Roots: Look for natural divisions in the root ball. You can often tease apart sections with your hands, or you might need to use a clean, sharp spade or knife to cut through thicker roots if necessary. Aim for sections that have a good amount of roots and at least a few leafy shoots.
- Replant Immediately: Plant the divided sections into prepared pots with your well-draining soil, or directly back into your garden if the timing is right and the conditions are suitable.
- Water Well: Water all your newly divided plants thoroughly.
The “Secret Sauce” (Pro Tips)
Here are a few little tricks that have really helped me over the years:
- Don’t Let the Leaves Touch the Water (for stem cuttings in water): If you opt for water propagation (though I find soil works best for Tanacetum), ensure only the cut stem is submerged. Any leaves in the water will invariably rot and can take the whole cutting down with them.
- Bottom Heat is Your Friend: For stem cuttings, placing your pots on a heated seed tray can significantly speed up root development. The warmth encourages the plant to send out roots much faster. It’s like giving them a cozy little incubator!
Aftercare & Troubleshooting
Once your cuttings have developed roots – you’ll know when new growth appears and you feel a gentle tug when you carefully try to lift a cutting – it’s time for a bit more attention.
- Acclimatize: Gradually remove the plastic cover over a few days to help the new plants adjust to normal humidity.
- Gradual Repotting: Once the roots have filled the initial pots, you can pot them up into slightly larger containers with fresh potting mix.
- Water Wisely: Continue to keep the soil consistently moist but not soggy. Overwatering is the most common culprit for problems.
- Watch for Rot: The most common sign of failure is wilting and browning, often accompanied by a mushy stem base. This is usually a sign of too much moisture and not enough air circulation. If you see this, remove the affected cutting immediately to prevent it from spreading.
A Little Patience Goes a Long Way
Propagating plants is such a wonderful way to connect with nature and expand your garden. Some might root in a few weeks, others may take a little longer. So, be patient with your little Tanacetum babies. Enjoy the process, learn from each attempt, and soon you’ll have a whole patch of these delightful flowers to enjoy and share. Happy gardening!
Resource:
https://identify.plantnet.org/k-world-flora/species/Tanacetum%20vahlii%20DC./data